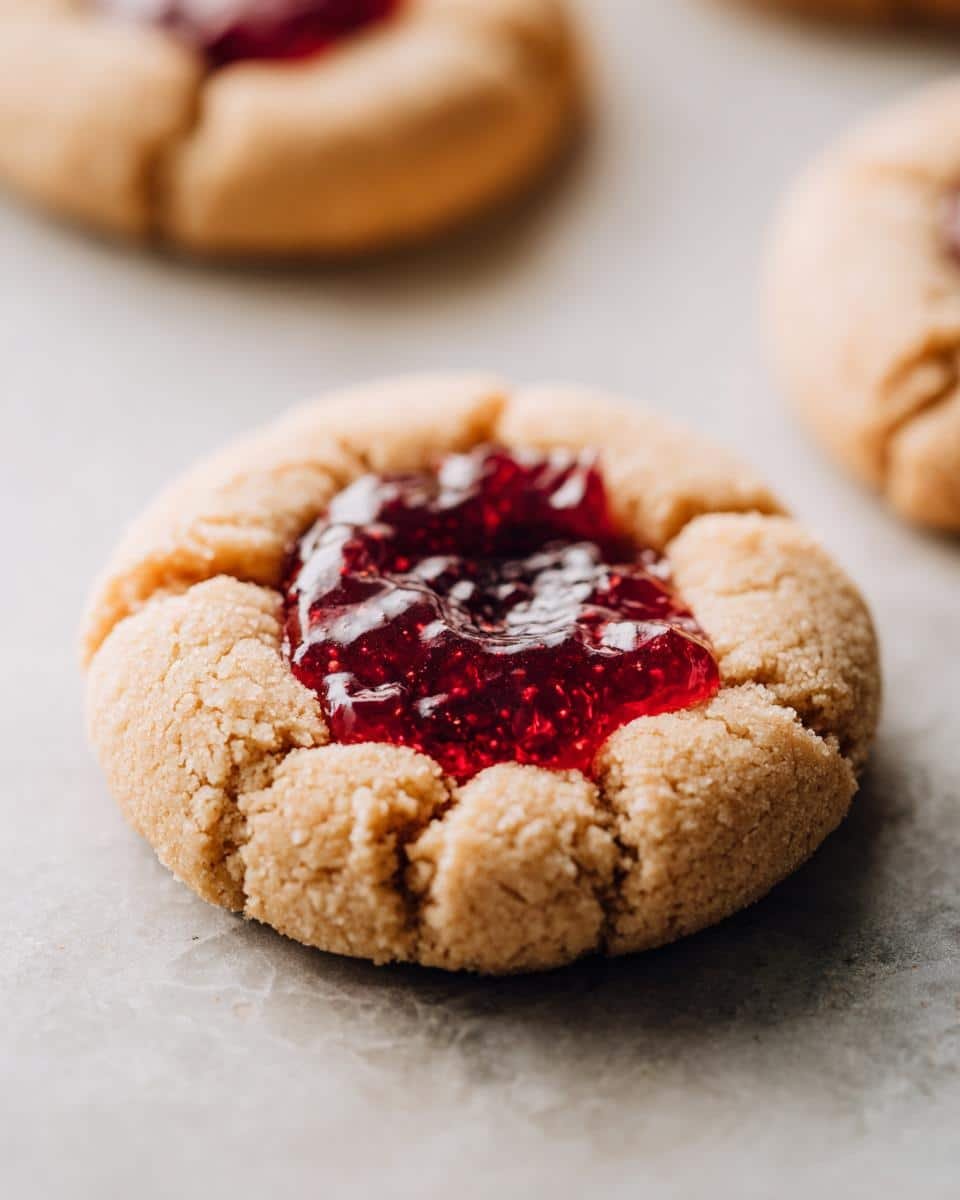
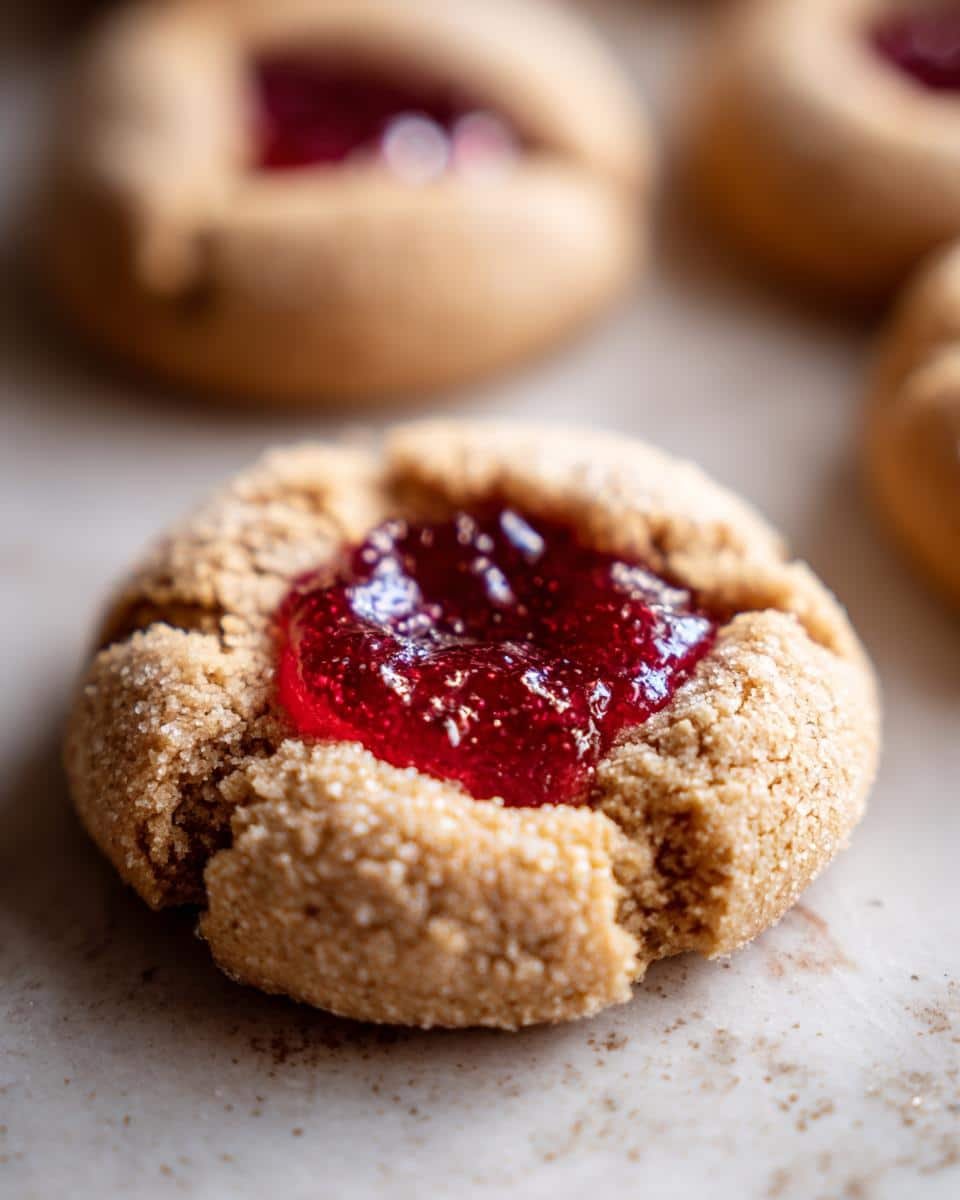
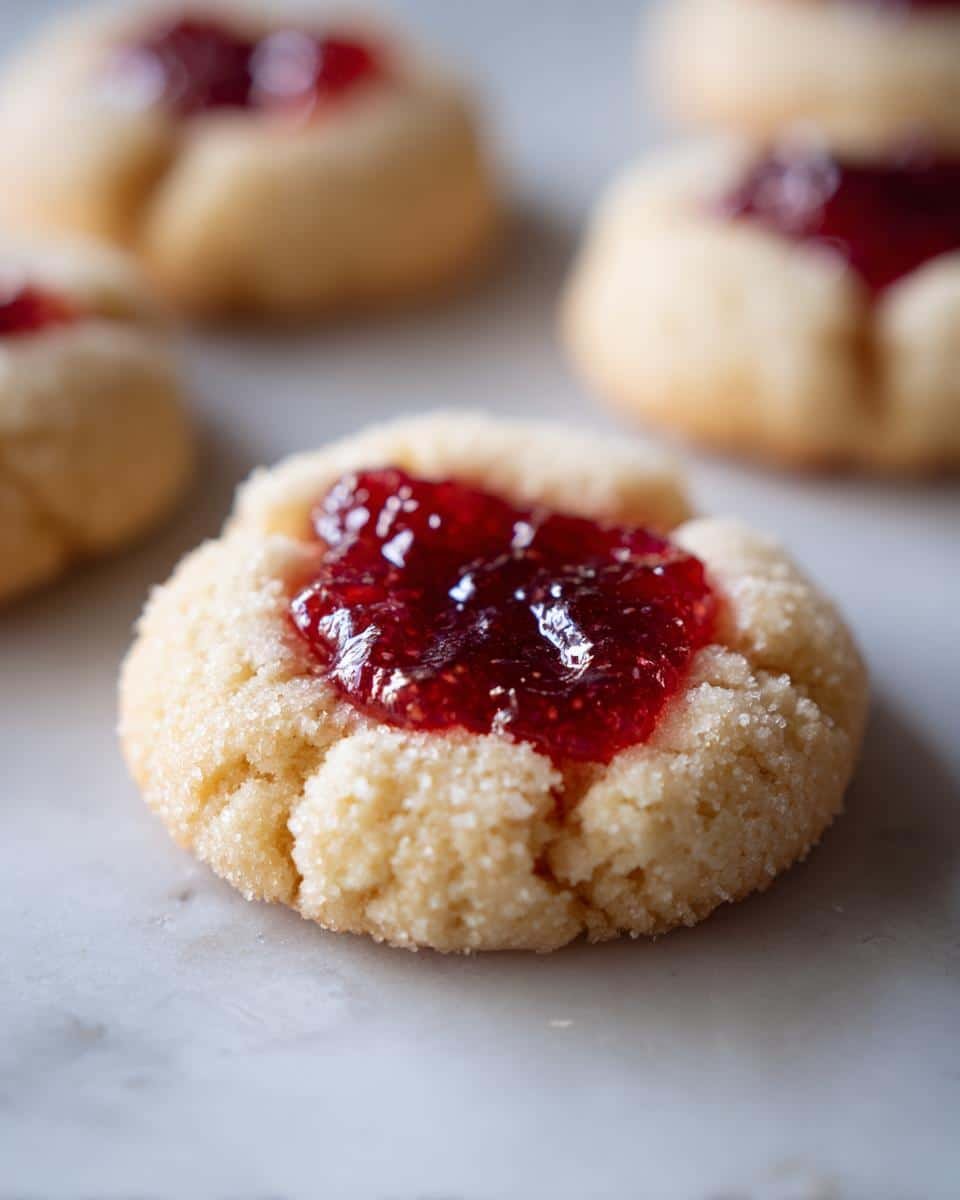
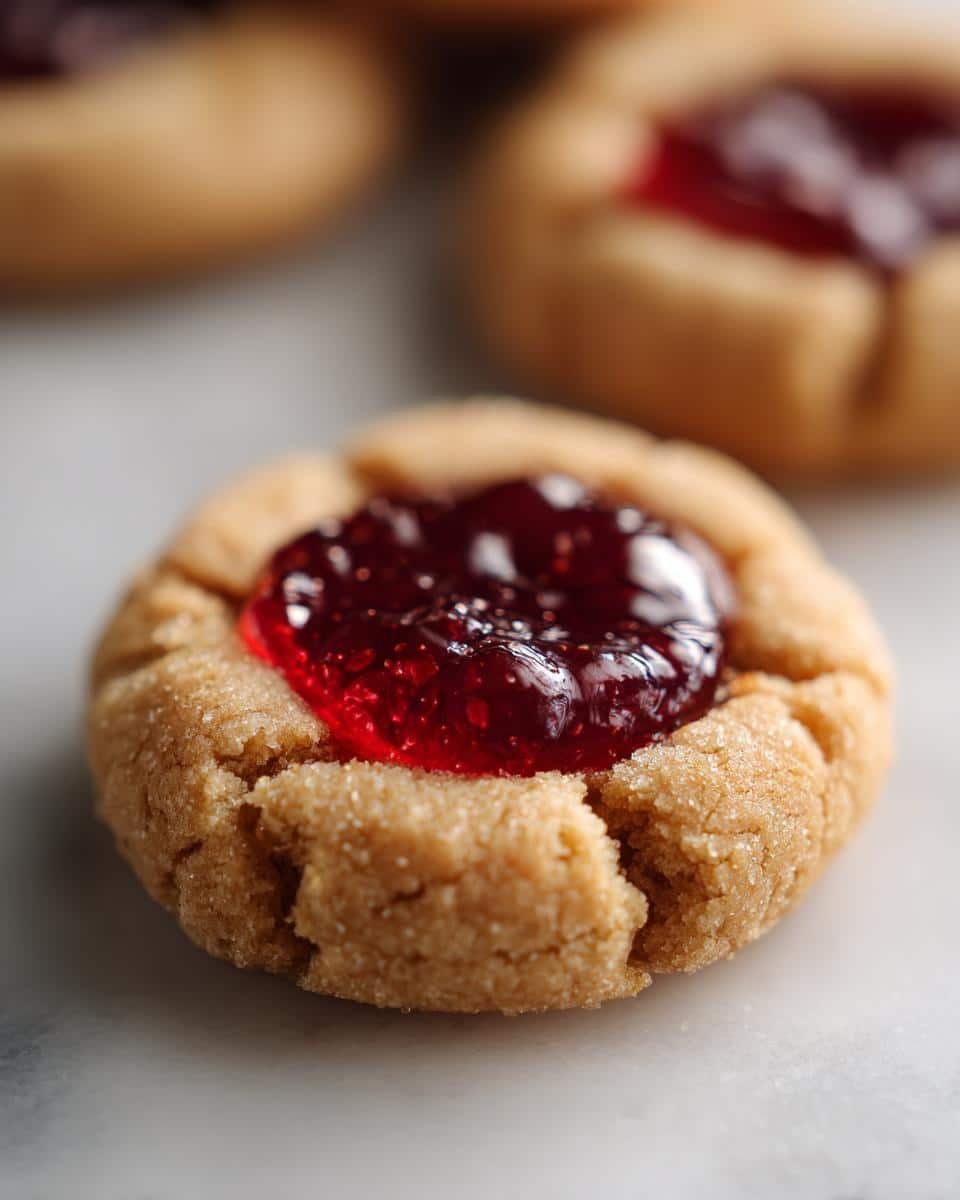
Oh, the holidays! Is there anything better than the smell of cookies baking? For me, it instantly brings back memories of my mom and me, flour dusting our noses, trying to make just the right little well for the jam in our Thumbprint Jam Cookies. These aren’t just any cookies; they’re little jewels of buttery goodness that taste like pure nostalgia. They’re super simple, which is key when you’re juggling all the holiday chaos, but they always look so fancy and festive. Trust me, these are the cookies that will disappear the fastest at your next gathering!
Why You'll Love These Thumbprint Jam Cookies
Honestly, what’s not to love about these little guys?
- Super Easy: Seriously, a beginner baker could whip these up! No fancy techniques needed.
- Buttery Bliss: The cookie itself is just perfectly tender and buttery. Yum!
- So Versatile: You can use any jam flavor you fancy. Raspberry, apricot, strawberry… they all work!
- Festive & Fun: They look so professional and totally scream Christmas cookies and holiday treats.
Gather Your Ingredients for Thumbprint Jam Cookies
Okay, let’s get our little bakers’ aprons on and gather everything we need! For these delightful Thumbprint Jam Cookies, you’ll want to grab the good stuff. Make sure your butter is nice and soft – not melted, just cooperative! You’ll need 1 cup of that lovely unsalted butter, plus about half a cup of granulated sugar to make these cookies sweet. A single large egg yolk is our secret for richness, and a teaspoon of pure vanilla extract just makes everything smell wonderful. For the dry team, we’ve got 2 cups of all-purpose flour and just a pinch of salt (1/4 teaspoon) to balance it all out. And of course, the star of the show: half a cup of your favorite jam. Any flavor works here, so pick your happy jam!
Essential Equipment for Perfect Thumbprint Jam Cookies
To make these perfect Thumbprint Jam Cookies, you don’t need anything too fancy! Just grab a couple of mixing bowls, a whisk or a fork, and a trusty electric mixer or even just a sturdy spoon to cream that butter and sugar. A baking sheet, of course, and maybe some parchment paper if you’re feeling extra cautious about sticking. And don’t forget a small spoon for that dollop of jam!
Step-by-Step Guide to Making Thumbprint Jam Cookies
Alright, let’s get baking! Making these Thumbprint Jam Cookies is seriously straightforward, but a little guidance goes a long way. Follow these steps and you’ll have a batch of perfect cookies in no time. This is where all the magic happens, and it’s so much fun! You can find more tasty easy recipes like this one too!
Preparing the Cookie Dough
First things first, let’s make that delicious cookie dough. In a big bowl, beat together your softened butter and sugar until it’s all light and fluffy – think pale yellow and airy! Then, gently mix in the egg yolk and that teaspoon of vanilla extract. In another bowl, give your flour and salt a quick whisk just to combine them. Now, here’s the key: add the dry stuff to the wet stuff a little at a time, mixing until it just comes together. Don’t overdo it! Overmixing means tough cookies, and we definitely don’t want that for our Thumbprint Jam Cookies.
Chilling and Shaping the Dough
Once your dough is all mixed, it’s time for a little nap in the fridge. Wrap that dough ball up and pop it in for about 30 minutes. This step is super important because it makes the dough easier to handle and stops the Thumbprint Jam Cookies from spreading too much while baking. After chilling, preheat your oven to 350°F (175°C). Now, roll your dough into little balls, about an inch wide, and place them on your baking sheet. Then, take your thumb (clean it off first!) and make a nice little indentation right in the center of each ball. Easy peasy!
Filling and Baking Your Thumbprint Jam Cookies
Now for the fun part – filling those little wells! Spoon about half a teaspoon of your chosen jam into each thumbprint. Try not to overfill, or it might bubble out during baking. Pop those beauties into your preheated oven and bake for about 12 to 15 minutes. You’re looking for the edges to be just lightly golden. They’ll still look a little soft in the middle, but that’s okay! They firm up as they cool, like most good Christmas cookies.
Cooling and Finishing Touches
Once they’re out of the oven, let the Thumbprint Jam Cookies hang out on the baking sheet for a few minutes to set up a bit. They’re so delicate right out of the oven! Then, carefully transfer them to a wire rack to cool completely. Once they’re totally cool, and *only* when they’re cool, you can give them an extra festive touch. A light dusting of powdered sugar right before serving makes them look extra-special for any holiday table.
Tips for the Best Thumbprint Jam Cookies
Okay, so you’ve made these lovely Thumbprint Jam Cookies, and they’re good, but maybe we can make them *great*! That’s where a few little tricks come in handy. First off, don’t skip chilling that dough – trust me, it’s a game-changer for shape. If your jam (especially thinner ones) tends to ooze out, try mixing in a little cornstarch or flour into the jam before spooning it in, or just use a thicker jam from the get-go. And if your cookies seem to be spreading a bit too much, make sure your butter wasn’t too soft and that your oven is at the right temperature. You can always test bake one cookie to see how it behaves before committing the whole batch. Want to know more about how we bake here? Check out our about page!
Ingredient Notes and Substitutions for Jam
Let’s chat a little more about the ingredients, especially that jam! The beauty of these Thumbprint Jam Cookies is how customizable they are. My personal faves are raspberry or apricot because their tartness cuts through the buttery cookie so nicely. But honestly, strawberry, blackberry, cherry – they all work wonderfully! The most important thing is the jam’s consistency. You want something fairly thick, not too runny, or it’ll just leak out before it bakes into that perfect little jewel. If you happen to have a super-thin jam, you can always thicken it up by stirring in a teaspoon of cornstarch or a little bit of flour and letting it sit for a few minutes. For anyone needing to avoid gluten, just a simple swap to your favorite gluten-free flour blend for the dough will do the trick, and you’re good to go!
Serving Suggestions for Holiday Treats
These adorable Thumbprint Jam Cookies are just perfect for so many occasions, especially during the holidays! They look so elegant on a dessert platter alongside other dessert recipes. Imagine them at your Christmas cookie exchange, scattered among gingerbread houses, or just as a sweet little treat with your afternoon tea. They’re also fantastic for a cookie tin gift – everyone loves a homemade cookie! Honestly, anytime you want a pop of color and a burst of fruity, buttery goodness, these are the cookies to make.
Storage and Reheating Instructions
Got leftover Thumbprint Jam Cookies? Lucky you! Store them in an airtight container at room temperature for up to 4 days. I like to put a piece of wax paper between layers if I’m stacking them. They usually stay pretty fresh thanks to that jammy center!
Want to give them a little refresh? You can gently warm them up in a low oven (around 300°F or 150°C) for just a few minutes. They come out tasting almost as good as when they were first baked!
Frequently Asked Questions About Thumbprint Jam Cookies
Got questions about these delightful Thumbprint Jam Cookies? I’ve got answers! Baking should be fun, not frustrating. You can always reach out via my contact page if you have more!
Can I use different types of jam in these cookies?
Oh, absolutely! The fun part is experimenting. Just try to stick with jams that aren’t super runny, so they bake up nicely into that little jewel center. About any flavor you love will work!
How do I prevent the jam from leaking out?
A little trick that really helps is to make sure your thumbprint indentation is deep enough, and don’t overfill it! Also, making sure the dough is well-chilled before baking helps these decorated cookies keep their shape beautifully.
Can these Thumbprint Jam Cookies be made ahead of time?
Yes! These Christmas cookies are perfect for making ahead. You can also bake them and store them in an airtight container for a few days. They’re delicious anytime!
Estimated Nutritional Information
Just so you know, here’s a little peek at what’s in these yummy Thumbprint Jam Cookies! Remember, these are just estimates per cookie, and your actual numbers might change a bit depending on exactly what ingredients you use. Each cookie usually has around 120 calories, with about 7g of fat and 13g of carbs. They’ve got roughly 8g of sugar, so they’re a nice sweet treat!
Share Your Holiday Treats!
I just love hearing from you! Have you made these Thumbprint Jam Cookies yet? What’s your go-to jam flavor? Let me know in the comments below! I’d also love to hear how they turned out for you or if you have any fun new twists on them. Your feedback means the world! You can also check out our terms!
Print
Thumbprint Jam Cookies
- Total Time: 35 min
- Yield: 24 cookies 1x
- Diet: Vegetarian
Description
Classic thumbprint cookies filled with your favorite jam, perfect for holidays.
Ingredients
- 1 cup unsalted butter, softened
- 1/2 cup granulated sugar
- 1 large egg yolk
- 1 teaspoon vanilla extract
- 2 cups all-purpose flour
- 1/4 teaspoon salt
- 1/2 cup jam (any flavor)
Instructions
- Cream together butter and sugar until light and fluffy.
- Beat in egg yolk and vanilla extract.
- In a separate bowl, whisk together flour and salt.
- Gradually add dry ingredients to wet ingredients, mixing until just combined.
- Chill dough for 30 minutes.
- Preheat oven to 350°F (175°C).
- Roll dough into 1-inch balls and place on a baking sheet.
- Make an indentation in the center of each ball with your thumb.
- Fill the indentation with jam.
- Bake for 12-15 minutes, or until edges are lightly golden.
- Let cool on baking sheet for a few minutes before transferring to a wire rack to cool completely.
Notes
- For a decorative touch, you can sprinkle the cookies with powdered sugar after they cool.
- Ensure the jam is not too runny, or it may spill out during baking.
- Prep Time: 20 min
- Cook Time: 15 min
- Category: Dessert
- Method: Baking
- Cuisine: American
Nutrition
- Serving Size: 1 cookie
- Calories: 120
- Sugar: 8g
- Sodium: 20mg
- Fat: 7g
- Saturated Fat: 4g
- Unsaturated Fat: 3g
- Trans Fat: 0g
- Carbohydrates: 13g
- Fiber: 0g
- Protein: 1g
- Cholesterol: 20mg


