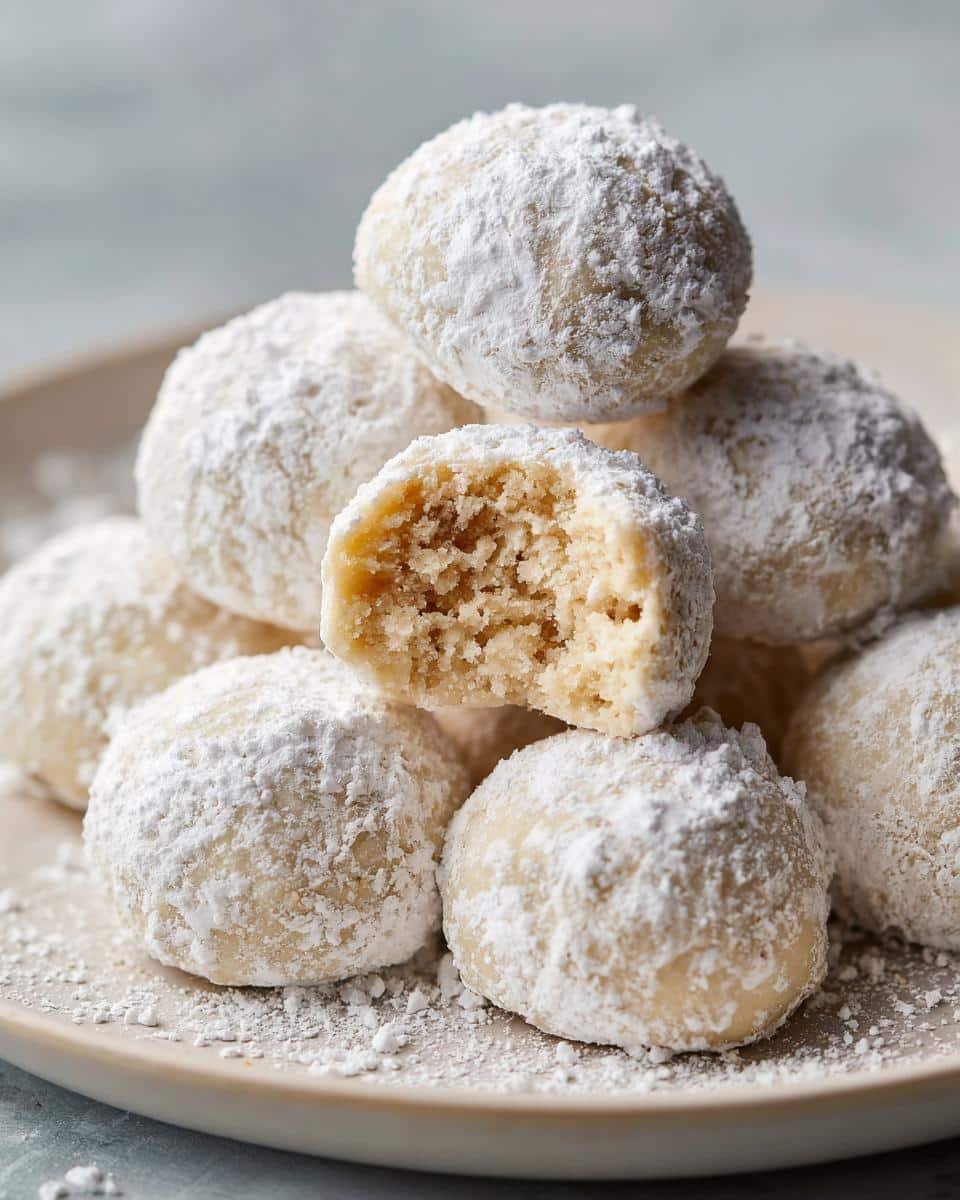
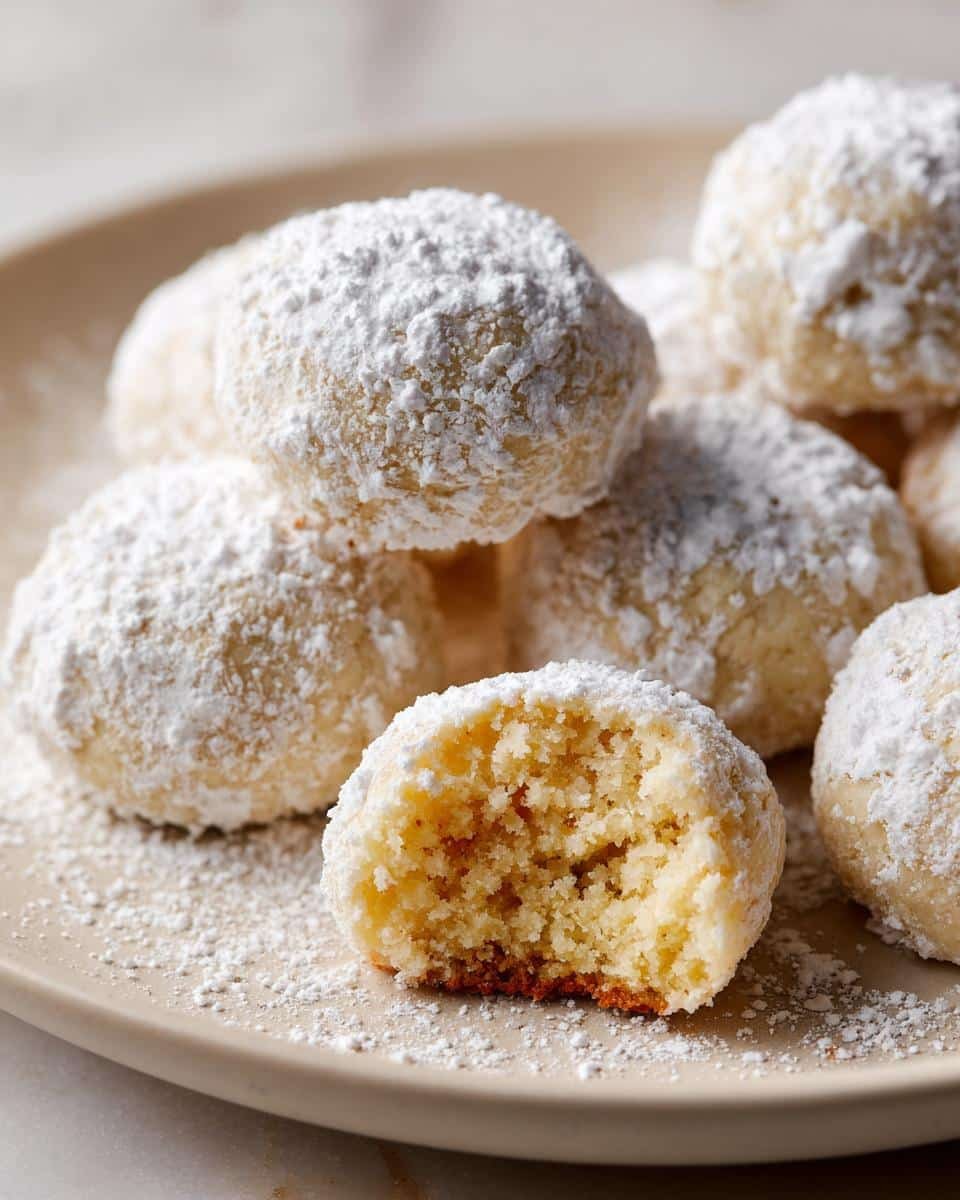
Oh, the holidays! The smell of pine needles, twinkling lights, and the absolute *best* part – the baking! For me, there’s one cookie that just screams Christmas morning, cozy evenings by the fire, and all those happy family gatherings. Yep, I’m talking about classic Snowball Cookies. They’re just so simple and utterly delightful, aren’t they? That buttery, melt-in-your-mouth texture with all that snowy powdered sugar… it’s pure magic! I remember my Grandma would have them ready on a little ceramic tree stand every year, and they were always the first to disappear. Seriously, these little guys are a holiday tradition I look forward to all year long, and I’m so excited to share my favorite way to make them with you.
Why You’ll Love These Snowball Cookies
Honestly, these little cookies are just a holiday baking dream! They’re:
- So Easy to Whip Up: You really won’t believe how quick these come together, especially when you have a million other things to do during the holidays!
- Melt-in-Your-Mouth Heavenly: That buttery, crumbly texture is just seriously delightful. They practically disappear the second they hit your tongue!
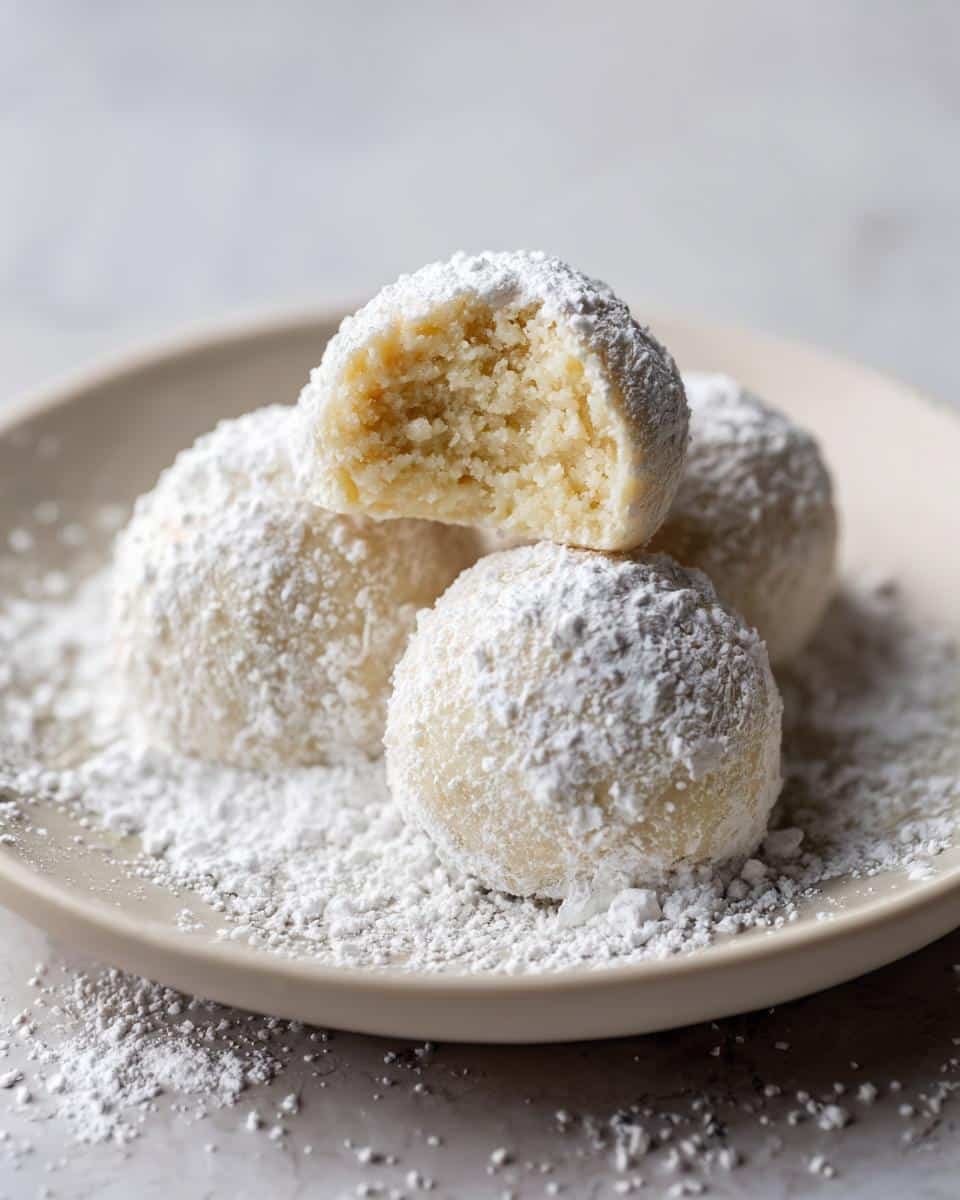
- Just the Right Sweetness: The snowy coat of powdered sugar gives them that perfect finishing touch – sweet, but not too much.
- Quintessential Holiday Cheer: They look so pretty on a plate, making them ideal for gift boxes or just adding a little sparkle to your dessert table.
- Totally Adaptable: If nuts aren’t your thing, or you need to avoid them, just leave them out! They’re still absolutely scrumptious.
Essential Ingredients for Perfect Snowball Cookies
Okay, so the heart of these Snowball Cookies is really in the quality of your ingredients. It sounds simple, but trust me, it makes a difference! You’ll need:
1 cup unsalted butter, softened: This is key for that lovely, tender texture. Make sure it’s softened, not melted! I usually pull mine out of the fridge about an hour before I start mixing. It should give a little when you press it, but not be greasy.
1/2 cup powdered sugar: For sweetening the cookie dough itself. Make sure it’s powdered sugar, not granulated, to keep that smooth texture.
1 teaspoon vanilla extract: A little splash of vanilla goodness to make everything taste that much better.
2 1/4 cups all-purpose flour: Your standard baking flour will work perfectly here.
1/4 teaspoon salt: Just a pinch to balance out all that sweetness.
1 cup chopped pecans or walnuts (optional): If you love a little crunch, nuts are totally your friend here. Or, skip them if you’re not a fan or need to avoid them!
1 cup powdered sugar, for coating: This is the snow! You’ll use this at the very end to give them their signature look.
Expert Tips for Making Snowball Cookies
You know, even though these Snowball Cookies seem super simple, there are a few little tricks that really make them sing. I’ve learned a thing or two over the years, and I want to share them so yours turn out just perfect! For more easy baking ideas, be sure to check out all my easy recipes.
First off, that dough consistency is key. If it feels too sticky to roll, don’t be alarmed! Just pop the whole bowl in the fridge for about 15-20 minutes. It makes the dough much easier to handle and less likely to spread too much in the oven. When you’re rolling them, make sure they’re all about those 1-inch balls. Consistency is your friend here for even baking.
Speaking of baking, keep an eye on that temperature! My oven can be a little finicky, so I always trust my nose and the *slightest* hint of golden edges, rather than a strict timer. You don’t want them to get too brown; they’re supposed to look like little snowballs, remember? And for that gorgeous powdered sugar coating? Make sure the cookies are *completely* cool before you roll them. If they’re even a little warm, the sugar will melt right off and get all gooey. Trust me on this one!
Step-by-Step Guide to Baking Snowball Cookies
Alright, let’s get baking these delightful Snowball Cookies! It’s a pretty straightforward process, but following these steps will make sure you get that perfect, melt-in-your-mouth texture every single time. Ready? Let’s do this!
- Get that Oven Ready: First things first, preheat your oven to 350°F (that’s 175°C). While it’s heating up, grab a baking sheet – you don’t even need to grease it!
- Cream it Good: In a medium-sized bowl, take your softened butter and that first half cup of powdered sugar. Beat them together until they’re nice and fluffy. It should look light and creamy, almost like pale yellow whipped cream. This is where you build that tender base!
- Add the Vanilla: Pour in that teaspoon of vanilla extract and give it a quick mix. It just smells like holidays already, doesn’t it?
- Dry Ingredients Duo: In a separate, smaller bowl, whisk together your all-purpose flour and salt. Just a quick whisk to make sure they’re nicely combined.
- Combine Wet and Dry: Now, gradually add the flour mixture to your butter and sugar. Mix it all up until it just comes together. I always say ‘just combined’ because you don’t want to overwork the dough, or your cookies might get a little tough. So, mix until you don’t see any dry streaks of flour anymore.
- Nuts? Or No Nuts?: If you decided you want those yummy nuts in your cookies, this is the time to stir them in. Easy peasy.
- Shape the Snowballs: Time to get your hands a little messy (or use a cookie scoop for less mess!). Roll the dough into 1-inch balls. Try to make them all roughly the same size so they bake evenly. Pop these little dough balls onto your ungreased baking sheet.
- Bake ’em Up: Pop that sheet into your preheated oven. Bake for about 10 to 12 minutes. You’re looking for the edges to be *just* lightly golden. Seriously, just a whisper of color – we want them snowy white, not golden brown!
- Cool Down Time: Once they’re out, let them hang out on the baking sheet for about 5 minutes. This helps them firm up a bit before you move them. Then, carefully transfer them to a wire rack to cool completely. This part is super important!
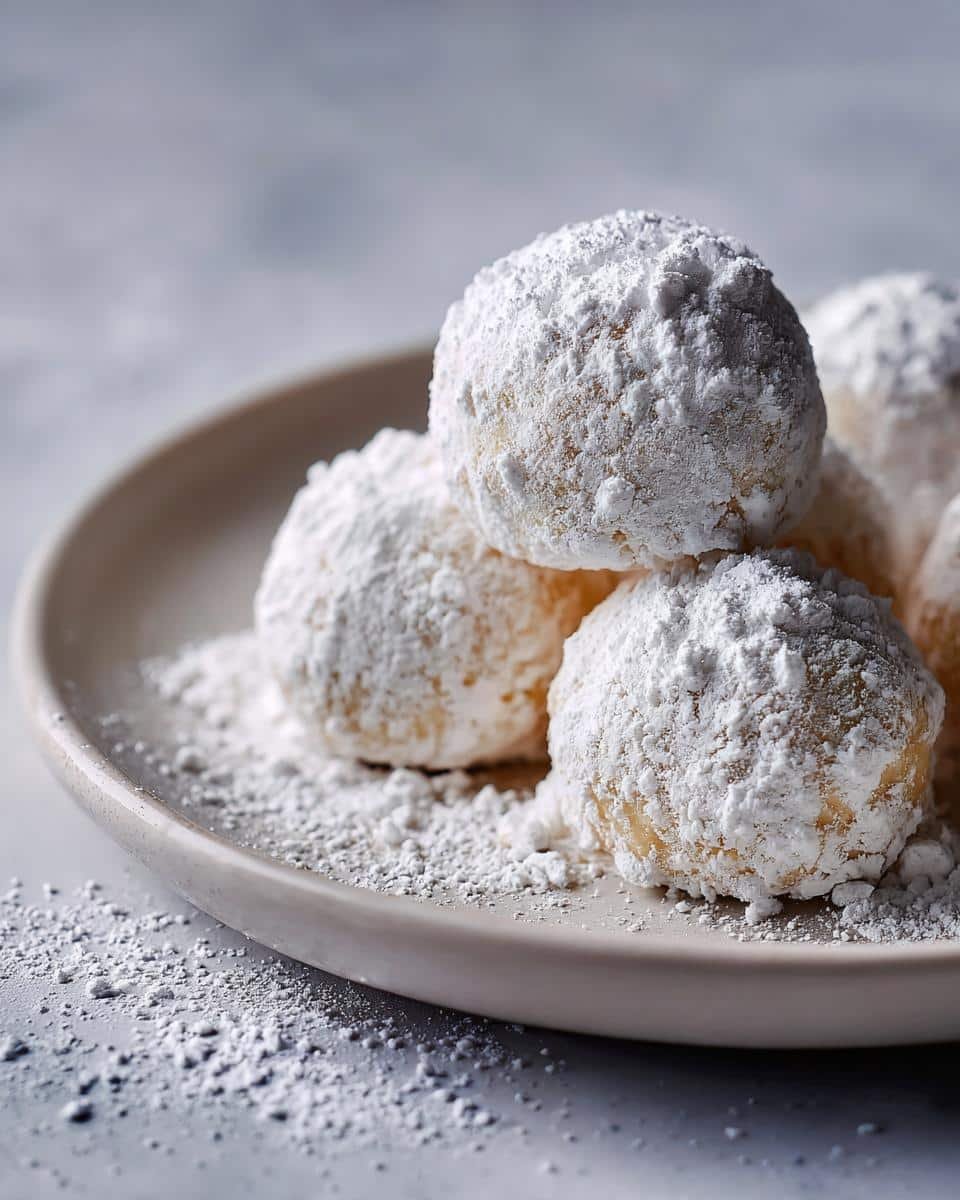
- The Snowy Finish: Once your cookies are totally, completely cool (I can’t stress this enough!), pour that last cup of powdered sugar into a shallow bowl. Roll each cookie around in the sugar until it’s nicely coated all over, like a beautiful little snowball. Give them a little shake to get rid of excess sugar. Ta-da!
Ingredient Notes and Substitutions for Snowball Cookies
You know, the beauty of these Snowball Cookies is how wonderfully simple they are, but let’s chat about a couple of things just to make sure they turn out PERFECTLY for you.
The butter is really the star here, giving them that signature crumbly, melt-in-your-mouth texture that’s way better than any margarine could ever dream of being! Make sure it’s truly softened – think room temperature, where it gives a little when you press it. If it’s too cold, your cookies might be tough, and if it’s melted, well, they’ll spread out into a sad, flat mess. Totally worth the extra few minutes to let it sit out!
And for the nuts! Pecans and walnuts give such a lovely little crunch and flavor boost. But if nuts are a no-go in your house, whether for taste or allergies, you can absolutely skip them! They’re still incredibly delicious as plain butter cookies. Honestly, I sometimes make a batch with nuts and a batch without, just so everyone can enjoy them. Another fun option is to add a tiny bit of almond extract along with the vanilla if you’re keeping them nut-free, just for a different kind of flavor!
Serving and Storing Your Holiday Treats
These delightful Snowball Cookies are just perfect for absolutely any holiday occasion! They look so pretty on a Christmas cookie plate, but they’re also fantastic for little thank-you gifts or just an afternoon pick-me-up with a cup of tea or coffee. Honestly, they’re so good, you might need to set some aside specifically for yourself before they all disappear! For more amazing dessert ideas, be sure to check out all my dessert recipes.
Now, for storing them, it’s super simple. Once they’re completely cool and rolled in all that snowy powdered sugar, just pop them into an airtight container. They do best at room temperature. Because of all that buttery goodness and the powdered sugar coating, they’ll stay wonderfully fresh for at least 4-5 days. If you want to make them even further ahead, that’s totally fine! Just store them in the container and they’ll be ready when you are. They don’t really need reheating, as they’re best enjoyed at room temp!
Frequently Asked Questions about Snowball Cookies
Can I make Snowball Cookies ahead of time?
Oh yes, absolutely! These Snowball Cookies are actually fantastic for making ahead. Because they’re so buttery and coated in powdered sugar, they keep really well. I usually make a big batch a week or so before the holidays and store them in an airtight container at room temperature. They’re perfect for when you need a quick, delicious treat for unexpected guests or just a sweet craving!
Why are my Snowball Cookies spreading too much?
That’s a common little baking mystery! Usually, if your Snowball Cookies are spreading too much, it’s because the butter was too soft or even melted when you started. Make sure your butter is just softened – it should give a little when you press it but isn’t greasy. Also, chilling the dough for about 15-20 minutes before rolling can really help prevent sad, flat cookies. It makes the dough firmer and less likely to spread out.
How should I store Snowball Cookies to keep them fresh?
Storing these little gems couldn’t be easier! Just make sure they’re totally cool, then gently roll them in that final coating of powdered sugar. Pop them into an airtight container, and they’ll be wonderfully fresh at room temperature for at least 4-5 days. Sometimes longer, if they last that long!
Can I decorate Snowball Cookies further?
You totally can! While I love them just as they are with their snowy sugar coating, Snowball Cookies make a great base for a little extra fanciness. You could drizzle them with a little melted chocolate (dark or white chocolate would be lovely!) once they’re coated in sugar. Or, if you’re feeling extra festive and want truly decorated cookies, you could add a tiny berry or a sprinkle of edible glitter before the sugar fully sets. They’re quite versatile!
Estimated Nutritional Information
Just a heads-up, the nutritional info for these yummy Snowball Cookies is an estimate, you know, because everyone’s butter and flour might be a little different! But generally, one cookie (yes, just one!) has about 100 calories, around 6g of fat, and 11g of carbs. It’s a pretty good estimate for a delightful holiday treat like this!
Print
Snowball Cookies
- Total Time: 32 min
- Yield: 3 dozen 1x
- Diet: Vegetarian
Description
A classic buttery cookie coated in powdered sugar, perfect for holidays.
Ingredients
- 1 cup unsalted butter, softened
- 1/2 cup powdered sugar
- 1 teaspoon vanilla extract
- 2 1/4 cups all-purpose flour
- 1/4 teaspoon salt
- 1 cup chopped pecans or walnuts (optional)
- 1 cup powdered sugar, for coating
Instructions
- Cream together the softened butter and 1/2 cup powdered sugar until light and fluffy.
- Beat in the vanilla extract.
- In a separate bowl, whisk together the flour and salt.
- Gradually add the dry ingredients to the wet ingredients, mixing until just combined.
- If using, stir in the chopped nuts.
- Shape the dough into 1-inch balls and place them on an ungreased baking sheet.
- Bake at 350°F (175°C) for 10-12 minutes, or until the edges are lightly golden.
- Let the cookies cool on the baking sheet for 5 minutes before transferring them to a wire rack to cool completely.
- Once cooled, roll the cookies in the remaining 1 cup of powdered sugar until well coated.
Notes
- For a smoother coating, you can sift the powdered sugar.
- Store in an airtight container at room temperature.
- Prep Time: 20 min
- Cook Time: 12 min
- Category: Dessert
- Method: Baking
- Cuisine: American
Nutrition
- Serving Size: 1 cookie
- Calories: 100
- Sugar: 7g
- Sodium: 15mg
- Fat: 6g
- Saturated Fat: 3g
- Unsaturated Fat: 3g
- Trans Fat: 0g
- Carbohydrates: 11g
- Fiber: 0g
- Protein: 1g
- Cholesterol: 15mg

