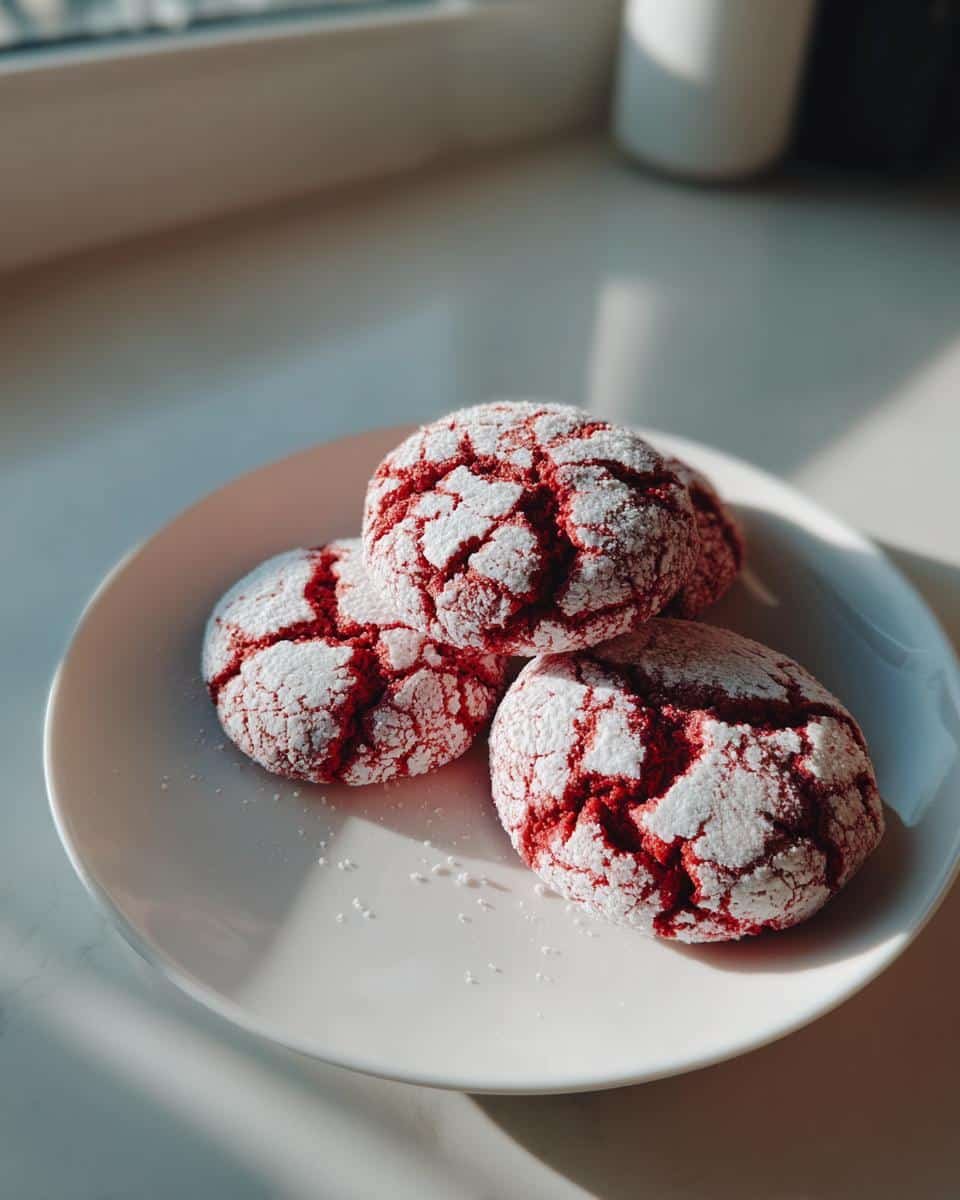
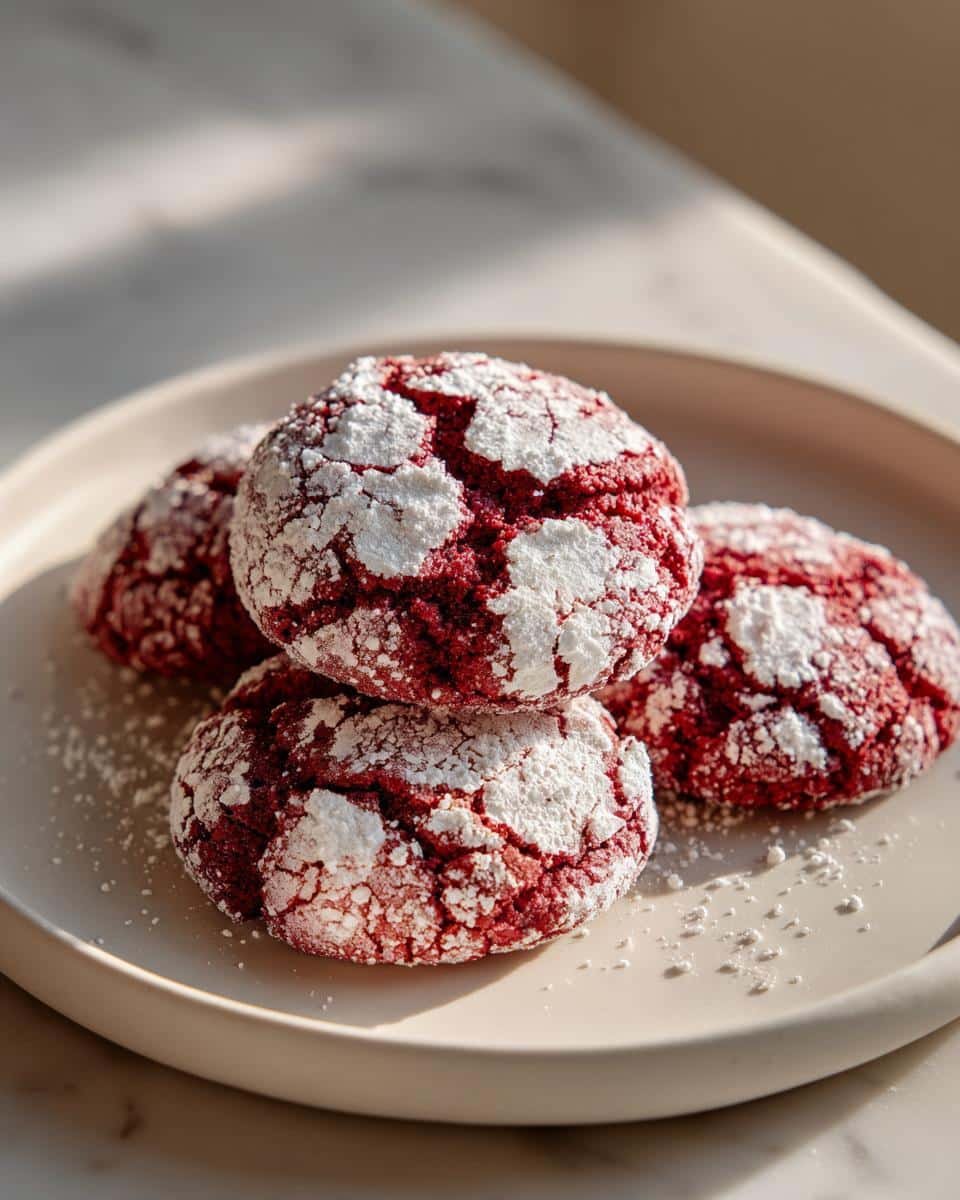
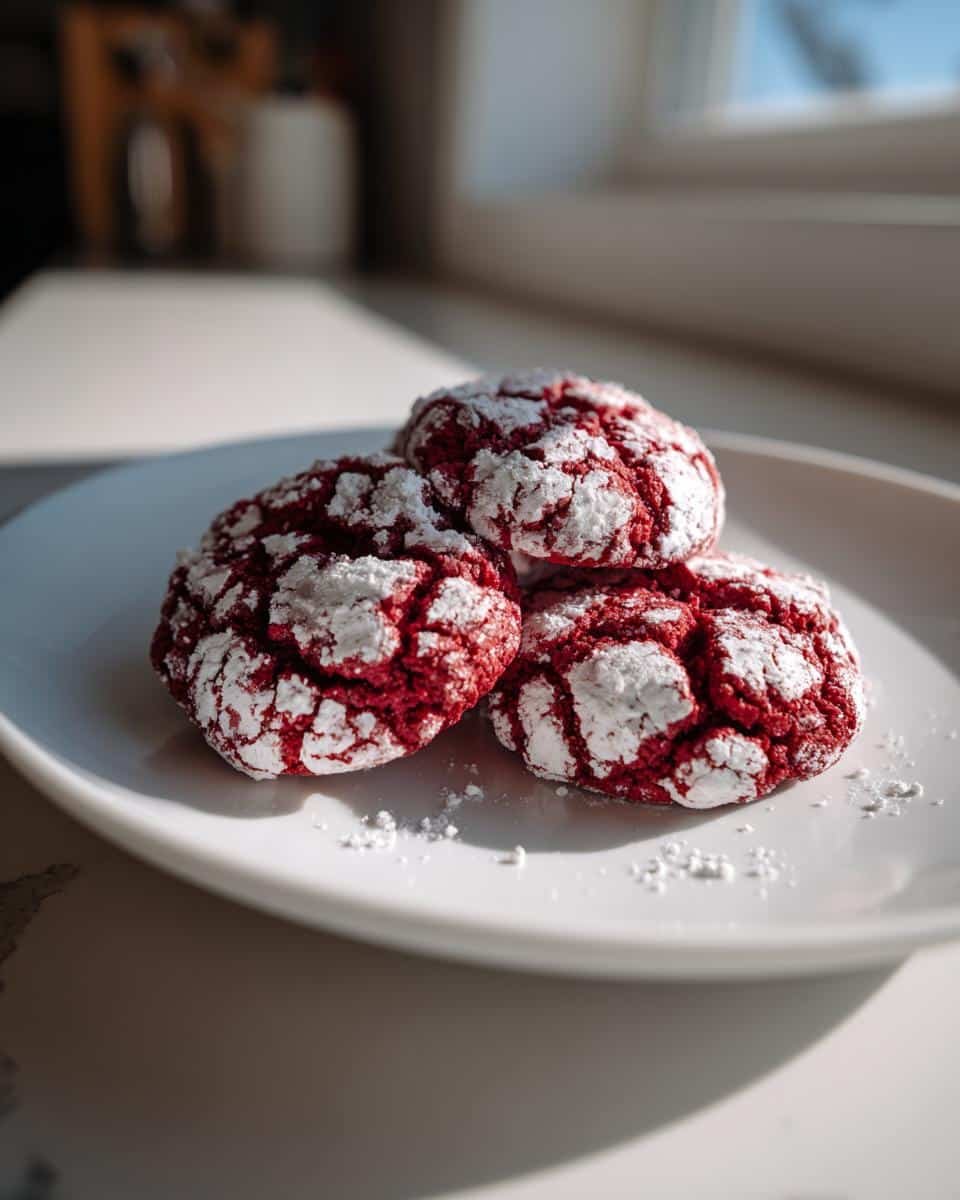
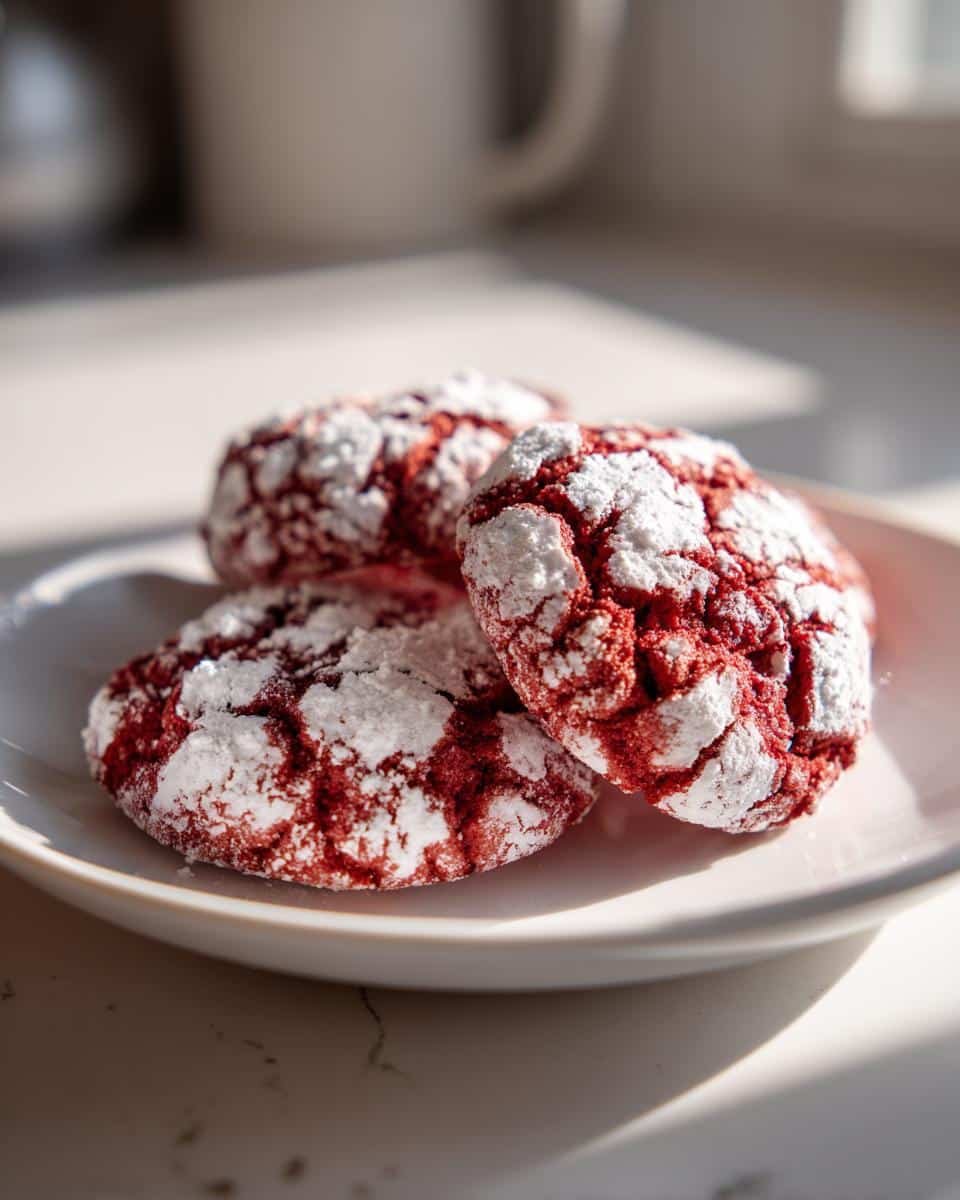
If there’s one cookie that screams ‘festive magic’ louder than most, it’s gotta be the Red Velvet Crinkle Cookies! Seriously, just looking at these beauties dusted in snowy white powdered sugar makes me feel like I’m right back at Christmas morning, even if it’s the middle of summer. The way they crackle and crinkle up is just SO satisfying, and that chewy, chocolatey red velvet inside? Pure perfection! I remember making a HUGE batch of these for my neighbor’s holiday party a few years back, and they vanished in minutes. Trust me, these aren’t just cookies; they’re little bundles of holiday cheer.
Why You’ll Love These Red Velvet Crinkle Cookies
Okay, so why are these Red Velvet Crinkle Cookies an absolute must-make, especially when the holidays roll around? Well, let me tell you!
- They’re SO easy! Seriously, even if you’re not a seasoned baker, you can totally nail these. The dough comes together pretty quickly, and the rolling part is fun!
- Hello, festive vibes! That bright red color, all dusted with powdered sugar? They just scream ‘holiday cheer’ and look absolutely stunning on any Christmas cookie platter. They’re perfect little holiday treats.
- The taste is out of this world! You get that classic red velvet flavor with a hint of chocolate, plus that irresistible chewy texture. They’re just pure deliciousness.
- Everyone loves them! Whether it’s for a cookie exchange, a family gathering, or just because, these Red Velvet Crinkle Cookies are always a huge hit.
Ingredients for Perfect Red Velvet Crinkle Cookies
Alright, let’s get down to the good stuff – what you’ll need to make these dazzling Red Velvet Crinkle Cookies! Don’t worry, it’s all pretty standard baking stuff, but the little details really make a difference.
- 2 1/4 cups all-purpose flour: Just your regular flour, nothing fancy needed here.
- 1 teaspoon baking soda: This is what helps them puff up just a tiny bit!
- 1/2 teaspoon salt: Balances out all that sweetness.
- 1/2 cup (1 stick) unsalted butter, softened: Make sure it’s truly softened, not melted. It should give a little when you poke it.
- 1 1/2 cups granulated sugar: For that lovely sweetness and structure.
- 2 large eggs: Room temperature is best if you remember, but don’t stress if they’re not!
- 1 teaspoon vanilla extract: The little bit of magic that makes everything taste better.
- 1 ounce unsweetened chocolate, melted: Just a touch for that classic red velvet depth. Melt it gently, maybe in the microwave in 30-second bursts, stirring in between.
- 1 tablespoon red food coloring: This is key for that vibrant color! You can use liquid or gel; gel will give you a really intense red.
- 1/2 cup buttermilk: This adds a lovely tang and moisture. If you don’t have buttermilk, just put a tablespoon of white vinegar or lemon juice in a measuring cup and fill it up to the half-cup line with milk. Let it sit for a few minutes.
- 1 cup powdered sugar: This is for rolling the dough balls in for that signature crinkle effect. You’ll want plenty!
Tips for Success with Red Velvet Crinkle Cookies
Okay, so you’ve got your ingredients ready? Awesome! Now, let’s chat about a few little things that will make your Red Velvet Crinkle Cookies absolutely *perfect*. These aren’t super complicated, but they really do make a difference.
First things first, chilling that dough is non-negotiable. Trust me on this one! If you try to roll warm dough, it’ll just be a sticky mess, and you won’t get those gorgeous crinkles. Pop it in the fridge for at least an hour, maybe even a bit longer if your kitchen is super warm. This also makes handling the dough so much easier.
When you’re rolling them in powdered sugar? Don’t be shy! Really give them a good, thick coating. That powdered sugar is what creates those beautiful cracks as the cookie bakes. I like to roll mine twice sometimes – once before baking and then a quick roll again right as they come out of the oven when they’re still hot. It makes them look extra snowy!
Don’t overbake them! Seriously, this is a biggie. You want the edges to look set, but the centers should still feel a little soft. They’ll continue to bake on the hot cookie sheet for a few minutes after you pull them out, and that’s how you get that perfectly chewy texture. Overbaked crinkle cookies turn into little hockey pucks, and nobody wants that! If you happen to bake them a tiny bit too long, don’t worry, they’ll still be tasty. Want more easy recipes? Check out more tips on the blog!
How to Make Red Velvet Crinkle Cookies: Step-by-Step
Alright, apron on? Oven preheating? Let’s get these festive Red Velvet Crinkle Cookies into your kitchen, stat! This is where all the magic happens, and trust me, it’s easier than it looks.
Preparing the Cookie Dough
First things first, let’s get our flavors mingling. Grab a medium bowl and whisk together the flour, baking soda, and salt. Just give ’em a good whisk so everything’s nicely combined. Now, in a bigger bowl, cream together your softened butter and granulated sugar. Beat this until it’s nice and light and fluffy – think creamy clouds! Then, we’ll beat in the eggs, one at a time, making sure each one is mixed in before adding the next. Don’t forget the vanilla extract; it’s like the little hug that makes all the flavors sing. In a tiny separate bowl, mix that melted unsweetened chocolate with the red food coloring until it’s a smooth, vibrant red. Now, add that gorgeous red chocolate mixture into your creamed butter and sugar, and mix it all up until it’s looking super rich. Time to bring it all together! Gradually add your dry ingredients to the wet, alternating with the buttermilk. Start and end with the dry stuff. Just mix until it’s *just* combined. Seriously, don’t overmix this part!
Chilling and Shaping the Dough
Okay, so your dough is mixed, but it’s probably a little soft right now. This is where the chilling comes in! Cover that bowl tightly and pop it in the fridge for at least an hour. This is so important, guys. It firms up the dough, making it way easier to handle and crucial for getting those signature crinkles. Once it’s nice and chilled, preheat your oven to 350°F (175°C) and line a couple of baking sheets with parchment paper. Get a shallow bowl and pour in your cup of powdered sugar. Now, take spoonfuls of the chilled dough (about a rounded tablespoon size works great) and roll them into nice, smooth balls. Then, take each ball and roll it generously in the powdered sugar. You want a really good, thick coating – don’t be shy! Place these sugar-coated dough balls about 2 inches apart on your prepared baking sheets. They need a little room to spread their wings, so to speak!
Baking and Cooling Your Red Velvet Cookies
Into the hot oven they go! Bake these beauties for about 10 to 12 minutes. You’re looking for the edges to be set, but the centers should still look a little soft and maybe even a tiny bit underbaked. That’s exactly what you want for that chewy texture! If you bake them until they’re golden brown all over, they’re going to be too crispy. Keep an eye on them; ovens can be tricky sometimes. Once they’re out, let them hang out on the baking sheets for just a few minutes to firm up a bit. Then, carefully transfer them to a wire rack to cool completely. If you want them to look extra snowy and have even more crinkles, you can give them another quick roll in powdered sugar while they’re still warm!
For more amazing dessert recipesperfect for any occasion, be sure to browse the site!
Frequently Asked Questions about Red Velvet Crinkle Cookies
Got some lingering questions about these gorgeous cookies? I totally get it! Baking is sometimes about the little details. Here are a few things folks often ask about making the best Red Velvet Crinkle Cookies ever.
Why aren’t my Red Velvet Crinkle Cookies crinkling?
Oh, the crinkle struggle is real sometimes! Usually, it comes down to the dough not being cold enough. If the dough is too warm when you roll it in powdered sugar, it won’t crack as much. Make sure your dough is well-chilled, and don’t be shy with the powdered sugar coating – a nice thick layer is key! Also, don’t overbake them; a slightly underbaked center will help with the crinkle effect.
Can I make these cookies for Christmas?
Absolutely! These are practically made for Christmas! Their vibrant red color and snowy powdered sugar coating make them the ultimate Christmas cookies. They look so festive on a holiday cookie platter and are perfect for any Christmas treat exchange. They’re one of my go-to holiday treats!
How do I get the red color really vibrant?
For that super intense, wow-factor red, I highly recommend using gel food coloring instead of the liquid kind. A little bit of gel goes a long way and gives you a much richer color without adding extra liquid to your dough. If you’re worried about taste, don’t be! You can use a good quality red velvet extract or even a bit of unsweetened cocoa powder to deepen the flavor alongside the coloring.
My cookies turned out too cakey, not chewy. What did I do wrong?
That’s usually a sign of overbaking! Red Velvet Crinkle Cookies are meant to be a little fudgy and chewy in the center. You want to pull them out of the oven when the edges look set but the middle still seems a bit soft. They’ll continue to bake a little on the hot cookie sheet after you take them out. Also, make sure you’re not overmixing the dough once the flour is added, as that can develop too much gluten and make them cakey.
Still have questions? Feel free to reach out anytime via my contact page!
Nutritional Information
Just a heads-up, the nutritional info below is an estimate, as things like specific brands and exact measurements can vary a bit! These figures are calculated per cookie when making about 24.
- Serving Size: 1 cookie
- Calories: 180
- Fat: 9g
- Carbohydrates: 25g
- Protein: 2g
Share Your Red Velvet Creations!
Oh, I just can’t WAIT to see your gorgeous Red Velvet Crinkle Cookies! Seriously, snap a pic and tag me on social media, or better yet, leave a comment below telling me how they turned out. I love hearing about your baking adventures – did they crinkle perfectly? Did the kids gobble them up? Your feedback helps me, and it inspires other bakers, too! You can also check out my About page to learn more about my baking journey. Happy Baking!
Print
Red Velvet Crinkle Cookies
- Total Time: 1 hr 32 min
- Yield: 24 cookies 1x
- Diet: Vegetarian
Description
Chewy red velvet cookies rolled in powdered sugar for a festive crinkle effect. Perfect for holidays.
Ingredients
- 2 1/4 cups all-purpose flour
- 1 teaspoon baking soda
- 1/2 teaspoon salt
- 1/2 cup (1 stick) unsalted butter, softened
- 1 1/2 cups granulated sugar
- 2 large eggs
- 1 teaspoon vanilla extract
- 1 ounce unsweetened chocolate, melted
- 1 tablespoon red food coloring
- 1/2 cup buttermilk
- 1 cup powdered sugar (for rolling)
Instructions
- Whisk together flour, baking soda, and salt in a medium bowl.
- In a large bowl, cream together softened butter and granulated sugar until light and fluffy.
- Beat in eggs one at a time, then stir in vanilla extract.
- In a small bowl, combine melted unsweetened chocolate and red food coloring. Stir until smooth.
- Add the chocolate-food coloring mixture to the butter mixture and mix well.
- Gradually add the dry ingredients to the wet ingredients alternately with the buttermilk, beginning and ending with the dry ingredients. Mix until just combined.
- Cover the dough and chill for at least 1 hour.
- Preheat your oven to 350°F (175°C). Line baking sheets with parchment paper.
- Place powdered sugar in a shallow bowl.
- Roll rounded tablespoons of chilled dough into balls.
- Roll each ball generously in powdered sugar, ensuring it’s fully coated.
- Place the coated balls about 2 inches apart on the prepared baking sheets.
- Bake for 10-12 minutes, or until the edges are set but the centers are still slightly soft.
- Let the cookies cool on the baking sheets for a few minutes before transferring them to a wire rack to cool completely.
Notes
- For a deeper red color, you can use gel food coloring.
- Ensure the dough is well chilled for easier handling and better crinkle.
- Do not overbake the cookies; they should be slightly soft in the center for the best texture.
- Prep Time: 20 min
- Cook Time: 12 min
- Category: Dessert
- Method: Baking
- Cuisine: American
Nutrition
- Serving Size: 1 cookie
- Calories: 180
- Sugar: 20g
- Sodium: 80mg
- Fat: 9g
- Saturated Fat: 5g
- Unsaturated Fat: 4g
- Trans Fat: 0g
- Carbohydrates: 25g
- Fiber: 1g
- Protein: 2g
- Cholesterol: 30mg


