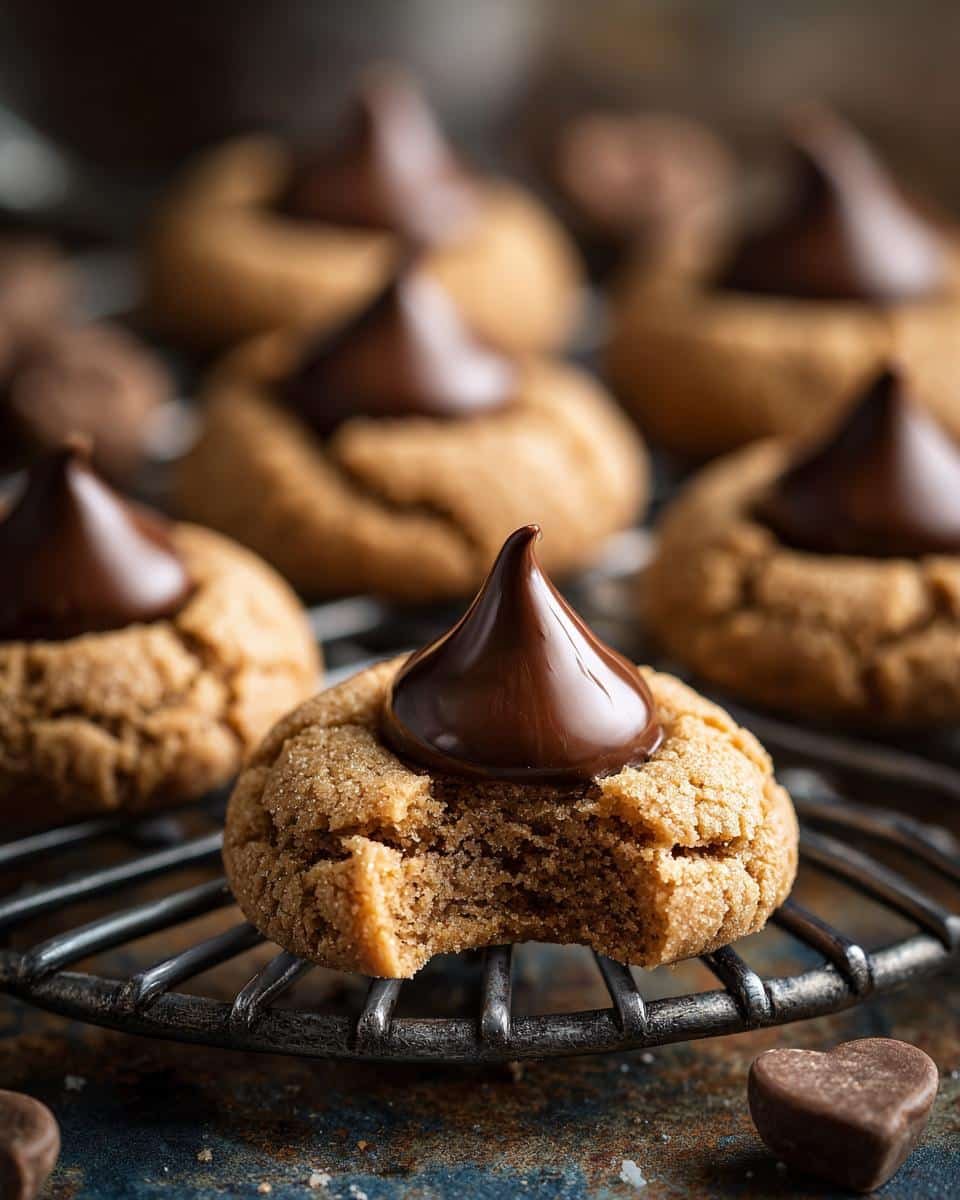
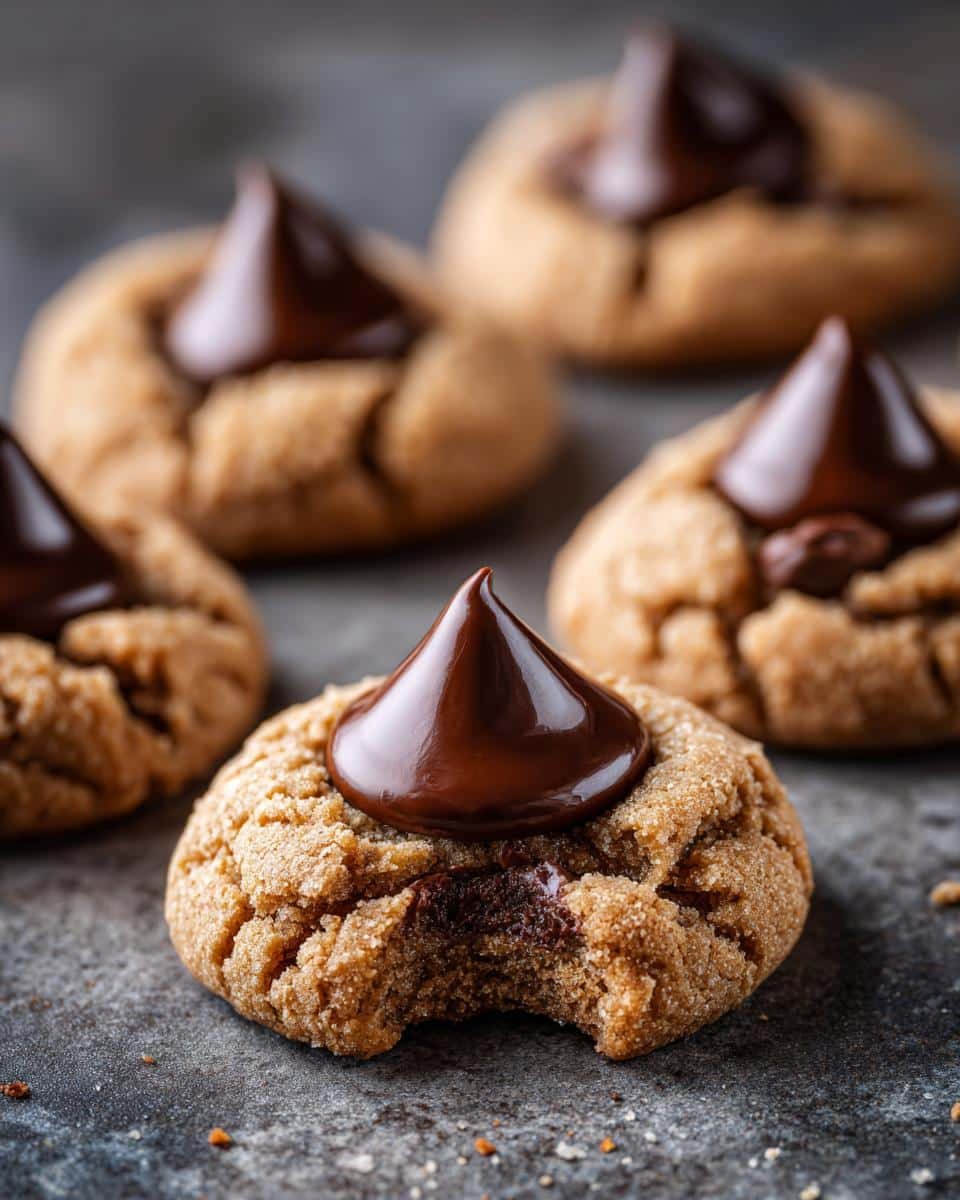
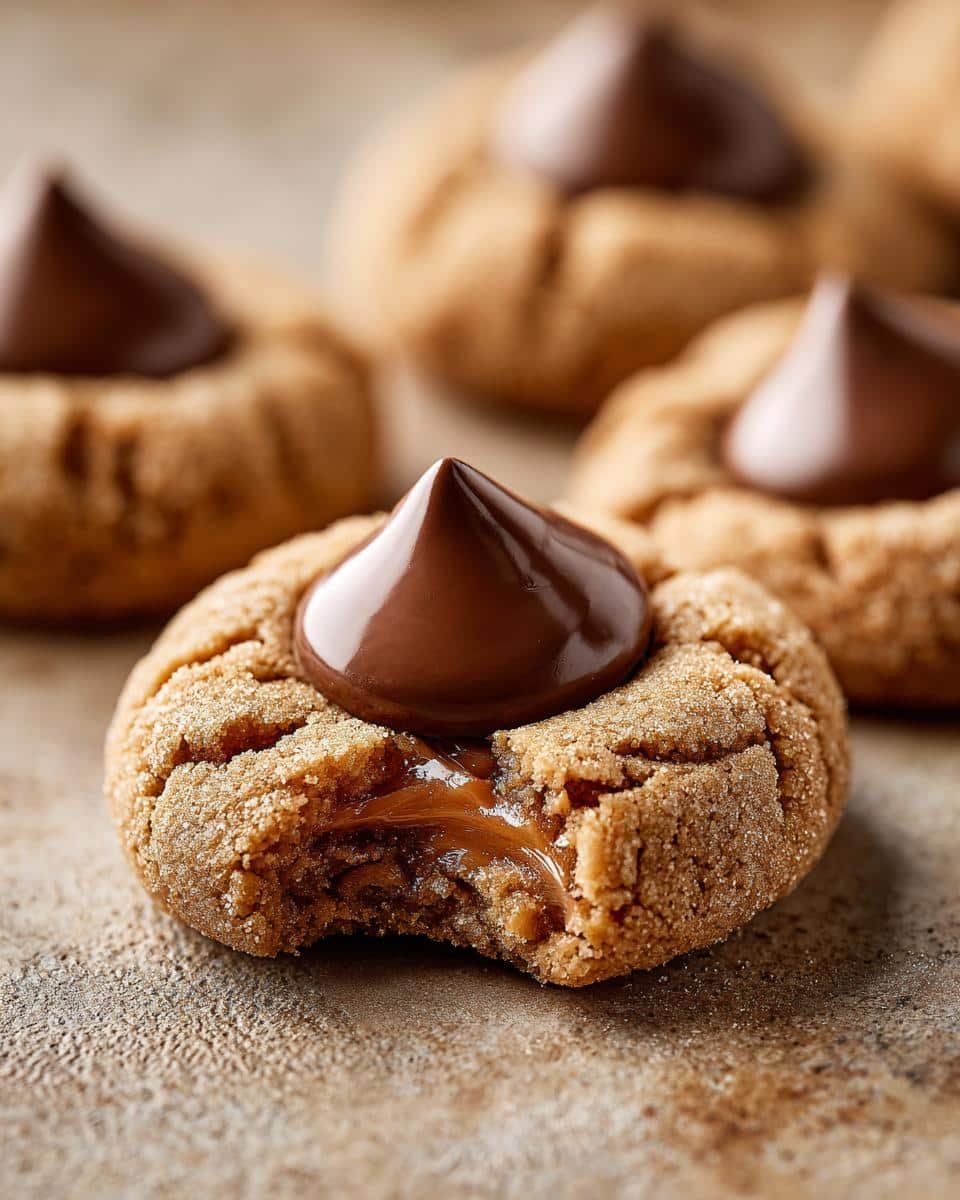
Oh, the holidays! The scent of pine needles, twinkling lights, and… the irresistible aroma of freshly baked cookies. For me, no holiday season is complete without a batch of classic Peanut Butter Blossoms. There’s just something so special about that perfect combination of chewy, nutty peanut butter cookie and a sweet, melted chocolate kiss right on top. I remember helping my mom make these when I was little, and they were always the first to disappear from the cookie platter. This recipe is a long-time family favorite for a reason – it’s simple, festive, and always a crowd-pleaser!
Why You’ll Love These Peanut Butter Blossoms
These little gems are just the best for so many reasons!
- They’re super easy to whip up, making them perfect for even beginner bakers.
- That classic combo of peanut butter and chocolate? Pure magic!
- They look so cute and festive, especially with holiday-themed kisses.
- Honestly, who doesn’t love a good cookie, especially a classic one like this?
Gather Your Ingredients for Perfect Peanut Butter Blossoms
Alright, let’s get our kitchen ready for some cookie magic! For the best Peanut Butter Blossoms, you’ll want to start with good quality basics. Here’s what you need to have on hand:
- 2 1/4 cups all-purpose flour – This is our base, so don’t skip it!
- 1 teaspoon baking soda – For that little bit of lift.
- 1/2 teaspoon salt – Just to balance out all that yummy sweetness.
- 1 cup (that’s 2 sticks!) unsalted butter – Make sure it’s softened, not melted!
- 1 cup creamy peanut butter – Your favorite smooth kind works perfectly.
- 1 cup granulated sugar – For sweetness and crisp edges.
- 1 cup packed light brown sugar – This gives our cookies that tender, chewy texture.
- 2 large eggs – Room temperature is best if you remember!
- 1 teaspoon vanilla extract – A little flavor boost!
- 1 (around 10.5 ounce) package Hershey’s Kisses – Milk chocolate is classic, but feel free to get festive with other flavors!
Having everything measured out makes the whole process so much smoother, trust me!
Step-by-Step Guide to Making Peanut Butter Blossoms
Alright, let’s get down to business and make some amazing Peanut Butter Blossoms! Don’t worry, this is where the real magic happens and it’s much simpler than you’d think. Following these steps will get you those perfect, classic holiday cookies every single time.
First things first, get that oven preheating to 375 degrees F (190 degrees C). It needs to be nice and hot when your cookie dough is ready. While that’s warming up, grab a small bowl and whisk together your flour, baking soda, and salt. Setting this “dry mix” aside is a good habit, makes things go smoother later.
Now, for the fun part! In a big bowl, cream together that softened butter and your peanut butter. You want it super smooth and creamy – no lumps allowed! Then, beat in both the granulated sugar and that lovely packed brown sugar until the whole mixture is light and fluffy. It should look almost like a delicious peanut butter frosting. Next, add your eggs, one at a time, mixing well after each, and then stir in that teaspoon of vanilla extract. It’s starting to smell amazing already!
Time to combine! Gradually add your dry ingredients to the wet. Mix everything until it’s *just* combined. Seriously, don’t overmix here, or your cookies might get a little tough! You’ll end up with a lovely, thick cookie dough that’s ready to be shaped.
Preparing the Peanut Butter Cookie Dough
This is the heart of your Peanut Butter Blossoms, so let’s give it some love! The key to that perfect chewy texture starts with getting the butter and peanut butter just right. Make sure your butter is truly softened – it should give a little when you press it, but not be melted and greasy. Creaming it with the peanut butter until it’s super smooth is really important; it creates a base that will hold all those other yummy ingredients.
Adding both granulated and brown sugar contributes so much to the final cookie. The granulated sugar helps with a little crispness around the edges, while the brown sugar brings that irresistible softness and a hint of molasses flavor. When you beat these with the butter and peanut butter until they’re light and fluffy, you’re actually whipping air into the dough! This is what makes the cookies tender. Eggs and vanilla just bring it all together, creating a wonderfully fragrant and ready-to-bake dough.
Shaping and Baking Your Peanut Butter Blossoms
Once your dough is all mixed up, it’s time to roll! Grab about a tablespoon of dough and roll it between your hands into a nice, neat 1-inch ball. Aim for them to be all about the same size so they bake evenly. Place these little dough balls on your ungreased baking sheets, leaving about 2 inches between each one. They’ll spread out a bit as they bake, so give them some space!
Now, into the preheated oven they go! Bake them for about 9 to 11 minutes. You’re looking for the edges to be just lightly golden. Don’t wait until they’re deeply browned! They’ll continue to cook a bit on the hot baking sheet after you take them out, and you want that soft, chewy center.
Adding the Chocolate Kiss
This is the iconic step, the moment that *makes* it a Peanut Butter Blossom! As SOON as those cookies come out of the oven, while they are still hot and soft, gently press one chocolate kiss right into the center of each cookie. The heat from the cookie will do all the work for you, softening the kiss just enough so it sinks in beautifully and creates that lovely signature look. You don’t want the kiss to completely melt into a puddle, just soften and adhere perfectly.
Push down just enough to make it nestle in, but not so hard that you smash the cookie. This is why you do it right when they come out of the oven – the cookie is pliable and the kiss adds that perfect contrasting sweetness and visual appeal! It’s a simple trick that makes these cookies instantly recognizable and totally festive.
After you’ve topped them all with their chocolatey hats, let them cool on the baking sheets for a few minutes. This helps them firm up a little before you try to move them. Then, carefully transfer them to wire racks to cool completely. Enjoy this easy recipe!
Tips for the Best Peanut Butter Blossoms
If you want your Peanut Butter Blossoms to be absolutely perfect every single time, I’ve got a few little tricks up my sleeve. These are the things I’ve learned over years of baking them for my own family and friends, and they really make a difference!
First off, pay attention to your dough consistency. If it feels too sticky or soft, don’t be afraid to pop it in the fridge for about 30 minutes before rolling. This makes rolling so much easier and helps prevent the cookies from spreading too much in the oven. Also, make sure those Hershey’s Kisses are unwrapped and ready to go *before* the cookies come out of the oven. Timing is everything with that chocolate kiss!
For the absolute best flavor, always use creamy peanut butter. While chunky is yummy, it can make the cookies a little uneven and the kiss might not sit quite right. And remember, don’t over-bake! You want those edges to be just barely golden. They’ll finish cooking on the pan. I learned that the hard way when my first few batches were a little too crispy!
Want to learn more tips from me? Check out my about page!
Ingredient Notes and Substitutions for Peanut Butter Blossoms
Let’s talk ingredients for these delightful Peanut Butter Blossoms! Sometimes the little details make all the difference, don’t you think? For this classic recipe, sticking to the basics is usually best, but here are a few notes.
Peanut Butter: Creamy is the way to go here. It creates a super smooth dough and lets that chocolate kiss nestle in perfectly. While you *could* use chunky, it might make the cookies spread differently and you might lose that iconic look. My grandma always said a good peanut butter cookie needs smooth peanut butter!
Butter: Unsalted is definitely preferred because it lets you control the saltiness of the final cookie. And remember, softened, not melted! This is key for getting that cookie dough nice and fluffy when you cream it with the sugars.
Hershey’s Kisses: The classic milk chocolate ones are traditional for a reason, but guess what? You can totally get creative! They make holiday-themed ones that are so much fun, or even dark chocolate or caramel-filled if you’re feeling adventurous. Just make sure they’re unwrapped and ready!
Serving and Storing Your Festive Peanut Butter Blossoms
These Peanut Butter Blossoms are just begging to be part of your next holiday cookie platter! They look so festive with that shiny chocolate kiss right on top. You can also make a big batch and pile them high as a special homemade gift.
To keep them tasting fresh and delicious, store them in an airtight container at room temperature. I usually pop a piece of wax paper between layers so they don’t stick together. They stay good for a good 3-4 days, which is usually long enough for them to get gobbled up! Pop them in the microwave for just 10 seconds if you want that kiss nice and melty again.
Want more dessert ideas? You got it!
Frequently Asked Questions about Peanut Butter Blossoms
Got questions about these classic holiday cookies? I’ve got answers! Making Peanut Butter Blossoms is usually a breeze, but here are a few things people often ask.
Can I use chunky peanut butter instead of creamy?
You sure can! If you love a little crunch in your cookies, chunky peanut butter works just fine. Just know that the texture will be a bit different, and the chocolate kiss might not sink in quite as smoothly. But hey, the flavor will still be amazing for this festive idea!
Why do my cookies spread too much?
Oh, the dreaded cookie spread! This usually happens for a couple of reasons. Make sure your butter and peanut butter aren’t too soft or melted when you start mixing. Also, chilling the dough for about 30 minutes before you roll it can really help. And don’t forget to measure your flour correctly – too much flour can sometimes make them spread less, but too little will definitely make them flat!
How long do Peanut Butter Blossoms last?
These cookies are pretty sturdy! Stored in an airtight container at room temperature, they’ll stay fresh and delicious for about 3 to 4 days. They’re perfect for making ahead for holiday parties too!
Can I make these cookies ahead of time?
Yes, you absolutely can! You can make the dough a day or two in advance and keep it wrapped tightly in the fridge. Or, you can bake the cookies and store them for a few days. Just add the kisses right after they come out of the oven!
If you have any other questions, feel free to reach out on my contact page!
Estimated Nutritional Information
Just so you know, the numbers below are just estimates for one yummy cookie, and they can change a little depending on exactly what you use and how big you make them! This includes about 150 calories, 8g of fat, 3g of protein, 17g of carbohydrates, and 15g of sugar. For more details on how we handle data, you can check out our privacy policy.
Share Your Peanut Butter Blossom Creations!
I absolutely LOVE seeing your baking adventures! Did you make a batch of these classic Peanut Butter Blossoms? I’d be thrilled if you left a comment below telling me how they turned out, or even gave the recipe a star rating! And if you took any photos, please share them on social media – tag me so I can see your amazing holiday treats! For more info on using our site, check out our terms of service.
Print
Peanut Butter Blossoms
- Total Time: 30 min
- Yield: 36 cookies 1x
- Diet: Vegetarian
Description
Classic peanut butter cookies topped with a chocolate kiss.
Ingredients
- 2 1/4 cups all-purpose flour
- 1 teaspoon baking soda
- 1/2 teaspoon salt
- 1 cup (2 sticks) unsalted butter, softened
- 1 cup creamy peanut butter
- 1 cup granulated sugar
- 1 cup packed light brown sugar
- 2 large eggs
- 1 teaspoon vanilla extract
- 1 (10.5 ounce) package Hershey’s Kisses
Instructions
- Preheat your oven to 375 degrees F (190 degrees C).
- In a small bowl, whisk together the flour, baking soda, and salt.
- In a large bowl, cream together the softened butter and peanut butter until smooth.
- Add the granulated sugar and brown sugar to the butter mixture and beat until light and fluffy.
- Beat in the eggs one at a time, then stir in the vanilla extract.
- Gradually add the dry ingredients to the wet ingredients, mixing until just combined.
- Roll the dough into 1-inch balls.
- Place the dough balls about 2 inches apart on ungreased baking sheets.
- Bake for 9 to 11 minutes, or until the edges are lightly golden.
- Immediately press one chocolate kiss into the center of each warm cookie.
- Let the cookies cool on the baking sheets for a few minutes before transferring them to wire racks to cool completely.
Notes
- For a festive touch, use holiday-themed Hershey’s Kisses.
- You can chill the dough for 30 minutes before rolling if it is too soft.
- Prep Time: 20 min
- Cook Time: 10 min
- Category: Dessert
- Method: Baking
- Cuisine: American
Nutrition
- Serving Size: 1 cookie
- Calories: 150
- Sugar: 15g
- Sodium: 50mg
- Fat: 8g
- Saturated Fat: 3g
- Unsaturated Fat: 5g
- Trans Fat: 0g
- Carbohydrates: 17g
- Fiber: 1g
- Protein: 3g
- Cholesterol: 15mg


