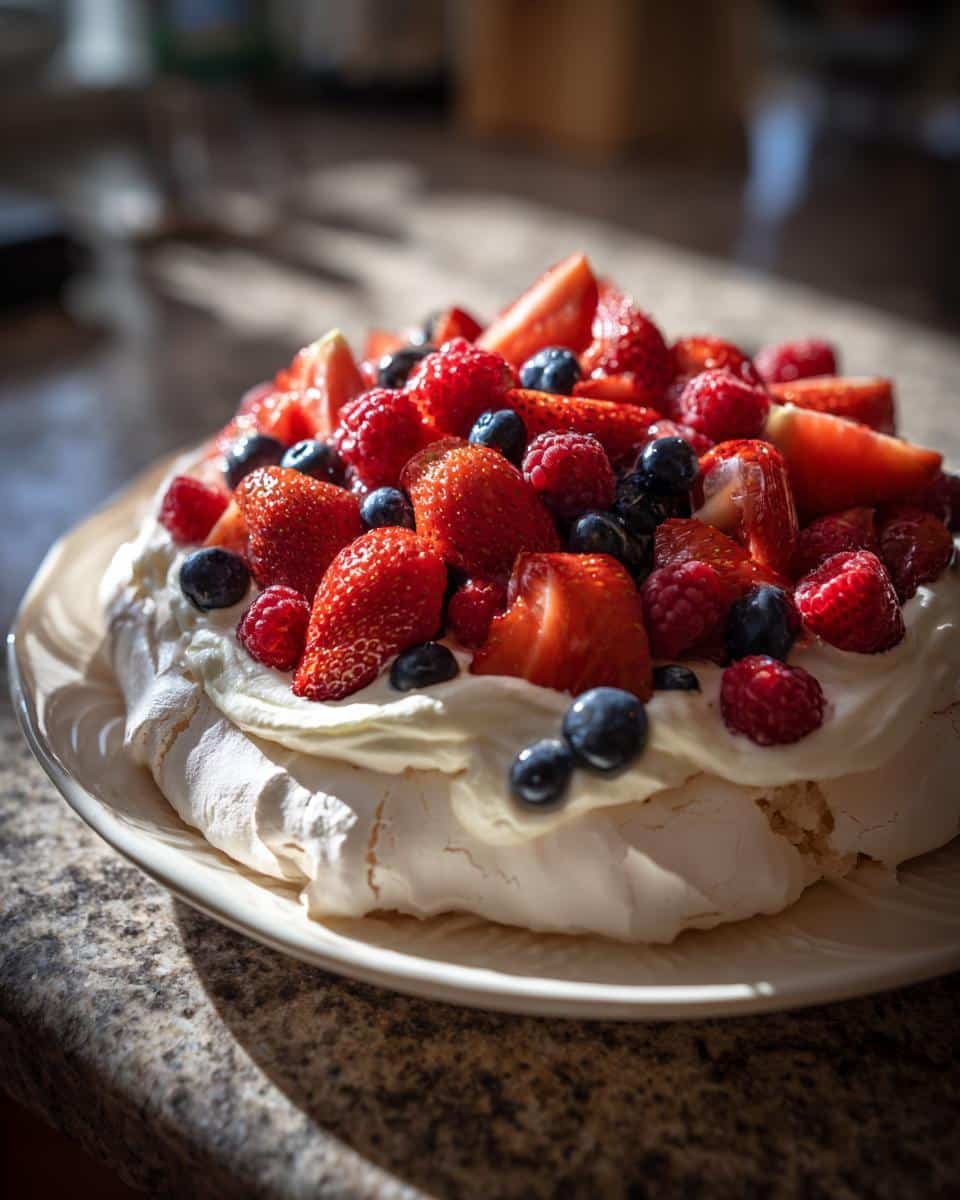
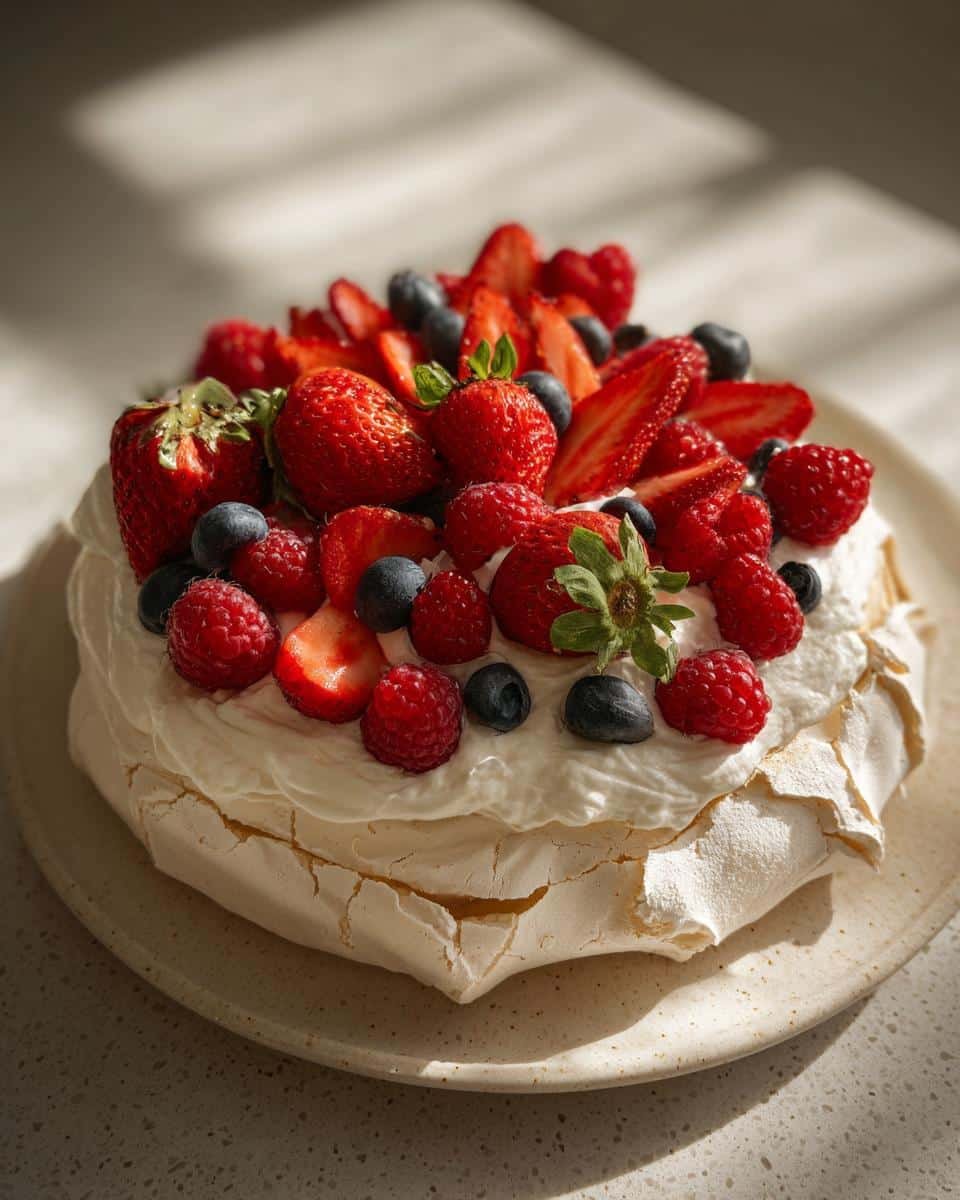
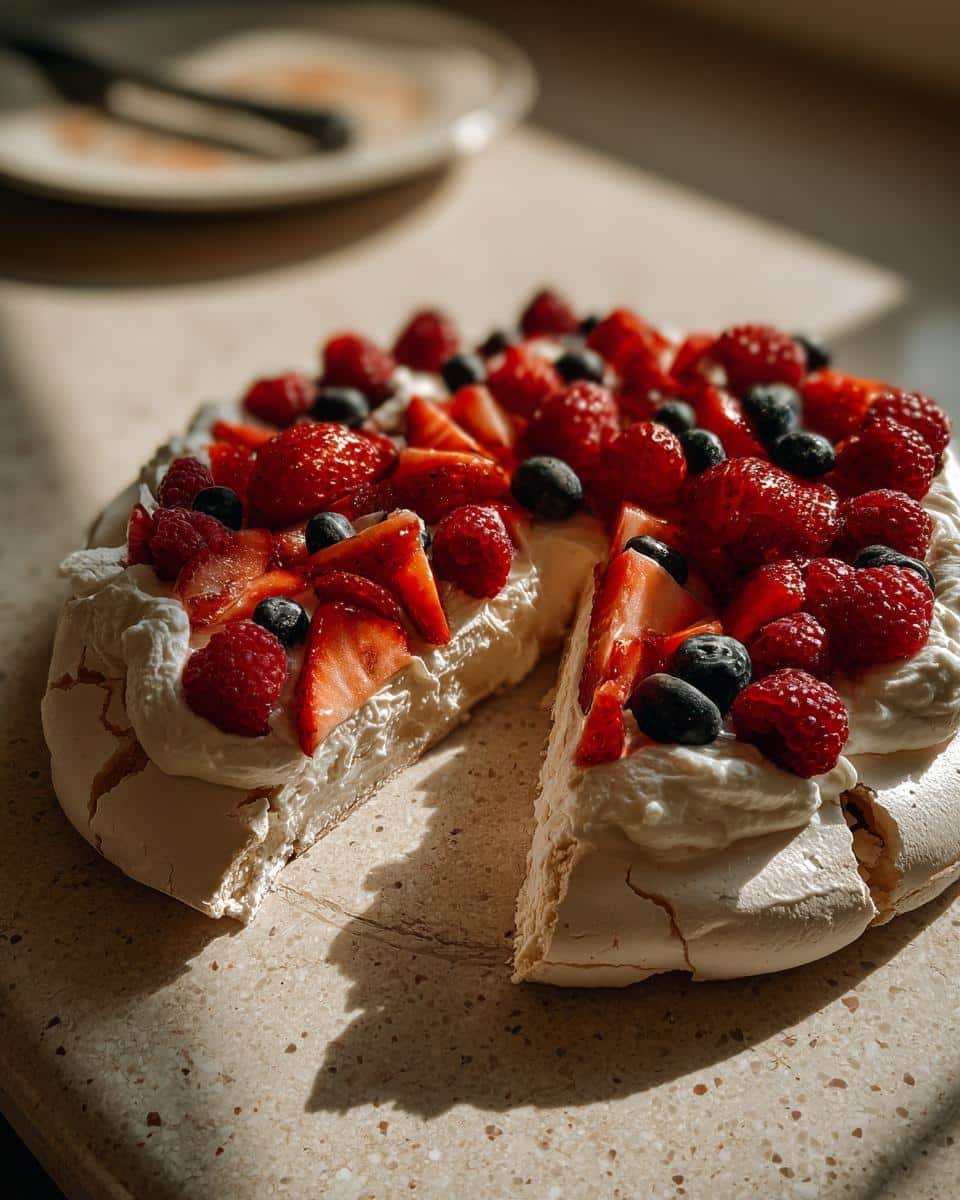
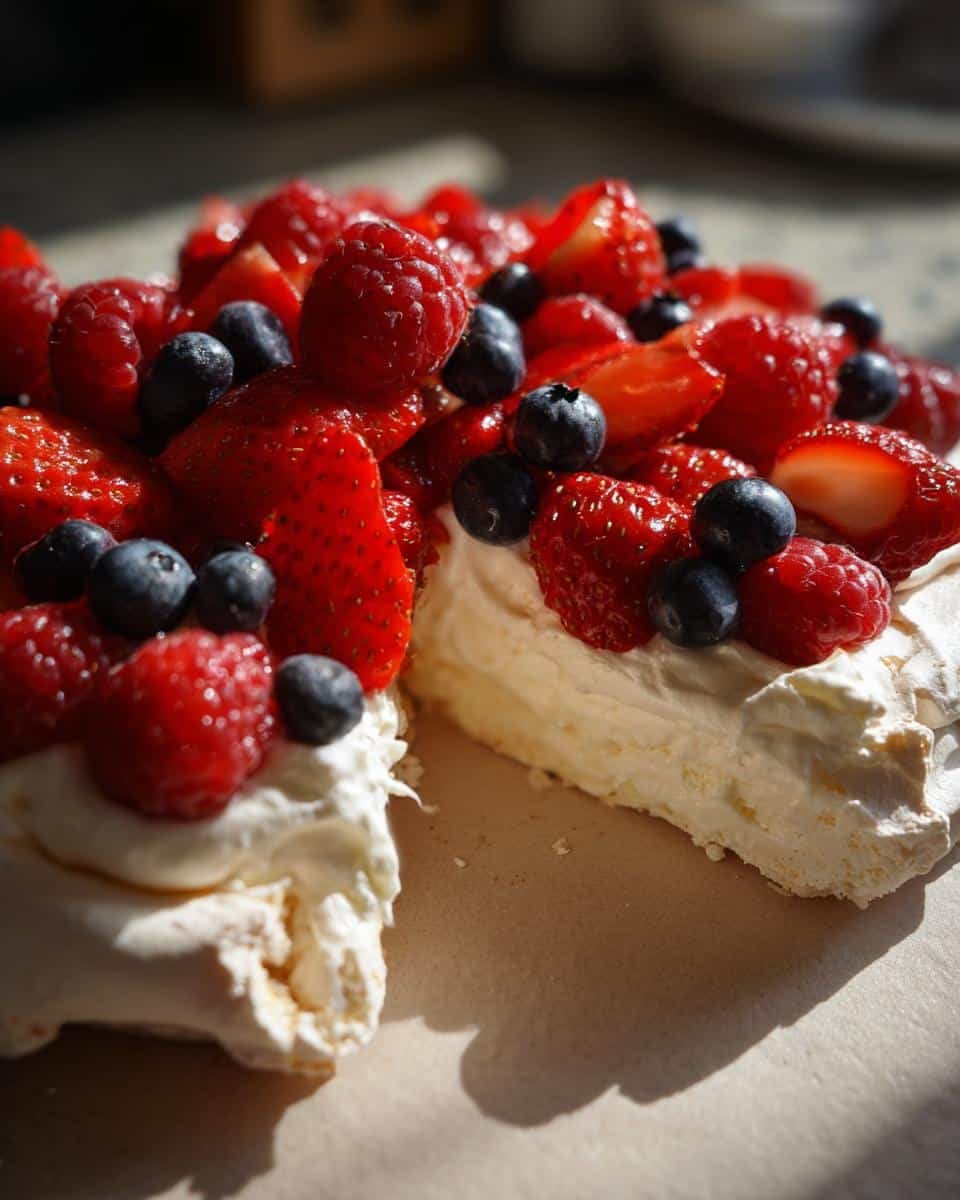
Okay, can we talk about holiday gatherings for a sec? I swear, the moment the leaves start to turn, my brain immediately goes into overdrive thinking about all the amazing food I want to make. And let’s be real, you need something that’s a complete show-stopper, right? That’s where my absolute favorite Holiday Pavlova with Berries comes in. I remember the first time I made one, I was totally convinced it was way too fancy for me, but honestly? It’s shockingly easy and makes everyone *ooh* and *aah* like you’re a professional baker. It’s the perfect festive idea that just looks so incredibly elegant, but deep down, it’s totally doable!
Why You’ll Love This Holiday Pavlova with Berries
Seriously, this pavlova is a winner for so many reasons! Here’s why I think you’ll be making it again and again:
- It looks absolutely stunning on any holiday table – super festive!
- It’s much easier to make than it looks, I promise.
- That combination of crisp meringue, fluffy cream, and fresh, tart berries is just heavenly.
- It’s the perfect light and elegant ending to a big holiday meal.
Gather Your Ingredients for Holiday Pavlova with Berries
Alright, let’s get our ducks in a row! To make this stunning Holiday Pavlova with Berries, you’ll need a few simple things. Make sure you have:
- 4 big egg whites (yep, gotta be large for the best meringue!)
- 1 cup granulated sugar (don’t skimp here, it’s key for that crisp shell)
- 1 teaspoon cornstarch (this helps keep it stable)
- 1 teaspoon white vinegar (sounds weird, but it works wonders!)
- 1/2 teaspoon vanilla extract (for that lovely subtle flavor in the meringue)
- 1 1/2 cups heavy cream (the fluffier, the better!)
- 2 tablespoons powdered sugar (for sweetening the cream)
- 1 teaspoon vanilla extract (a little more for the cream)
- About 2 cups of your favorite mixed berries – think strawberries, raspberries, and blueberries. Fresh is best!
Step-by-Step Guide to Making Your Holiday Pavlova with Berries
Making a spectacular Holiday Pavlova with Berries is totally within your reach! Just follow these steps, and you’ll have an amazing dessert that’s sure to impress. Remember, patience is key, especially with meringue! You can find tons of easy recipes on my site if you need more ideas!
Preparing the Meringue Base
First things first, let’s get that meringue going. Preheat your oven to 300°F (150°C) and get a baking sheet lined with parchment paper. Now, grab a super clean, dry bowl and your beaters. Seriously, any grease will mess with fluffy egg whites, so make sure everything is spotless! Beat those 4 large egg whites until they form those beautiful stiff peaks that hold their shape. Then, slowly, slowly, add your granulated sugar, about a tablespoon at a time, beating really well after each addition. You’re looking for a meringue that’s stiff and gorgeous and glossy. Gently fold in the cornstarch, white vinegar, and that 1/2 teaspoon of vanilla extract. Don’t overmix!
Baking and Cooling Your Pavlova
Now for the magic! Spoon all that lovely meringue onto your prepared baking sheet. You want to shape it into a round, creating a nice little well in the center to hold all those yummy toppings later. Pop it into your preheated oven to bake for about 1 hour and 15 minutes. You’ll know it’s ready when the outside feels crisp. The best part? Turn off the oven, crack the door open just a smidge, and let your pavlova cool down completely inside the oven. This slow cooling is what helps prevent those dreaded cracks and keeps the center slightly soft.
Whipping the Cream and Assembling the Dessert
While your pavlova base is doing its thing cooling down, let’s whip up the cream. In a separate bowl, beat the heavy cream with the powdered sugar and the other teaspoon of vanilla extract. Whip it until you get nice, soft peaks. It should be light and airy! The absolute final step, and this is important, is to assemble things right before you’re ready to serve. Spoon that glorious whipped cream into the well you made in the pavlova. Then, pile on your beautiful mixed berries. Drizzle any extra juices over the top. It’s pure, edible art! For more wonderful dessert recipes, be sure to check out the desserts section.
Tips for the Perfect Holiday Pavlova with Berries
Making a gorgeous pavlova can feel a little intimidating, but trust me, with a few little tricks up your sleeve, you’ll nail it every time! My best tip for the Holiday Pavlova with Berries? Make sure everything is absolutely, positively spotless. That means your mixing bowl and beaters need to be squeaky clean and totally grease-free. Seriously, any trace of fat is the enemy of fluffy egg whites.
Oh, and if your pavlova decides to crack a little – don’t panic! It’s totally normal and honestly, I think it gives it character. It’s still going to taste amazing, and the whipped cream and berries cover up any little imperfections. If you’re worried about weeping (little sugary beads forming), it’s usually because the sugar wasn’t fully dissolved or the humidity is super high. Baking it low and slow helps a lot, and remember to let it cool completely in the oven!
Want to get a head start? You can totally make the pavlova base a day ahead. Just let it cool completely, then store it in an airtight container at room temperature. Avoid the fridge though – that moisture is not our friend! For more tips on baking and how I came up with all these recipes, you can check out my about page.
Ingredient Substitutions and Variations
Now, I love my classic Holiday Pavlova with Berries recipe, but feel free to play around! If you’re not a fan of mixed berries, you could totally swap them out for just sliced strawberries or even some fresh kiwi and mango for a tropical twist. Or, if you’re feeling adventurous, try a splash of almond extract or even a hint of orange zest in your whipped cream instead of vanilla. Sometimes I even add a little lemon zest to the meringue itself for a subtle citrusy note!
Serving and Storing Your Festive Creation
The moment of truth! For the most stunning presentation of your Holiday Pavlova with Berries, add the whipped cream and berries right before you serve it. A little dusting of powdered sugar or a fresh sprig of mint can be a lovely touch too. As for leftovers? Pavlova is truly best enjoyed fresh because that crisp meringue can get a little soft. If you happen to have any uneaten portion, wrap it *very* well in plastic wrap and store it in an airtight container at room temperature for up to a day. But honestly, it disappears fast!
Frequently Asked Questions about Holiday Pavlova
Got some burning questions about making your pavlova extra special? I get it! Meringue can be a little finicky sometimes, but don’t worry, we’ve got answers.
Can I make the pavlova base ahead of time?
Absolutely! That’s one of the best things about this festive idea. Once your pavlova base is completely cooled, just store it in an airtight container at room temperature. It’s best eaten within 24 hours if you’re storing it, but trust me, it’s so good it usually doesn’t last that long!
Why did my pavlova crack?
Oh, the dreaded crack! Don’t fret, it happens to the best of us. Cracking is usually due to a sudden temperature change. That’s why we bake it low and slow and let it cool down gradually in the oven with the door ajar. A little crack just means it’s homemade, and it won’t affect the deliciousness one bit once you load it up with cream and berries!
What kind of berries are best for topping?
Honestly, you can use whatever you love! For that gorgeous festive look, a mix of bright red strawberries, tart raspberries, and deep blue blueberries is fantastic. You could also go for a seasonal mix with cranberries if you like a bit more tartness. Just make sure they’re fresh and add them right before serving for the best texture!
My meringue looks a little weepy. What’s wrong?
That little bit of sugary liquid can sometimes form on the pavlova. It usually means the sugar wasn’t fully dissolved into the egg whites, or it might be super humid where you are. Make sure you beat that sugar in really well until it’s stiff and glossy, and try not to make it on a super humid day if you can help it. Cooling it in the oven helps a lot too!
Estimated Nutritional Information
Just a quick heads-up: the nutritional info for this Holiday Pavlova with Berries is an estimate per serving. Calories are around 350, with about 18g of fat and 48g of carbohydrates. Protein comes in at roughly 4g. Keep in mind, this can vary based on the exact ingredients and how generous you are with the toppings!
Share Your Holiday Pavlova Masterpiece!
I’d absolutely LOVE to see your beautiful Holiday Pavlova with Berries creations! Did you make it for a special occasion? Share your photos with me on social media! And please, leave a comment and rating below – it helps so many other home cooks! Feel free to reach out via my contact page if you have any questions!
Print
Holiday Pavlova with Berries
- Total Time: 1 hr 35 min
- Yield: 8 servings 1x
- Diet: Vegetarian
Description
A festive meringue dessert topped with whipped cream and fresh berries, perfect for holiday celebrations.
Ingredients
- 4 large egg whites
- 1 cup granulated sugar
- 1 teaspoon cornstarch
- 1 teaspoon white vinegar
- 1/2 teaspoon vanilla extract
- 1 1/2 cups heavy cream
- 2 tablespoons powdered sugar
- 1 teaspoon vanilla extract
- 2 cups mixed berries (strawberries, raspberries, blueberries)
Instructions
- Preheat your oven to 300°F (150°C). Line a baking sheet with parchment paper.
- In a clean, dry bowl, beat the egg whites with an electric mixer until stiff peaks form.
- Gradually add the granulated sugar, one tablespoon at a time, beating well after each addition until the meringue is stiff and glossy.
- Gently fold in the cornstarch, white vinegar, and 1/2 teaspoon vanilla extract.
- Spoon the meringue onto the prepared baking sheet, shaping it into a round with a slight well in the center.
- Bake for 1 hour and 15 minutes, or until the pavlova is crisp on the outside and slightly soft in the center. Turn off the oven and let the pavlova cool completely inside the oven with the door slightly ajar.
- In a separate bowl, whip the heavy cream with the powdered sugar and 1 teaspoon vanilla extract until soft peaks form.
- Just before serving, top the cooled pavlova with the whipped cream and mixed berries.
Notes
- Ensure your bowl and beaters are completely free of grease for best results.
- You can make the pavlova base a day in advance and store it in an airtight container at room temperature.
- Add berries just before serving to prevent them from making the pavlova soggy.
- Prep Time: 20 min
- Cook Time: 1 hr 15 min
- Category: Dessert
- Method: Baking
- Cuisine: International
Nutrition
- Serving Size: 1 slice
- Calories: 350
- Sugar: 45g
- Sodium: 30mg
- Fat: 18g
- Saturated Fat: 10g
- Unsaturated Fat: 8g
- Trans Fat: 0g
- Carbohydrates: 48g
- Fiber: 3g
- Protein: 4g
- Cholesterol: 40mg


