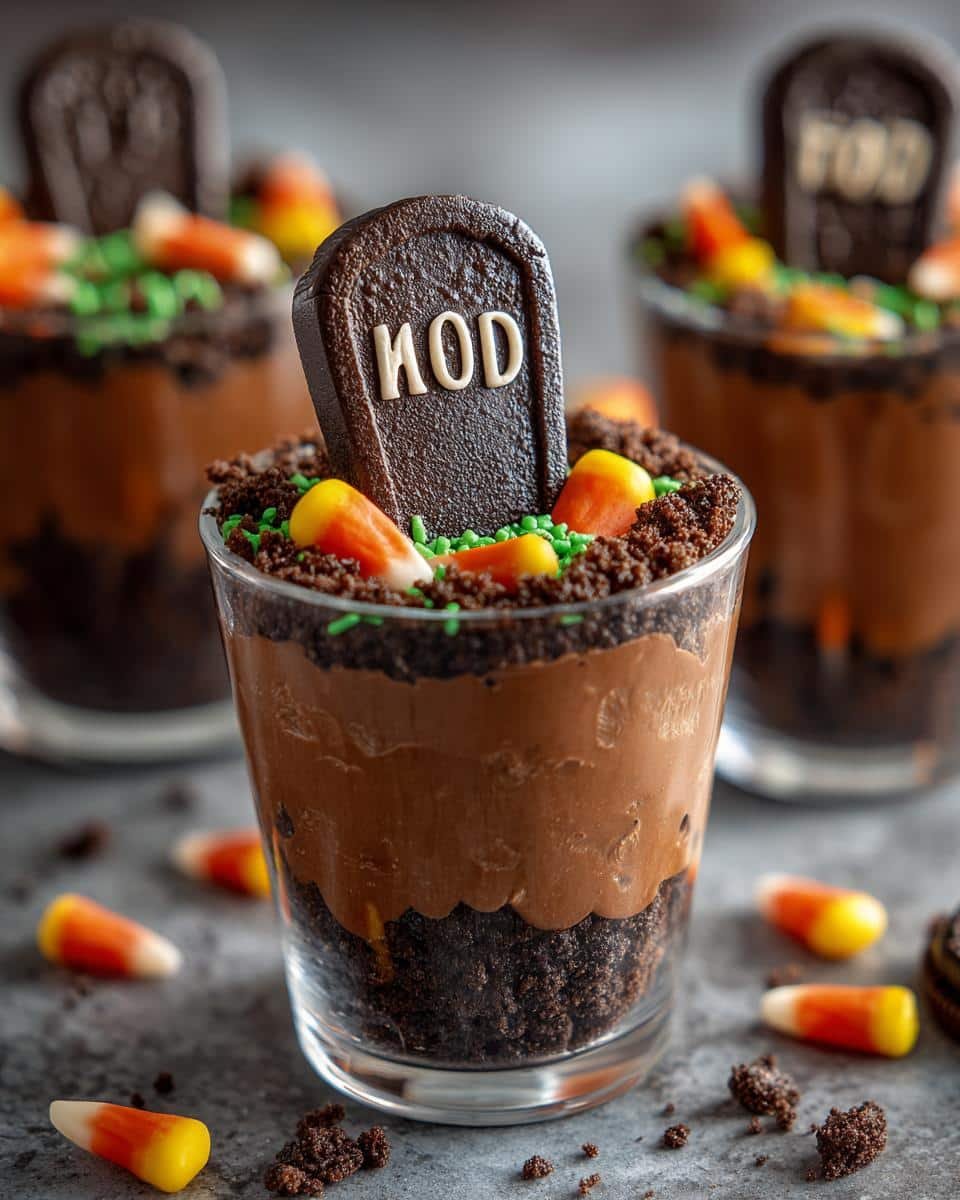
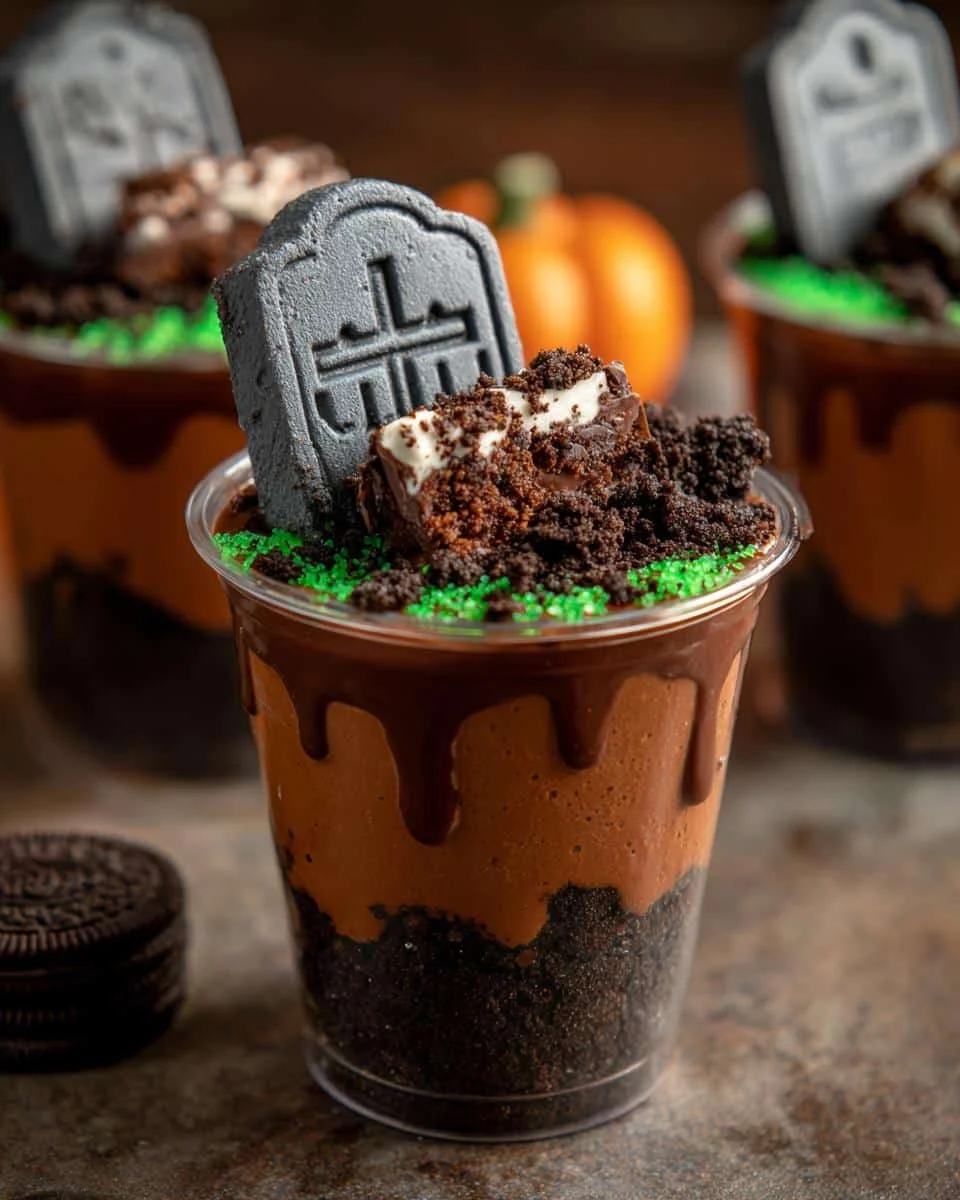
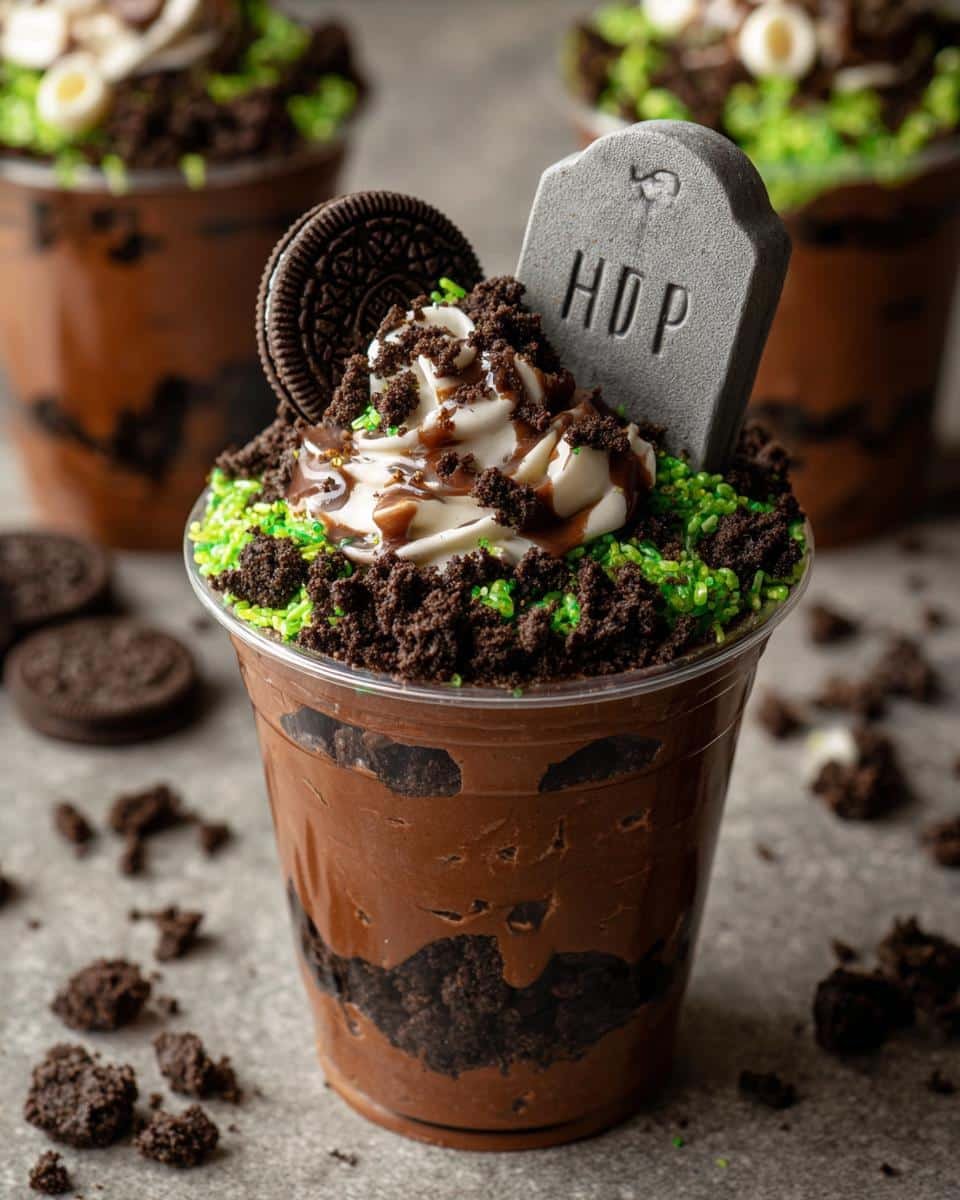
Oh, Halloween! It’s honestly one of my favorite times of year. The crisp air, the spooky decorations, and of course, all the fun, themed treats. If you’re looking for something super easy but totally impressive for your next Halloween party or just a fun weekend activity with the kids, you have GOT to try these Halloween Graveyard Pudding Cups. Honestly, after 17 years in the kitchen, I’ve learned a thing or two about creating delicious food that doesn’t take forever. My whole philosophy here is real food made simple, perfect for busy families like mine. These little graveyard cups are no-bake, a total lifesaver, and they look spooktacular!
Why You’ll Love These Halloween Graveyard Pudding Cups
Seriously, these little cups are a Halloween dream come true! Here’s why you’ll want to whip them up:
- Super Easy: No baking required, which means less fuss and more fun!
- Kid-Approved: Kids absolutely love helping assemble these – it’s like a mini edible craft project.
- Festive Fun: They look so spooktacular on a dessert table; definitely a conversation starter!
- Deliciously Simple: A creamy, dreamy chocolate pudding base topped with tasty cookie crumbs – what’s not to love?
Gather Your Ingredients for Halloween Graveyard Pudding Cups
Alright, let’s get our spooky ingredients together! This recipe is so straightforward, and having everything ready makes assembly a breeze. You probably have most of this in your pantry already. For the creamy, chocolatey base, we’re using a box of instant chocolate pudding mix – the 3.4 oz size is perfect – and about 2 cups of milk. Make sure it’s cold milk; it helps the pudding set up nicely! Then, for that extra lusciousness, grab an 8 oz package of cream cheese. It’s important that it’s softened, meaning let it sit on the counter for about 30 minutes before you start. This makes it so much easier to beat smooth. You’ll also need half a cup of powdered sugar for sweetness and a teaspoon of vanilla extract for that classic flavor boost.
Now for the graveyard part! We need about 12 chocolate wafer cookies. I like to crush them up pretty fine to look like dirt, but you can leave them a little chunkier if you prefer. And of course, no graveyard is complete without some residents! Grab about 12 candy pumpkins or ghosts. They make the cutest little tombstones! If you have some green sprinkles or even crushed green candy, that’s fantastic for adding a little spooky grass. Trust me, these simple additions make all the difference!
Step-by-Step Guide to Making Your Halloween Graveyard Pudding Cups
Okay, let’s turn these simple ingredients into something spooktacular! This is where the real fun begins, and trust me, it’s super easy. First things first, let’s get this party started with our pudding. Then, we’ll assemble these cute little graveyards and make them look amazing. It’s really just a few simple steps, and before you know it, you’ll have a whole batch of these festive Halloween Graveyard Pudding Cups ready to impress!
Preparing the Pudding Base
Alright, let’s get our creamy chocolate pudding ready. You’ll start by whisking up your instant chocolate pudding mix with the 2 cups of cold milk. Follow the package directions – usually, it’s just a quick whisking until it starts to thicken, then pop it in the fridge to set for about 5 minutes. While that’s chilling, take your softened cream cheese and beat it in a separate bowl until it’s super smooth. Then, gradually beat in that powdered sugar and the vanilla extract until everything is nice and creamy. Once the pudding has set a bit, gently fold the cream cheese mixture into the pudding. You want to do this gently so you don’t break down the pudding too much. Keep folding until you don’t see any streaks of white anymore. It’ll be so rich and delicious!
Assembling Your Halloween Graveyard Pudding Cups
Now for the really fun part – building our tiny graveyards! Grab your clear cups or jars. Spoon that luscious chocolate pudding mixture into each cup, filling them about two-thirds of the way full. Don’t fill them right to the top, because we need room for our spooky toppings! Next, take your chocolate wafer cookies and crumble them up. You can do this in a zip-top bag with a rolling pin, or just crush them in your hands. You want them to look like dirt, so a mix of fine crumbs and a few slightly larger bits is perfect. Sprinkle a generous layer of these cookie crumbs over the pudding in each cup. This is your “earth” for our graveyard!
Adding the Final Festive Touches
Time to bring our graveyards to life! Take your candy pumpkins or ghosts and carefully stick one into the pudding “dirt” in each cup. Make sure they stand up nicely, like little tombstones. Don’t they look adorable already? To finish off the spooky scene, grab your green sprinkles or crushed green candy. Sprinkle a little bit around the base of your tombstones and here and there on the cookie crumbs to create the look of eerie graveyard grass. It really adds that perfect pop of Halloween color and makes these Halloween Graveyard Pudding Cups completely irresistible!
Tips for Perfect Halloween Graveyard Pudding Cups
Okay, so you want your graveyard pudding cups to be absolutely spooktacular, right? As a chef and a mom who’s made these a million times (okay, maybe not a million, but a lot!), I’ve picked up a few tricks. My biggest tip? Make sure your cream cheese is *really* softened. If it’s still cool and firm, it won’t mix in smoothly, and you’ll end up with little lumps instead of that silky pudding base. Trust me on this one!
Also, don’t go too crazy crushing your wafer cookies. A few slightly larger crumbs mixed in with the fine dust makes the “dirt” look more realistic. And when you’re placing your candy tombstones, give them a little gentle push into the pudding – just enough so they stand up straight and don’t topple over. A little bit of care makes a huge difference in how these Halloween Graveyard Pudding Cups turn out. Have fun with it!
Ingredient Notes and Substitutions for Your Festive Idea
So, let’s chat about these ingredients just a little bit more. That instant chocolate pudding? It’s a lifesaver for speed, but you could totally make your favorite chocolate pudding from scratch and let it cool if you have more time. And for the “dirt” – chocolate wafer cookies are my go-to because they crush up so nicely and taste great, but any chocolate cookie, even Oreos with the filling scraped out, will work! Just make sure they’re nice and crushed for that graveyard effect.
The candy pumpkins and ghosts are super cute, but don’t feel limited! Little candy skeletons, gummy worms peeking out, or even small chocolate bars broken to look like fallen headstones would be awesome. And the green sprinkles? Totally optional, but they add such a fun, creepy-crawly vibe. Feel free to get creative with other seasonal candies you find!
Frequently Asked Questions about Halloween Graveyard Pudding Cups
Got questions about these spooky little desserts? I’ve got you covered! Here are a few things people often wonder about making these holiday recipes.
Can I make these ahead of time?
Oh, absolutely! These Halloween Graveyard Pudding Cups are fantastic for making ahead. You can assemble them up to a day in advance. Just keep them covered (plastic wrap works great) and store them in the refrigerator. The cookie crumbs might soften slightly, but they’ll still be delicious and perfectly spooky!
What other candies can I use for the tombstones?
This is where you can really let your creativity shine! Instead of candy pumpkins or ghosts, try using small chocolate bars broken in half for a “fallen stone” look, Milano cookies with names written on them in edible marker, or even small pretzel sticks stuck vertically. You could even get really ambitious and write “RIP” on them with edible pen. Whatever spooky candy you have on hand will be fabulous!
Can I use a different type of pudding?
You bet! While chocolate pudding is my personal favorite for that rich “dirt” effect, feel free to switch it up. Vanilla pudding is a great base, and you can even add a drop or two of green food coloring to make it look like swampy goo or alien slime instead of dirt! Butterscotch or even a white chocolate pudding would also be delicious. Just follow the package directions for whichever pudding you choose.
How do I get the cookie crumbs to look like dirt?
It’s super simple! I usually just put my chocolate wafer cookies into a zip-top bag and then use the bottom of a sturdy glass or a rolling pin to crush them. You don’t want them to be a super-fine powder; a few slightly larger pieces make it look more realistic, like actual soil. Just don’t crush them too fine, or they might turn into mud instead of dirt!
Estimated Nutritional Information
When you’re whipping up these fun Halloween Graveyard Pudding Cups, keep in mind that the nutritional info is just an estimate, of course! Things can change a bit depending on the brands you use and exactly how much you pile on. But generally, you’re looking at around 350 calories per cup, with about 18g of fat (that’s delicious creaminess!), 45g of carbohydrates, and 5g of protein. Looks like a satisfying treat for your spooky celebrations!
Share Your Spooky Creations!
Alright, now that you’ve hopefully whipped up your own batch of these adorable Halloween Graveyard Pudding Cups, I’d LOVE to hear all about it! Did your little ones have a blast making them? Did your party guests gobble them up? Please drop a comment below and tell me what you think, or even give the recipe a star rating. And if you snapped any photos (and you totally should!), please share them with me on social media – I can’t wait to see your spooky masterpiece!
Print
Halloween Graveyard Pudding Cups
- Total Time: 15 min
- Yield: 6-8 servings 1x
- Diet: Vegetarian
Description
Easy and festive graveyard pudding cups perfect for Halloween parties.
Ingredients
- 1 package (3.4 oz) instant chocolate pudding mix
- 2 cups milk
- 1 package (8 oz) cream cheese, softened
- 1/2 cup powdered sugar
- 1 teaspoon vanilla extract
- 12 chocolate wafer cookies
- 12 candy pumpkins or ghosts
- Green sprinkles or crushed green candy
Instructions
- Prepare the pudding according to package directions using the milk. Let it set in the refrigerator.
- In a separate bowl, beat the softened cream cheese until smooth. Gradually beat in the powdered sugar and vanilla extract until well combined.
- Gently fold the whipped cream cheese mixture into the set chocolate pudding until no streaks remain.
- Spoon the pudding mixture into 6-8 clear cups or jars.
- Crumble the chocolate wafer cookies into fine crumbs to resemble dirt.
- Sprinkle the cookie crumbs over the pudding in each cup.
- Insert a candy pumpkin or ghost into the pudding in each cup to look like a tombstone.
- Decorate with green sprinkles or crushed green candy to resemble grass.
- Chill until ready to serve.
Notes
- For a richer flavor, use whole milk for the pudding.
- You can substitute chocolate pudding with vanilla pudding and add green food coloring for a different look.
- Use any Halloween-themed candies for decorations.
- Prep Time: 15 min
- Cook Time: 0 min
- Category: Dessert
- Method: No Bake
- Cuisine: American
Nutrition
- Serving Size: 1 cup
- Calories: 350
- Sugar: 40g
- Sodium: 200mg
- Fat: 18g
- Saturated Fat: 10g
- Unsaturated Fat: 8g
- Trans Fat: 0g
- Carbohydrates: 45g
- Fiber: 2g
- Protein: 5g
- Cholesterol: 40mg


