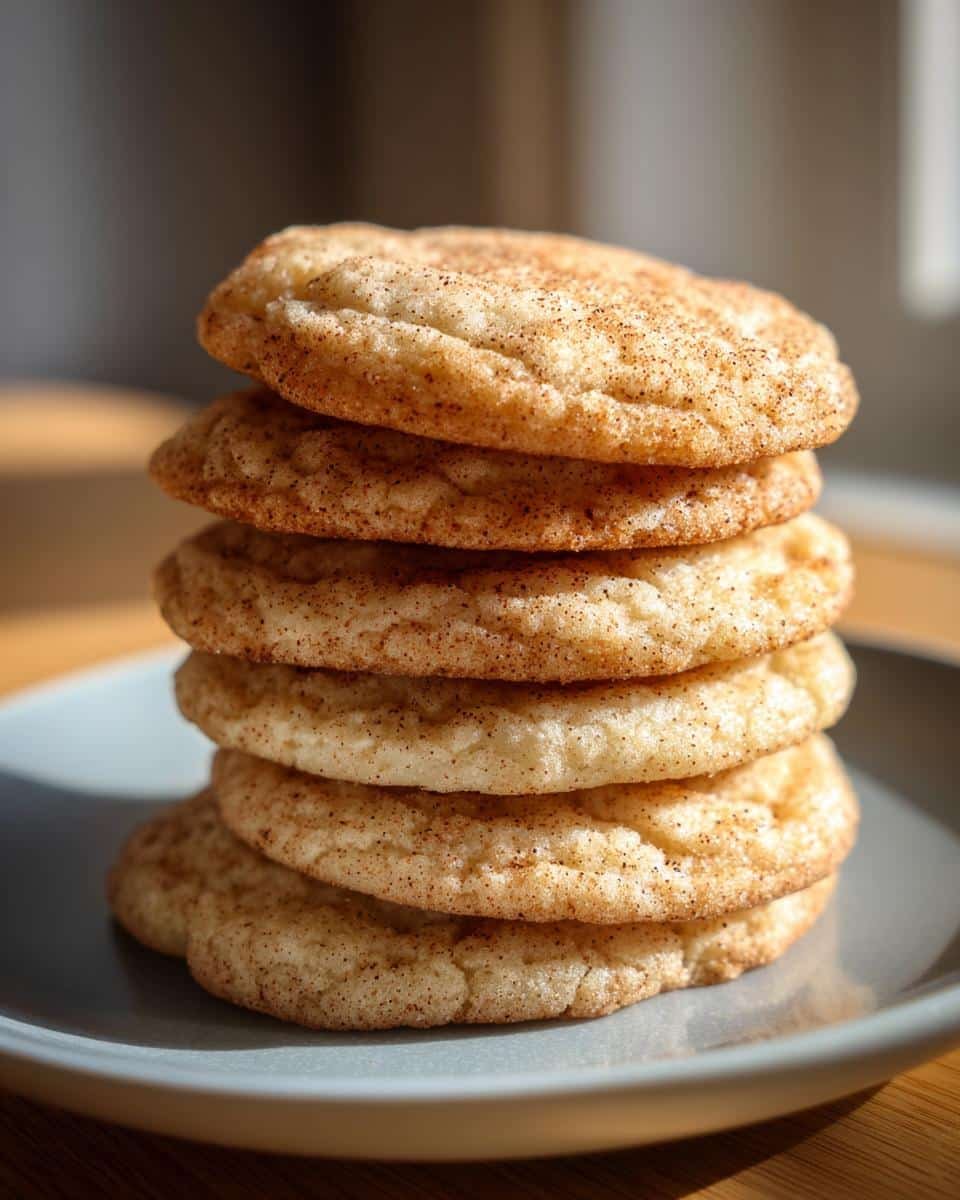
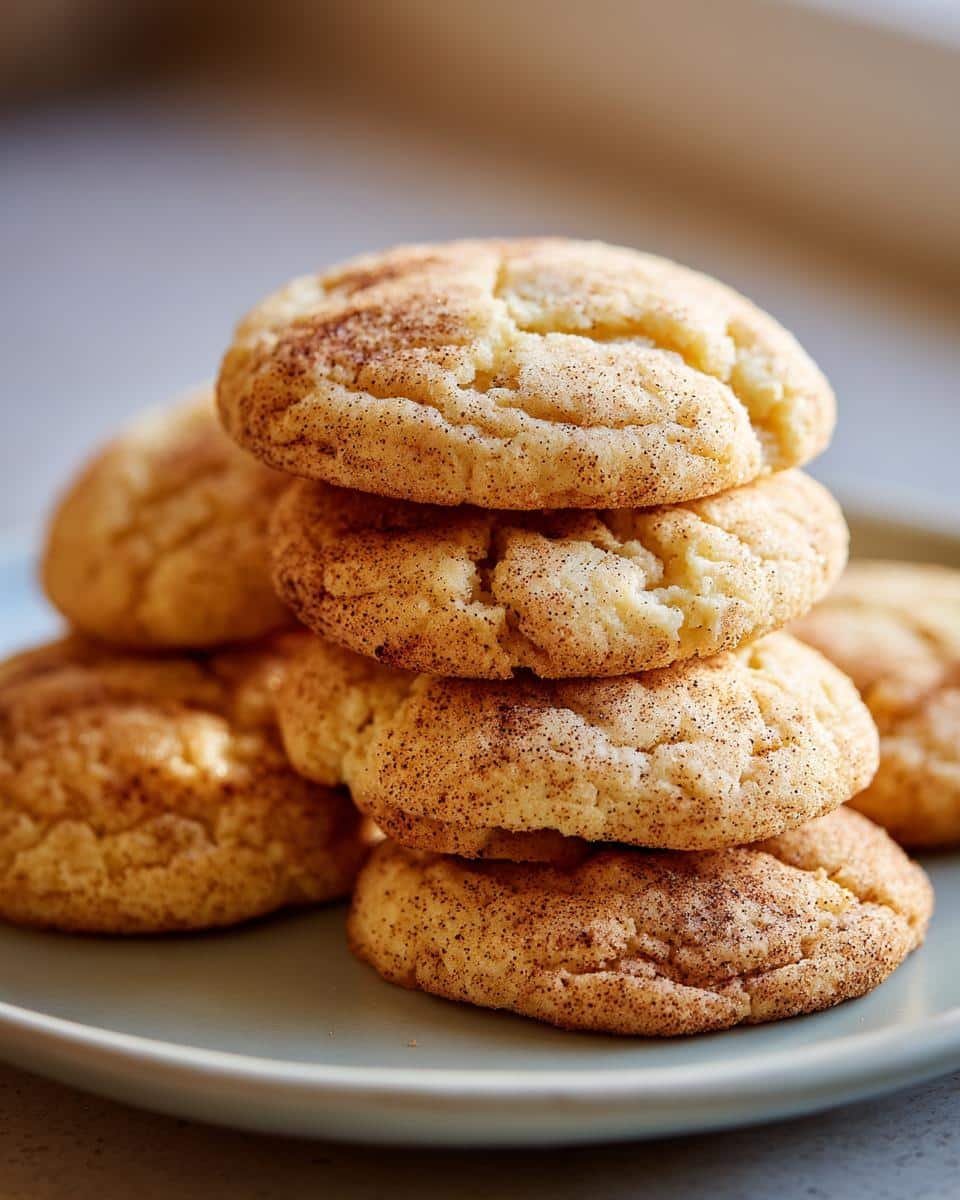
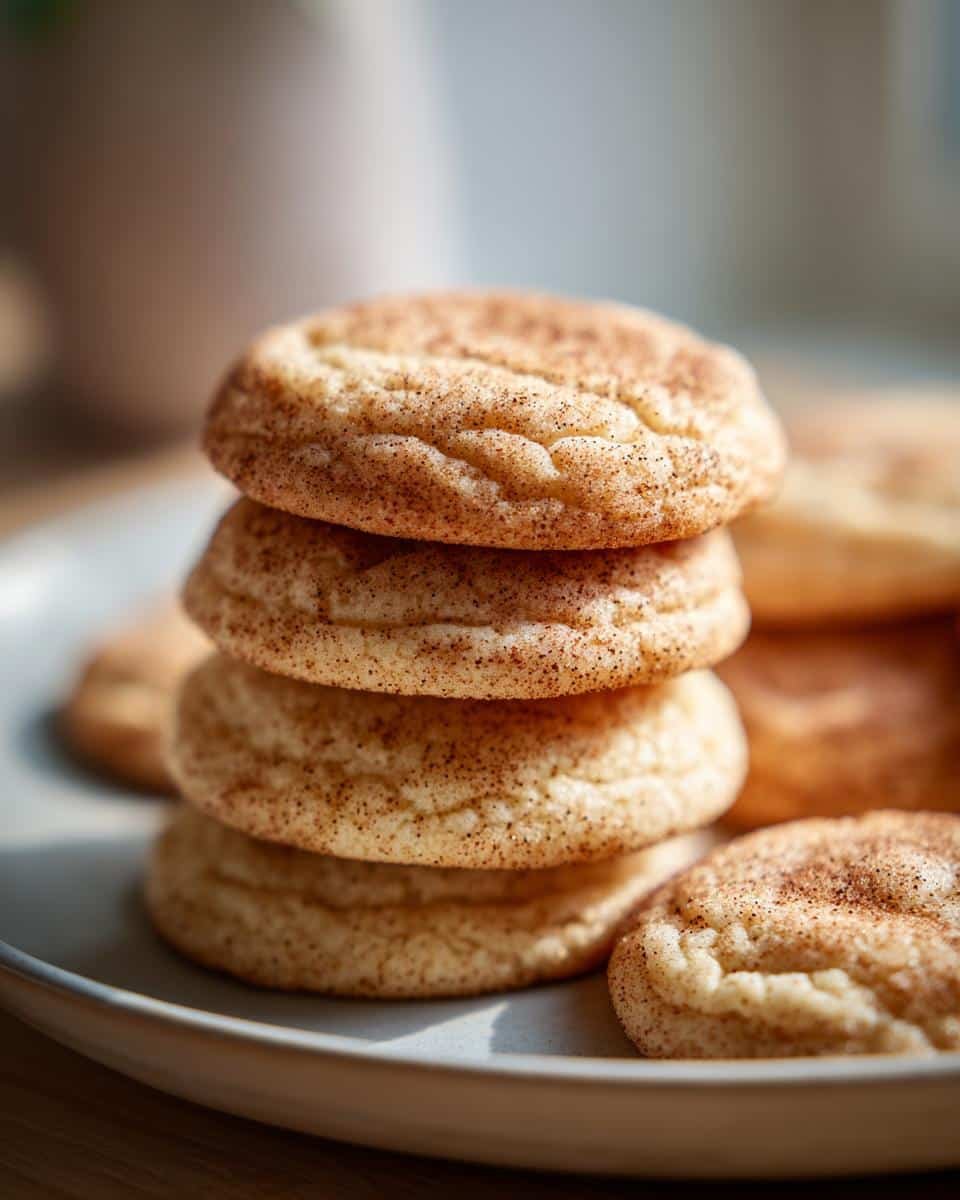
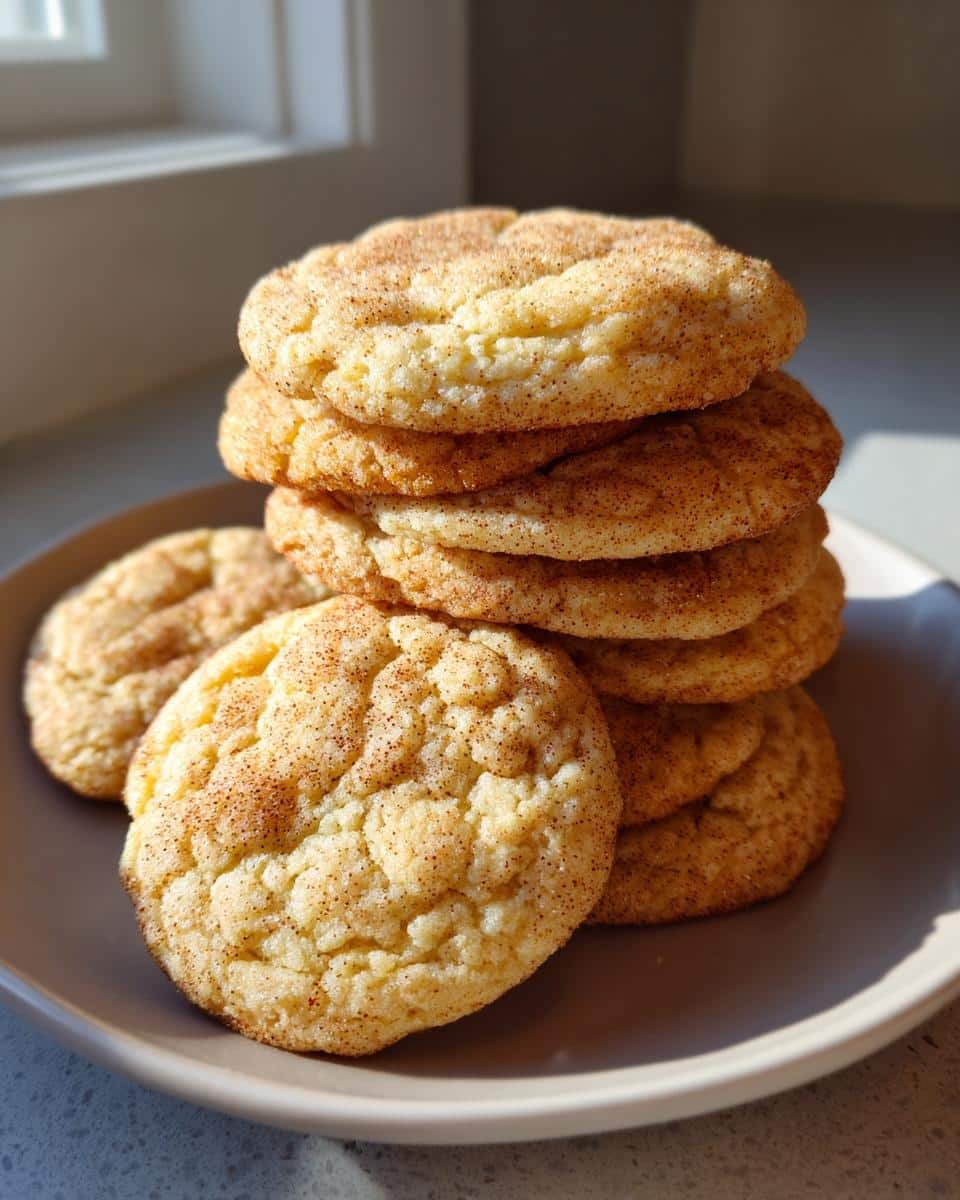
Oh, the smell of holidays! It just hits differently, doesn’t it? That cozy mix of cinnamon, maybe some pine, and of course, the sweet, creamy perfume of freshly baked treats. For me, nothing screams ‘Christmas’ quite like a batch of warm, chewy Eggnog Cookies. I remember one year, I was in a total frenzy trying to get gifts wrapped and houses decorated, and I just needed something to instantly transport me into that holiday spirit. I whipped up this recipe, and the kitchen filled with that unmistakable eggy, spicy goodness. It totally saved my sanity and made for the most perfect little holiday treats!
Why You’ll Love These Eggnog Cookies
Seriously, these little cookies are the best! Here’s why you’ll be making them again and again:
- Super Easy to Make: Even if you’re short on time, these come together fast.
- Incredible Flavor: That classic eggnog taste, but in a soft, chewy cookie!
- Perfect for Sharing: They’re little bites of holiday cheer, perfect for parties or gifting.
- So Chewy and Soft: Exactly what a holiday cookie should be.
- Quick Baking Time: Ready almost as fast as you can whip ‘em up!
- Festive Vibes: They just *feel* like the holidays.
Gather Your Ingredients for Eggnog Cookies
Alright, let’s get our cookie-baking game face on! To make these dreamy Eggnog Cookies, you’ll want to round up these goodies. Make sure your butter is nice and soft – that’s key for getting a super creamy batter. And don’t forget the star of the show, the eggnog itself! Here’s what you’ll need:
- 1 cup unsalted butter, softened (so it’s easy to cream!)
- 1 cup granulated sugar
- 1 big egg
- 1 teaspoon vanilla extract
- 1/4 cup eggnog (the richer, the better, if you ask me!)
- 2 1/2 cups all-purpose flour
- 1 teaspoon baking powder
- 1/2 teaspoon salt
- 1/4 teaspoon ground nutmeg
- 1/4 teaspoon ground cinnamon
Essential Equipment for Baking Eggnog Cookies
Before we dive into the magic, let’s make sure you have your essential baking buddies ready! You’ll need a couple of mixing bowls, a whisk, a sturdy electric mixer (or a strong arm for a wooden spoon!), baking sheets ready to go, parchment paper so nothing sticks, and some wire racks for cooling. Oh, and don’t forget a good spoon for scooping out that perfect dollop of dough!
Step-by-Step Guide to Making Eggnog Cookies
Alright, let’s get down to business and make these amazing Eggnog Cookies! It’s super simple, trust me. First off, preheat your oven to 350°F (175°C) and get those baking sheets lined with parchment paper. This little step is a lifesaver, I promise you! Now, let’s get baking! If you’re looking for more simple recipes like this, check out our easy recipes section!
Creaming Butter and Sugar for Eggnog Cookies
Start by grabbing your softened butter and granulated sugar. Beat them together until they look light and fluffy – imagine a cloud! This is super important for getting that perfect soft texture in your Eggnog Cookies, so don’t rush it.
Combining Wet and Dry Ingredients for Eggnog Cookies
In one bowl, whisk together your flour, baking powder, salt, nutmeg, and cinnamon. In another bowl, beat in the egg and vanilla extract. Then, it’s time to combine! Add the dry stuff to the wet, alternating with the eggnog. Always start and end with the dry ingredients. Mix it all until it’s *just* combined. Seriously, don’t go overboard here, or your Eggnog Cookies might get a little tough!
Shaping and Baking Your Eggnog Cookies
Now for the fun part! Spoon rounded tablespoons of that yummy dough onto your prepared baking sheets. Give them a little space to spread out. Pop them into the oven for about 8 to 10 minutes. You’re looking for edges that are just lightly golden. That’s your cue they’re ready!
Cooling and Finishing Your Eggnog Cookies
Once they’re out, let them hang out on the baking sheets for a couple of minutes. This helps them firm up just enough. Then, carefully transfer them over to a wire rack to cool completely. Patience here is key to make sure your precious Eggnog Cookies don’t crumble apart. You can totally sneak one now, but they’re even better once they’re fully cooled!
Tips for Perfect Eggnog Cookies Every Time
Okay, so you’ve got the recipe, but let’s make sure these Eggnog Cookies are absolutely *perfect*. It’s all in the little details, you know? First off, make sure that butter is truly softened – not melted, just soft enough that you can easily make an indent with your finger. This makes all the difference for that lovely creamy texture. Also, when you’re mixing the dough, don’t go crazy overmixing once you add the flour. Just mix until everything is *barely* combined. Overmixing is the enemy of tender cookies, trust me on this!
If your eggnog is super thick, you might need just a tiny bit more flour, or if it seems too stiff, a *smidgen* more eggnog. Baking times can be a bit tricky too, ovens are all different! Keep an eye on those cookies; pulling them out when the edges are just kissed with golden brown is the secret to keeping them soft and chewy. And don’t skip the cooling steps – a little patience now means delicious, perfectly textured Eggnog Cookies later!
Decorating Your Festive Eggnog Cookies
Now for the super fun part – making these Eggnog Cookies look as amazing as they taste! You can totally keep it simple, or go all out. A basic glaze is super easy: just mix some powdered sugar with a splash of milk or eggnog and maybe a drop of vanilla. Drizzle that over your cooled cookies, and voilà! If you want something a bit fancier for your Christmas cookies, some simple royal icing can be piped on. Or, just a sprinkle of festive colored sugar or some cute holiday sprinkles on top of a simple glaze works wonders. They’re delicious no matter what, but a little decoration really makes them feel extra special for holiday parties! For more lovely dessert ideas, check out our dessert recipes!
Storing and Reheating Your Holiday Treats
So, what happens if you somehow have any of these amazing Eggnog Cookies left over? (I find that hard to believe, but!) The best way to keep them tasting fresh is to pop them into an airtight container. I usually keep mine right on the counter – they’re happy there for about 3 days. Honestly, they’re usually gone way before that!
If you really wanted to, you could pop them in the fridge, but I find that can sometimes make them a little harder. Reheating isn’t really their thing either; they’re just perfect at room temperature. So stash them away, and enjoy that little bit of holiday magic later!
Frequently Asked Questions About Eggnog Cookies
Got questions about these festive little delights? I’ve got you covered!
Can I make Eggnog Cookies without eggnog?
Oh, bummer if you’re out! You can totally substitute it with regular milk mixed with a little bit of rum extract – maybe about 1/4 teaspoon of the extract. It won’t be exactly the same as real eggnog, but it’ll still make these holiday treats delicious!
How do I get my Eggnog Cookies to be chewy?
For that perfect chewy texture, make sure not to overbake them! Pull them out when the edges are just starting to get golden. Also, letting them cool completely on a wire rack is super important – that steaming process in the pan can dry them out. Baking them just right is key for chewy Eggnog Cookies!
Are these considerados decorated cookies?
While these Eggnog Cookies are absolutely yummy just as they are, they’re extra special when you add a little flair! They’re perfect to decorate, making them fantastic decorated cookies for any holiday gathering. Head back up to the decorating section for some super easy and fun ideas!
Estimated Nutritional Information
Just a heads-up, these numbers are an estimate, okay? The exact nutrition for your Eggnog Cookies might wiggle around a bit depending on the specific brands you use and how generous you are with the dough scoops! But generally, you’re looking at about 150 calories per cookie, with roughly 8g of fat, 18g of carbs, and 2g of protein. Enjoy these festive holiday treats!
Share Your Eggnog Cookie Creations!
Alright, now that you’ve hopefully baked up a storm of these glorious Eggnog Cookies, I’d absolutely LOVE to hear all about it! Did you try them? Did they turn out perfectly chewy and delicious? Drop a comment below, tell me your experience, or even give the recipe a rating! I also have an ‘About Me’ page if you want to learn more about my kitchen adventures. And if you have any burning questions or need a little extra help, don’t hesitate to hit up my contact page!
Print
Eggnog Cookies
- Total Time: 25 min
- Yield: 24 cookies 1x
- Diet: Vegetarian
Description
Soft and chewy eggnog cookies perfect for the holiday season.
Ingredients
- 1 cup unsalted butter, softened
- 1 cup granulated sugar
- 1 large egg
- 1 teaspoon vanilla extract
- 1/4 cup eggnog
- 2 1/2 cups all-purpose flour
- 1 teaspoon baking powder
- 1/2 teaspoon salt
- 1/4 teaspoon ground nutmeg
- 1/4 teaspoon ground cinnamon
Instructions
- Cream together butter and sugar until light and fluffy.
- Beat in egg and vanilla extract.
- In a separate bowl, whisk together flour, baking powder, salt, nutmeg, and cinnamon.
- Gradually add dry ingredients to wet ingredients, alternating with eggnog, beginning and ending with dry ingredients.
- Mix until just combined.
- Drop rounded tablespoons of dough onto baking sheets lined with parchment paper.
- Bake at 350°F (175°C) for 8-10 minutes, or until edges are lightly golden.
- Let cool on baking sheets for a few minutes before transferring to wire racks to cool completely.
Notes
- Decorate with a simple glaze or frosting for extra festivity.
- Store in an airtight container at room temperature for up to 3 days.
- Prep Time: 15 min
- Cook Time: 10 min
- Category: Dessert
- Method: Baking
- Cuisine: American
Nutrition
- Serving Size: 1 cookie
- Calories: 150
- Sugar: 12g
- Sodium: 50mg
- Fat: 8g
- Saturated Fat: 5g
- Unsaturated Fat: 3g
- Trans Fat: 0g
- Carbohydrates: 18g
- Fiber: 1g
- Protein: 2g
- Cholesterol: 30mg


