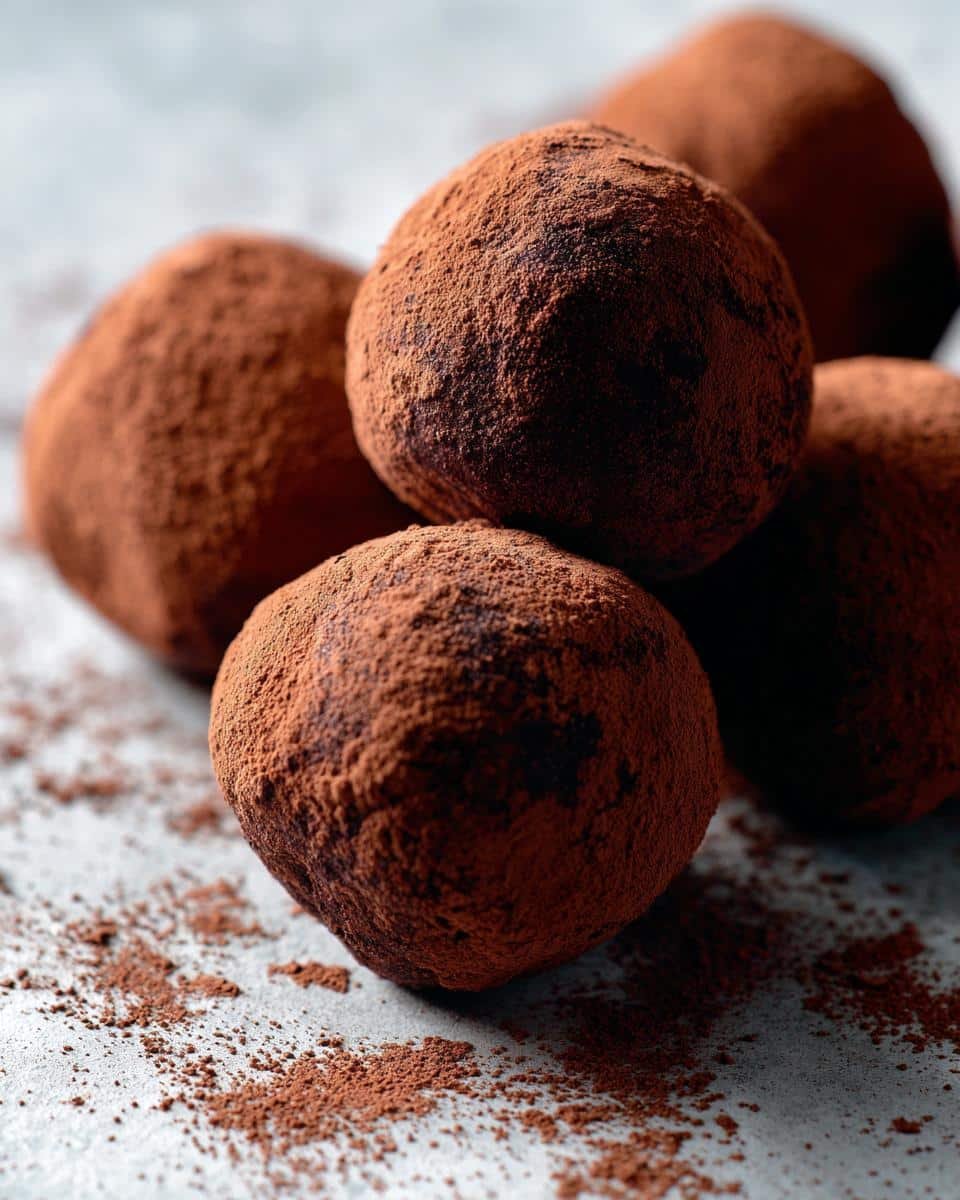
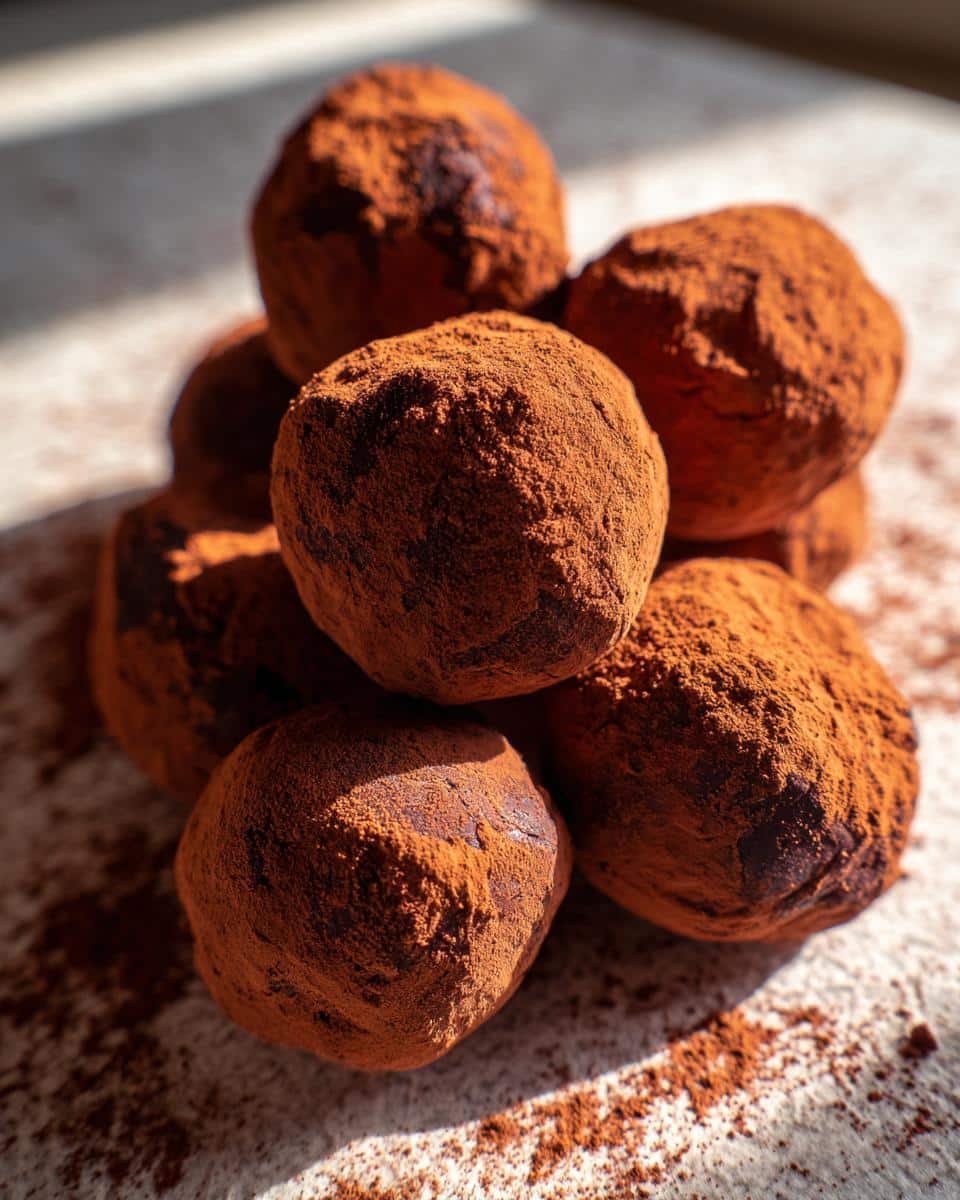
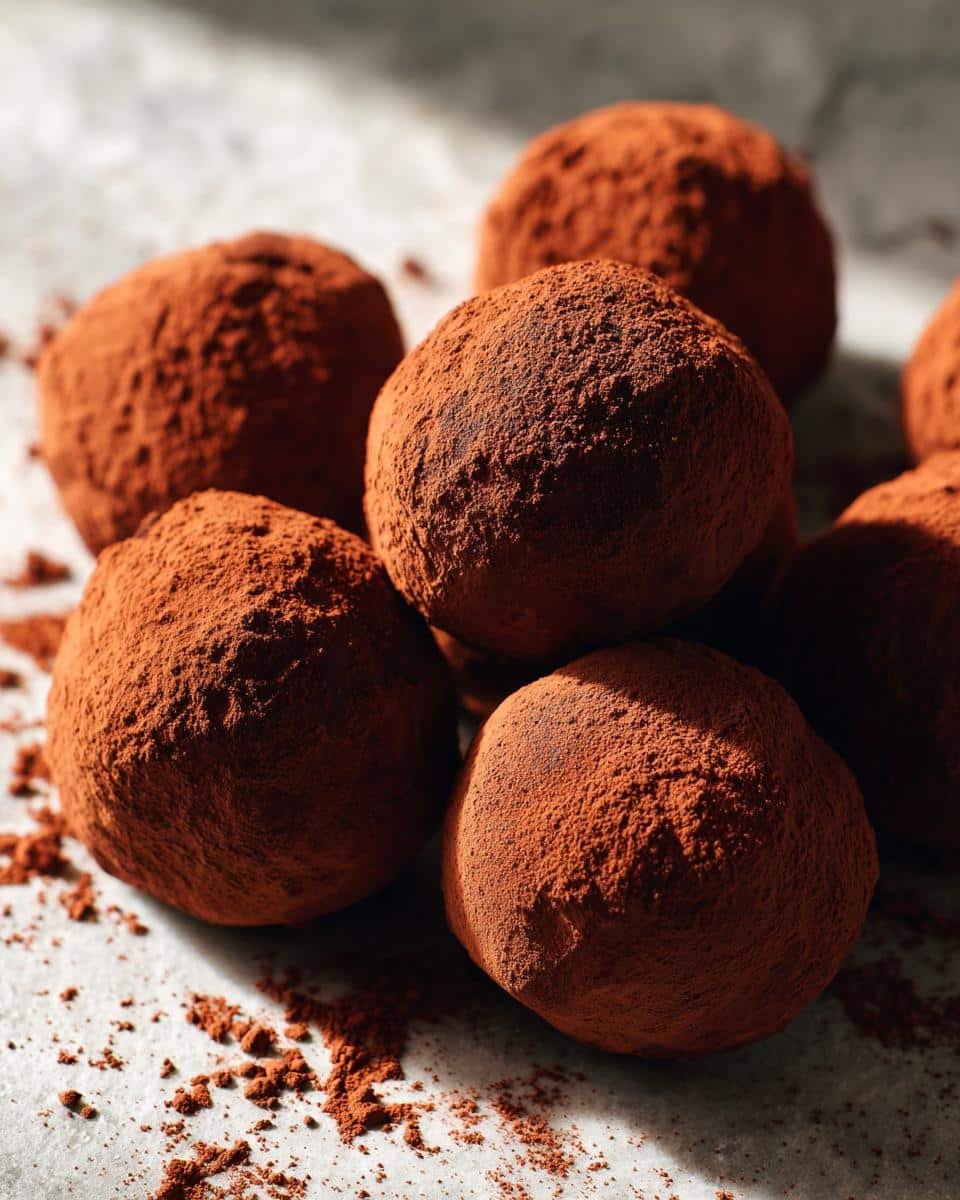
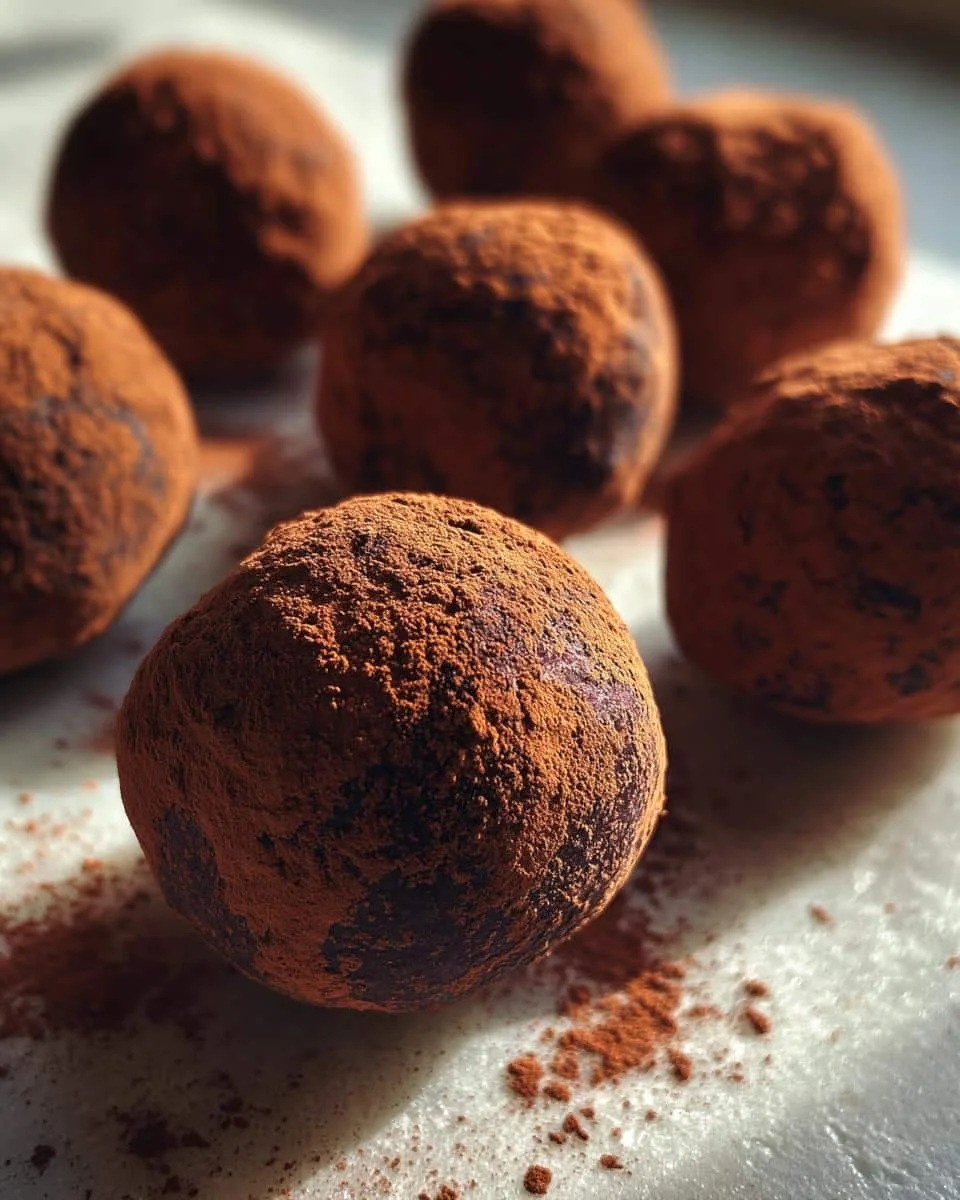
There’s just something about a homemade chocolate truffle, isn’t there? That rich, melt-in-your-mouth goodness that screams pure indulgence. And trust me, even if your kitchen skills feel a little shaky, you can absolutely nail these easy chocolate truffles. I remember making my first batch years ago, totally convinced I was going to mess them up, but they turned out *amazing*! They were the hit of our holiday party, and now I make them every single year. They’re perfect for any occasion, from festive holiday treats to just a little pick-me-up, and they look fancy without any fuss!
Why You’ll Love These Easy Chocolate Truffles
Honestly, what’s not to love? These little gems are:
- Seriously Simple: You only need a few ingredients and minimal effort.
- Incredibly Decadent: They taste like they came from a fancy chocolatier!
- Super Versatile: Easy to customize with different coatings and flavors.
- Perfect for Holidays: They’re an absolute must-have for Christmas fudge and any festive candy platter. These are a go-to holiday treat in my house!
Gather Your Ingredients for Chocolate Truffles
To make these dreamy chocolate truffles, you don’t need much, but quality really makes a difference here. Trust me on this!
- 8 ounces semi-sweet chocolate, finely chopped (Gooey chocolate is the star, so use a good quality one you love!)
- 1/2 cup heavy cream (This makes them super rich and smooth.)
- 1 tablespoon unsalted butter (Make sure it’s unsalted so you can control the saltiness.)
- 1 teaspoon vanilla extract (A little goes a long way for that classic flavor.)
- Cocoa powder, for dusting (Or whatever fun coating you dream up later!)
Essential Equipment for Making Chocolate Truffles
You don’t need a fancy setup for these! Just grab a reliable small saucepan for heating, a sturdy heatproof bowl to mix your magic in, and a handy whisk. Oh, and a tablespoon for scooping makes rolling them super easy!
Step-by-Step Guide to Perfect Chocolate Truffles
Alright, let’s get to the fun part! Making these chocolate truffles really is a breeze once you get the hang of it. My method keeps things super simple and mess-free, so you can whip up a batch of these decadent little bites without any stress. We’re going to start with that rich, fudgy base and work our way to those perfectly rolled treasures. You can find more amazing dessert recipes on our site if you’re in a baking mood!
Preparing the Chocolate Ganache Base
First things first, get your beautiful chopped chocolate into a heatproof bowl. Now, in a small saucepan, gently heat up your heavy cream and that tablespoon of butter over medium heat. You want it to get nice and warm, just to the point where it’s simmering – seriously, don’t let it boil over! Pour that hot cream mixture right over the chocolate. Let it sit for about five minutes – this is important, let the heat do its magic! Then, whisk it all gently until it’s super smooth and glossy. Stir in that vanilla extract, and you’ve got your ganache base ready to go!
Chilling and Rolling Your Chocolate Truffles
Now for the patience part! Cover that bowl and pop it into the fridge for at least two hours. You want it firm enough to scoop and roll without getting too sticky. Honestly, how long it takes can depend on your kitchen’s temperature, so just check it every so often. Once it’s ready, I like to use a tablespoon to scoop out even portions. Roll them between your palms; if it feels too soft, pop it back in the fridge for another 15 minutes. If it’s really struggling to hold its shape, you can even try tempering it slightly by briefly warming your hands and the truffle mixture – a little trick I learned!
Finishing and Dusting the Festive Candy
Once you’ve got all your little balls rolled, it’s time for the finishing touch! I usually roll mine generously in cocoa powder to give them that classic truffle look and taste. But hey, don’t stop there! You could totally dip them in chopped nuts like almonds or walnuts, some colorful sprinkles for extra fun, or even some sweet shredded coconut. Whatever makes your heart sing and your festive candy platter pop!
Tips for Success with Chocolate Truffles
Okay, so you’ve got the basic steps down for your chocolate truffles, but let me share a few little secrets to make sure they’re absolutely perfect every single time. It’s all about the little things that make a big difference!
Chocolate Quality Matters
Seriously, don’t skimp on your chocolate! Since there are so few ingredients, the chocolate really shines. Using good quality semi-sweet or dark chocolate will make your truffles taste so much richer and more decadent. I found the best results using chocolate that was chopped pretty finely, as it melts more evenly. You can learn more about my baking philosophy and why quality ingredients are key on my About page!
Achieving That Silky Smooth Ganache
The key to a dreamy ganache is gentle heat and patience. Remember not to boil that cream! If it gets too hot, it can make your chocolate seize up, and nobody wants that. Just let the hot cream sit on the chocolate for those five minutes – it’s amazing how well that works to melt everything into a smooth, glossy mixture. If it looks a little lumpy after whisking, just pop it back over very low heat for a few seconds, whisking constantly, but be super careful not to overheat it.
Chilling for the Perfect Roll
The chilling time is crucial, so resist the urge to rush it! Your chocolate truffle mixture needs to be firm enough to roll easily. If it’s too soft, you’ll end up with sticky hands and misshapen lumps. However, if you chill it *too* long and it becomes rock hard, just let it sit on the counter for about 10-15 minutes to soften up a bit. It’s a fine balance, but you’ll get the hang of it!
Variations for Your Holiday Treat
Sure, these basic chocolate truffles are amazing on their own, but why stop there? You can totally jazz them up to make them extra special! Want something with a little kick? Try adding a tiny pinch of chili powder or a single drop of peppermint extract to the ganache before chilling – perfect for a little surprise! And we already talked about coatings, but think about chopped toasted nuts like almonds or pistachios, fancy sprinkles, or even some toasted coconut for that lovely holiday treat vibe. Get creative; these are your delicious festive candy creations!
Storing and Reheating Your Chocolate Truffles
These chocolate gems are best stored in an airtight container in the refrigerator. They’ll keep fresh for about a week, which is perfect for making ahead of those busy holiday gatherings. If they get too hard from the cold, just let them sit on the counter for about 10-15 minutes before serving to soften up to that perfect melt-in-your-mouth texture.
Frequently Asked Questions About Chocolate Truffles
Got questions about these yummy chocolate truffles? I’ve got answers! Making delicious homemade candy, especially for holidays like Christmas fudge or any festive candy occasion, is pretty straightforward with this recipe, but here are a few things people often wonder about. For more info, check out our privacy policy!
Can I use milk chocolate instead of semi-sweet?
You totally can! Using milk chocolate will give you a sweeter, creamier truffle. Just be aware that it has a lower melting point, so you might need to chill the mixture a bit longer to get it firm enough for rolling. The flavor will be different, but still delicious for a sweet holiday treat!
How do I get perfectly smooth, round truffles?
That smooth, round shape comes with a little practice! The key is the chilling time – make sure your ganache is firm enough to handle. I like to use a tablespoon to get consistent portions, then roll them gently between my palms. If your hands are warm, the chocolate can melt quickly, so work fast or chill them in between rolls if needed. Don’t worry if they aren’t *perfectly* round, they’ll taste amazing either way!
Can these be made ahead for Christmas fudge or as a holiday treat?
Absolutely! These chocolate truffles are fantastic for making ahead. They store beautifully in an airtight container in the fridge for about a week. So you can finish all your Christmas fudge and festive candy making well before the big day. Just pop them out about 15-20 minutes before serving to let them soften up a bit.
My ganache looks a little oily, what happened?
Oh, that can happen sometimes! Usually, it’s because the cream was a bit too hot when it hit the chocolate, or it was over-whisked. Don’t panic! Sometimes just letting it sit for a bit longer helps everything come together. If it’s still separating, you can try whisking in a tiny bit more room-temperature chocolate or popping it in the fridge for a few minutes and then whisking again. For more help, you can always reach out through our Contact page!
Estimated Nutritional Information
Here are the estimated nutritional values for one of these delightful chocolate truffles: around 100 calories, 8g of fat (5g saturated), 7g carbohydrates, 8g sugar, 1g fiber, and 1g protein. Sodium is about 5mg. Keep in mind these numbers can change a bit depending on the exact chocolate and other ingredients you use!
Print
Easy Chocolate Truffles
- Total Time: 2 hours 25 min
- Yield: 24 truffles 1x
- Diet: Vegetarian
Description
Simple and decadent chocolate truffles perfect for any occasion.
Ingredients
- 8 ounces semi-sweet chocolate, chopped
- 1/2 cup heavy cream
- 1 tablespoon unsalted butter
- 1 teaspoon vanilla extract
- Cocoa powder, for dusting
Instructions
- Place chopped chocolate in a heatproof bowl.
- Heat heavy cream and butter in a small saucepan over medium heat until simmering. Do not boil.
- Pour the hot cream mixture over the chocolate. Let stand for 5 minutes, then whisk until smooth.
- Stir in the vanilla extract.
- Cover the bowl and refrigerate for at least 2 hours, or until firm enough to roll.
- Scoop out tablespoon-sized portions of the chocolate mixture and roll into balls.
- Roll the truffles in cocoa powder to coat.
- Store truffles in an airtight container in the refrigerator.
Notes
- For a richer flavor, use dark chocolate.
- You can roll truffles in chopped nuts, sprinkles, or shredded coconut instead of cocoa powder.
- Truffles can be made ahead and stored for up to a week.
- Prep Time: 20 min
- Cook Time: 5 min
- Category: Dessert
- Method: No-Bake
- Cuisine: American
Nutrition
- Serving Size: 1 truffle
- Calories: 100
- Sugar: 8g
- Sodium: 5mg
- Fat: 8g
- Saturated Fat: 5g
- Unsaturated Fat: 3g
- Trans Fat: 0g
- Carbohydrates: 7g
- Fiber: 1g
- Protein: 1g
- Cholesterol: 20mg

