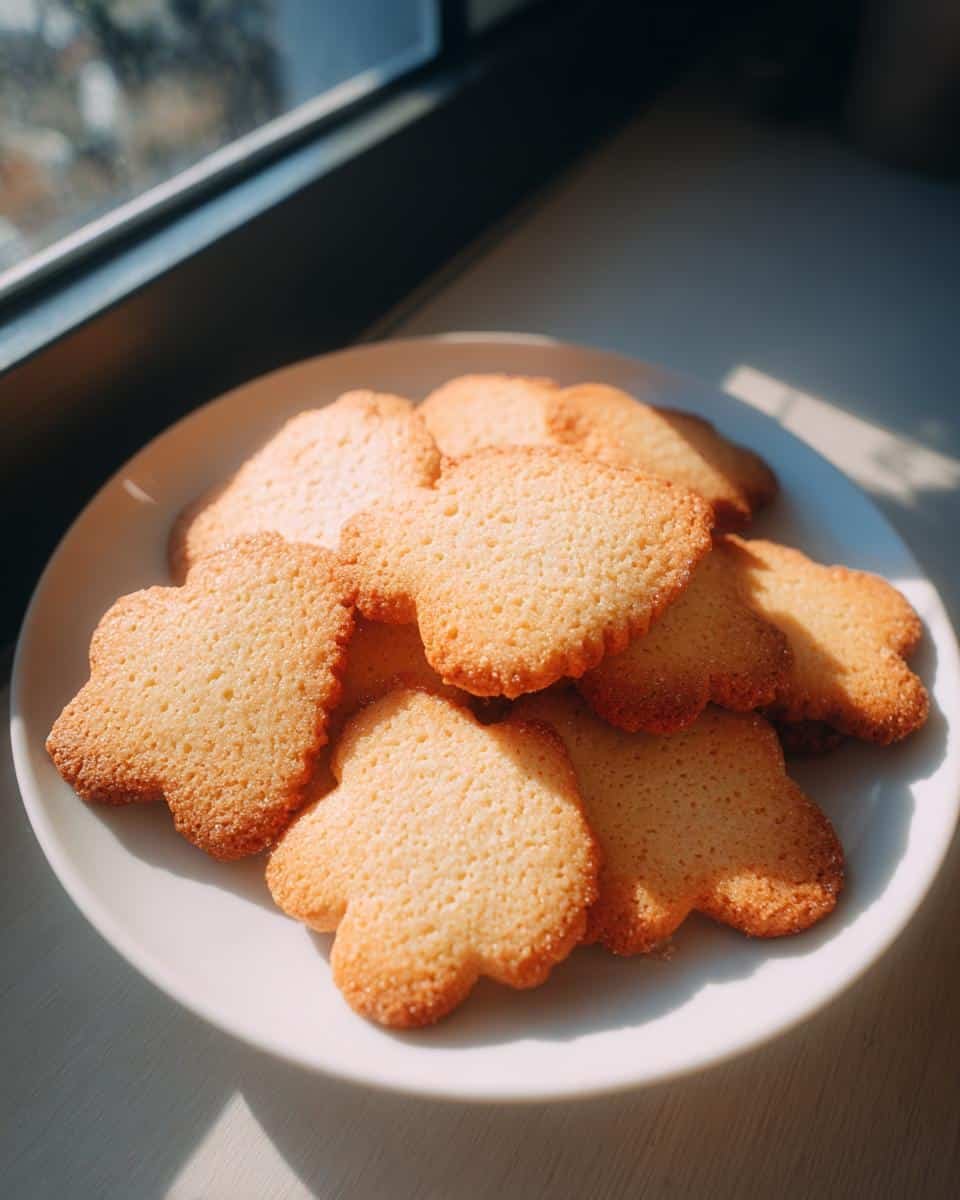
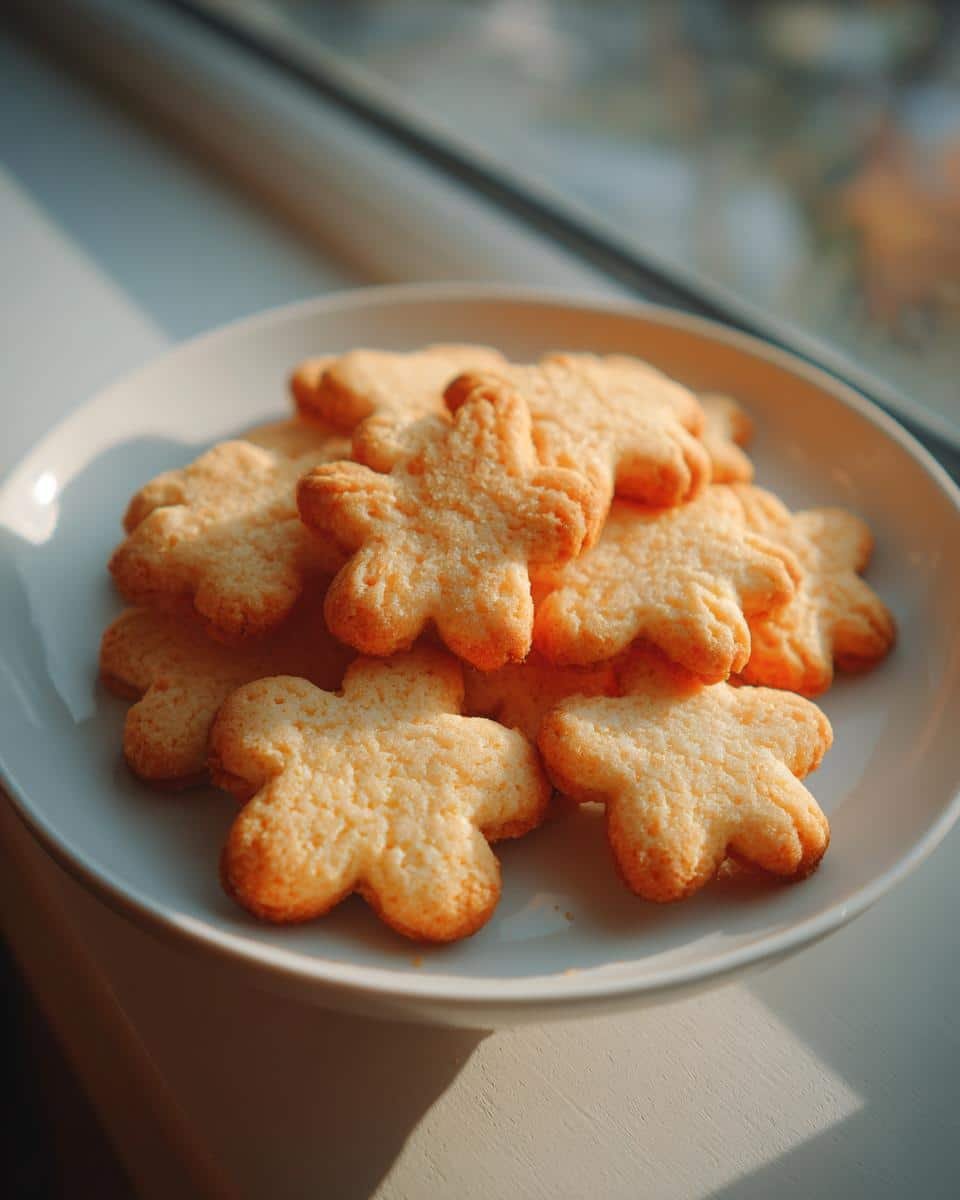
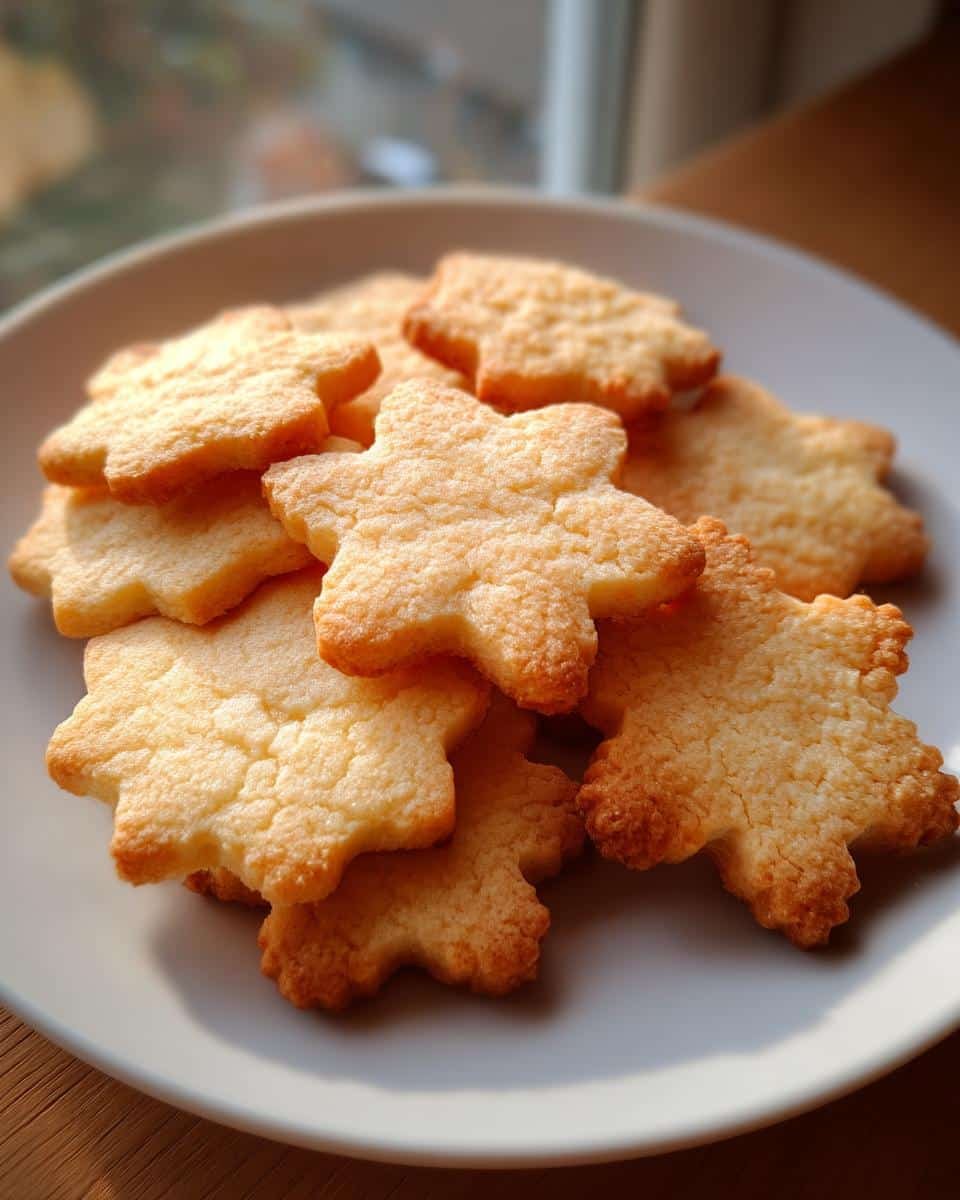
There’s just something magical about rolling out dough and cutting out fun shapes, isn’t there? For me, baking these
Why You’ll Love These Classic Sugar Cookies
These aren’t just any sugar cookies; they’re a recipe you’ll come back to again and again!
- Super Easy to Make: Seriously, even if you’re new to baking, you can totally nail these cookies.
- Perfect for Decorating: They hold their shape beautifully, making them ideal canvases for frosting and sprinkles – hello, Christmas cookies!
- Deliciously Simple Flavor: That classic buttery, vanilla taste is just *chef’s kiss*. So yummy on its own, and even better jazzed up.
- Holiday Must-Have: They’re a festive treat that always makes our holiday table feel extra special.
Ingredients for Classic Sugar Cookies
Okay, so for this super simple, totally reliable recipe, here’s what you’ll need. Don’t worry, it’s all stuff you probably already have in your pantry! Having everything ready to go makes baking these Classic Sugar Cookies so much easier.
You’ll need:
- 2 1/4 cups all-purpose flour
- 1 teaspoon baking powder
- 1/2 teaspoon salt
- 1 cup (that’s 2 sticks!) unsalted butter, softened – make sure it’s not melted, just nice and pliable.
- 1 1/2 cups granulated sugar
- 2 large eggs – room temperature is best if you remember!
- 1 teaspoon vanilla extract – use the good stuff if you can!
Essential Equipment for Baking Classic Sugar Cookies
To make these perfect Classic Sugar Cookies, you’ll want a few things handy. Trust me, having the right tools makes the whole process so much smoother!
- Mixing Bowls: A big one for the dough, and a medium one for dry ingredients.
- Electric Mixer (Hand or Stand): For creaming that butter and sugar like a dream.
- Whisk and Spatula: For mixing dry ingredients and folding everything together.
- Rolling Pin: For getting that perfect, even dough thickness.
- Cookie Cutters: Whatever fun shapes you love, especially for the holidays!
- Baking Sheets: A couple of them so you can bake batches efficiently.
- Parchment Paper: This is a lifesaver for easy cleanup and preventing sticking.
- Wire Rack: For letting those beautiful cookies cool completely.
How to Make Perfect Classic Sugar Cookies: Step-by-Step
Alright, let’s get our hands doughy and make these amazing Classic Sugar Cookies! They really are super straightforward, and following these steps will get you perfect cookies every single time. Trust me, I’ve made enough batches to know!
Preparing the Dough for Classic Sugar Cookies
First things first, we gotta get that dough ready. Grab your biggest mixing bowl and let’s cream together that softened butter and sugar. You want to beat them until they’re light and fluffy – this is key for a good texture, so don’t rush it! Then, we’ll add in the eggs one by one, making sure they’re incorporated, and stir in the vanilla. In a separate bowl, give your flour, baking powder, and salt a quick whisk. Now, slowly add the dry stuff to the butter mixture, mixing until it’s *just* combined. Okay, IMPORTANT step here: divide the dough in half, shape each half into a flat disk, wrap them up tight in plastic wrap, and pop them into the fridge for at least an hour. This chilling is what helps them keep their shape when baking!
Rolling, Cutting, and Baking Your Classic Sugar Cookies
Once that dough has had its chilly nap, preheat your oven to 375°F (190°C) and line a couple of baking sheets with parchment paper – it’s a game-changer for easy cleanup! Lightly flour your counter or a big cutting board, and roll out one disk of dough to about 1/4-inch thickness. Try to keep it even! Now for the fun part: grab your cookie cutters and go wild with shapes! Place the cut-out cookies onto your prepared baking sheets, leaving about an inch between them so they have room to spread just a tiny bit. Pop them into the hot oven and bake for about 8-10 minutes. You’re looking for the edges to be just lightly golden. Don’t overbake them, or they might get too crisp!
Cooling and Decorating Your Classic Sugar Cookies
Once they’re out of the oven, let the cookies hang out on the baking sheets for a few minutes to firm up a bit. Then, gently transfer them to a wire rack to cool completely. This is crucial – if you try to decorate warm cookies, your frosting will turn into a melty mess! Once they’re totally cool, it’s time to let your inner artist out and decorate them however you like!
Tips for Perfectly Shaped Classic Sugar Cookies
Getting those perfect little shapes from the cookie cutters can sometimes be a little tricky, right? But don’t you worry! I’ve picked up a few tricks over the years that make a world of difference. The most important thing is giving that dough enough chill time – at least an hour in the fridge really helps it firm up so it doesn’t spread too much. When you’re rolling, try to keep your surface lightly floured so it doesn’t stick, but don’t go overboard with the flour, or the cookies can get tough. And when you’re cutting and moving them, be gentle! I always use a thin, flexible spatula to transfer them to the baking sheet. My little secret? If you cut out your shapes and they look a bit wobbly, you can pop the whole baking sheet in the freezer for 10-15 minutes before they go in the oven – it works wonders for keeping their shape!
Ingredient Notes and Substitutions for Classic Sugar Cookies
I know sometimes you might not have *exactly* what the recipe calls for, or you’re just curious about options. For these Classic Sugar Cookies, most ingredients are pretty straightforward, but here are a few things to keep in mind:
Butter: Stick with unsalted, real butter if you can! It gives you the best flavor and controls the saltiness. If you *only* have salted butter, just leave out the 1/2 teaspoon of salt in the recipe. Margarine? Eh, it *can* work, but your cookies might spread more and won’t have that rich, buttery taste we love. For these, butter is really best.
Eggs: The recipe calls for large eggs, which is pretty standard. If you only have medium eggs, you could add an extra yolk, but honestly, it’s usually not a big deal for this cookie. Just stick to large if possible!
Flour: All-purpose flour is perfect here. If you want to try a gluten-free version, look for a good 1:1 baking blend – they’re formulated to substitute pretty easily without changing the texture too much. Just make sure it contains xanthan gum!
Frequently Asked Questions About Classic Sugar Cookies
Got questions about making the best Classic Sugar Cookies? I’ve got answers!
Can I make these cookies ahead of time?
Absolutely! The dough itself can be wrapped well and kept in the fridge for up to 3 days, which is super handy. Baked, undecorated cookies will keep in an airtight container at room temperature for about a week. For decorated cookies, it’s best to wait until they’re fully dry before stacking them, and then store them similarly. They’re perfect holiday treats you can prep in advance!
Why are my sugar cookies spreading so much?
Oh, the dreaded spread! It usually comes down to a few things. Make sure your butter wasn’t too soft or melted when you mixed it. Also, chilling the dough is really important – don’t skip that hour! If you use too much flour when rolling, that can also contribute. And sometimes, it’s just the specific cookie cutter; if it has really thin edges, it can encourage spreading. A little chilling of the cut-out cookies before baking can also prevent a flat disaster!
What is the best way to store decorated sugar cookies?
Once your beautiful decorated Christmas cookies are completely dry, you can stack them gently in an airtight container. I like to put a piece of parchment paper between layers if I’m stacking them high. They’ll stay delicious at room temperature for about a week. Avoid the fridge if you can, as it can sometimes make the frosting a bit sticky.
Can I use these for cut-outs and decorating?
YES! That’s exactly what this recipe is designed for! The dough is sturdy enough that your cut-out shapes will hold their form really well once baked, especially if you chill the dough properly. They’re the perfect canvas for all sorts of frosting, sprinkles, and holiday cheer. They truly are some of the best decorated cookies out there!
Estimated Nutritional Information
Just a heads-up, these numbers are estimates for one single cookie. They can change a bit depending on exactly how you make them and how big you cut them, but this gives you a good idea! It’s pretty standard for a homemade cookie of this type.
- Calories: Around 120
- Fat: About 6g
- Protein: Roughly 1g
- Carbohydrates: Approximately 15g
- Sugar: Around 12g
Share Your Classic Sugar Cookie Creations!
Alright bakers, I’d LOVE to hear how your Classic Sugar Cookies turned out! Did you go with stars? Snowflakes? Tell me all about it in the comments below! And if you snapped any pictures of your amazing decorated holiday treats, please tag me on social media – I can’t wait to see them! If you loved this recipe, a quick rating would be super helpful too! Feeling free to reach out if you have any other questions, you can always contact me directly.
Print
Classic Sugar Cookies
- Total Time: 1 hour 30 min
- Yield: 3 dozen 1x
- Diet: Vegetarian
Description
A simple recipe for classic sugar cookies, perfect for decorating during the holidays.
Ingredients
- 2 1/4 cups all-purpose flour
- 1 teaspoon baking powder
- 1/2 teaspoon salt
- 1 cup (2 sticks) unsalted butter, softened
- 1 1/2 cups granulated sugar
- 2 large eggs
- 1 teaspoon vanilla extract
Instructions
- In a medium bowl, whisk together the flour, baking powder, and salt.
- In a large bowl, cream together the softened butter and granulated sugar until light and fluffy.
- Beat in the eggs one at a time, then stir in the vanilla extract.
- Gradually add the dry ingredients to the wet ingredients, mixing until just combined.
- Divide the dough in half, flatten each half into a disk, wrap in plastic wrap, and refrigerate for at least 1 hour.
- Preheat your oven to 375°F (190°C). Line baking sheets with parchment paper.
- On a lightly floured surface, roll out one disk of dough to about 1/4-inch thickness.
- Cut out shapes using cookie cutters.
- Place the cookies on the prepared baking sheets, about 1 inch apart.
- Bake for 8-10 minutes, or until the edges are lightly golden.
- Let the cookies cool on the baking sheets for a few minutes before transferring them to a wire rack to cool completely.
- Decorate as desired once fully cooled.
Notes
- For crisper cookies, bake for an additional minute or two.
- You can chill the cut-out cookies for 10-15 minutes before baking to help them hold their shape.
- Store decorated cookies in an airtight container at room temperature.
- Prep Time: 20 min
- Cook Time: 10 min
- Category: Dessert
- Method: Baking
- Cuisine: American
Nutrition
- Serving Size: 1 cookie
- Calories: 120
- Sugar: 12g
- Sodium: 50mg
- Fat: 6g
- Saturated Fat: 4g
- Unsaturated Fat: 2g
- Trans Fat: 0g
- Carbohydrates: 15g
- Fiber: 0g
- Protein: 1g
- Cholesterol: 25mg


