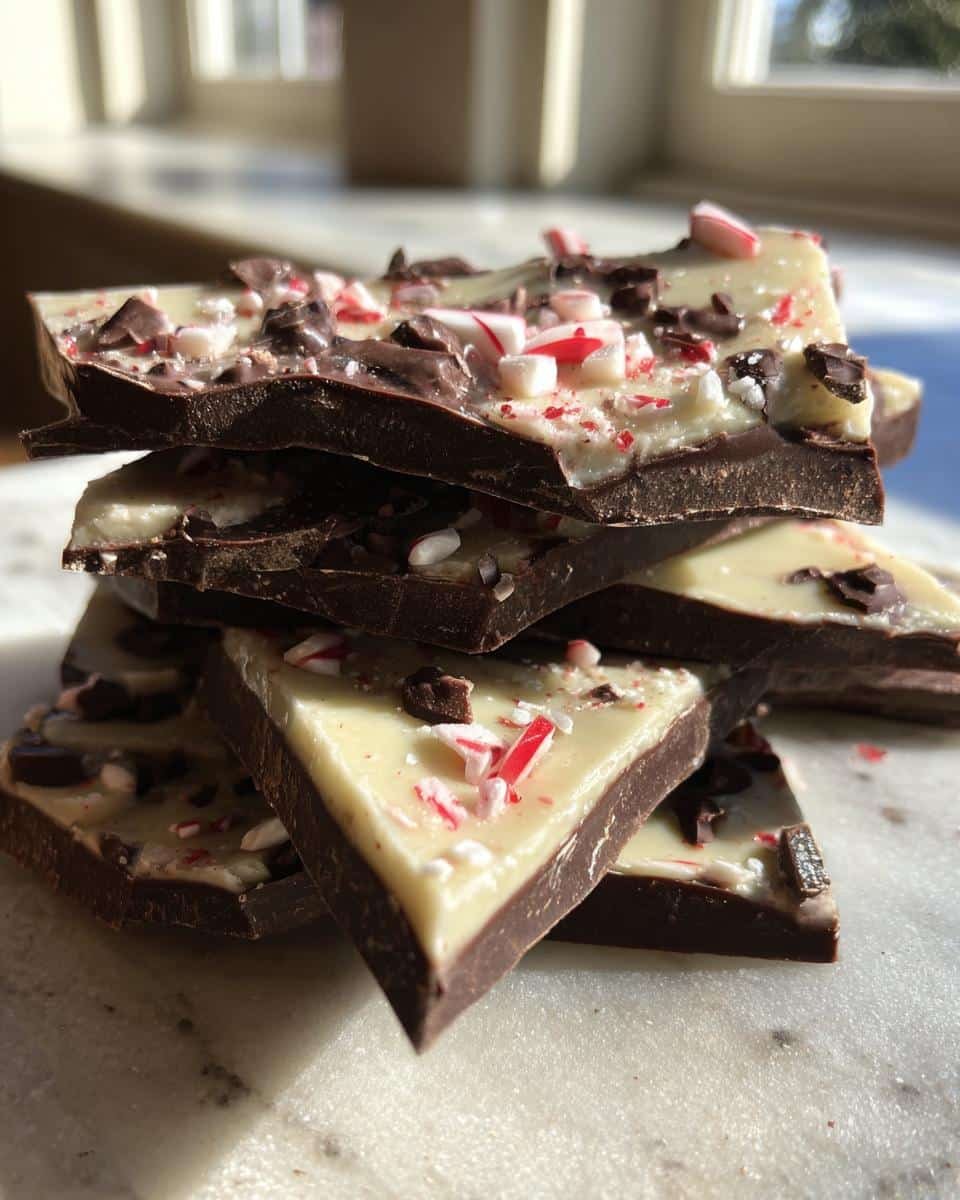
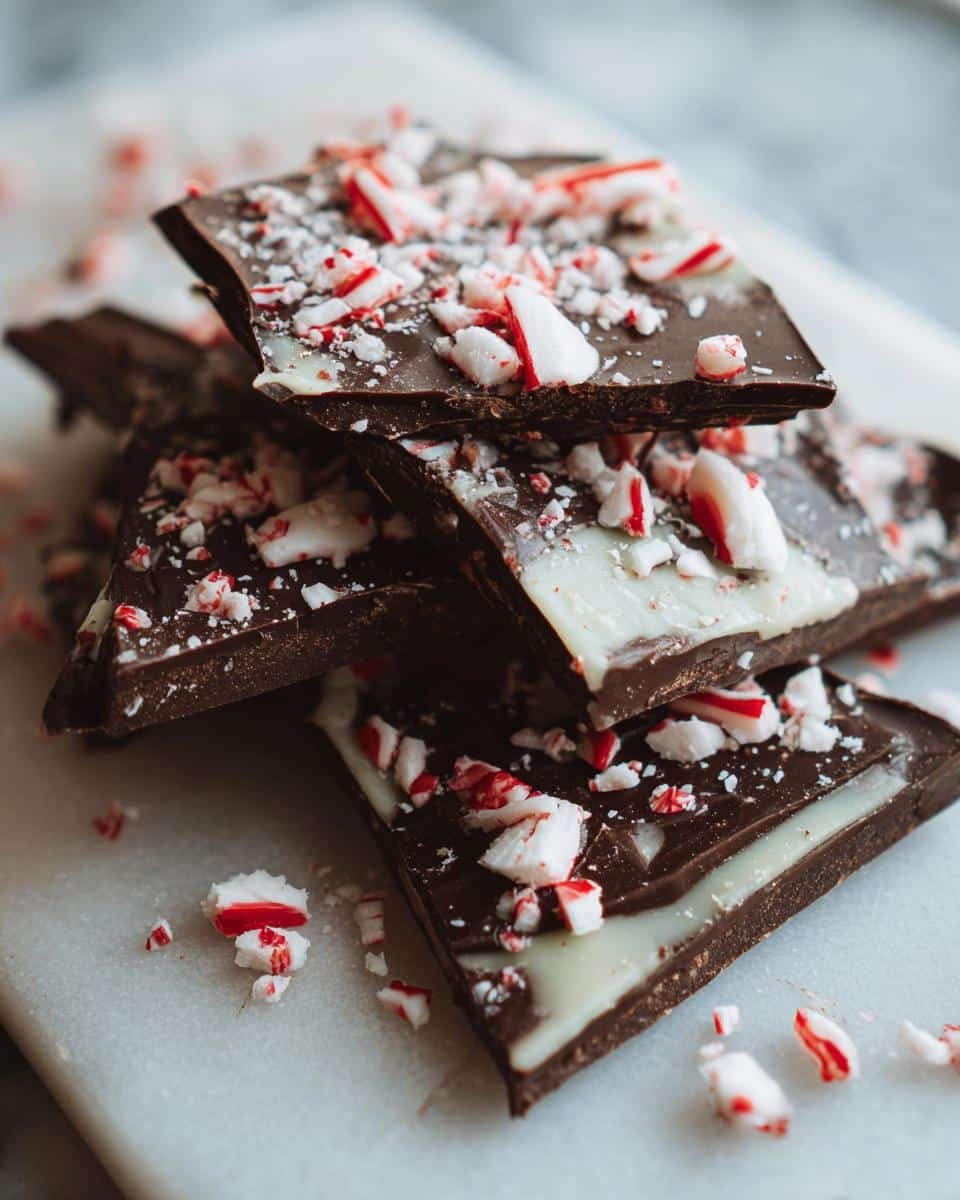
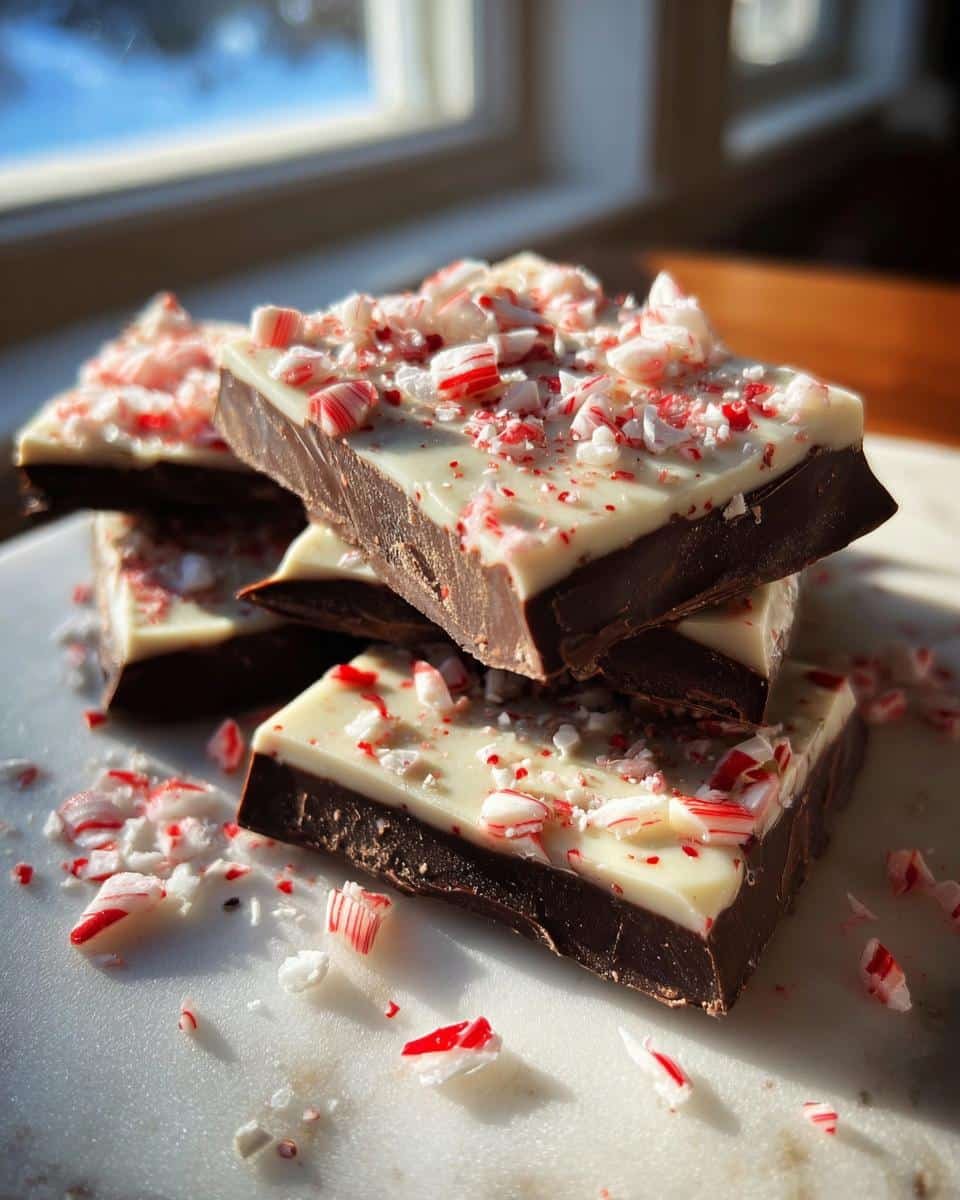
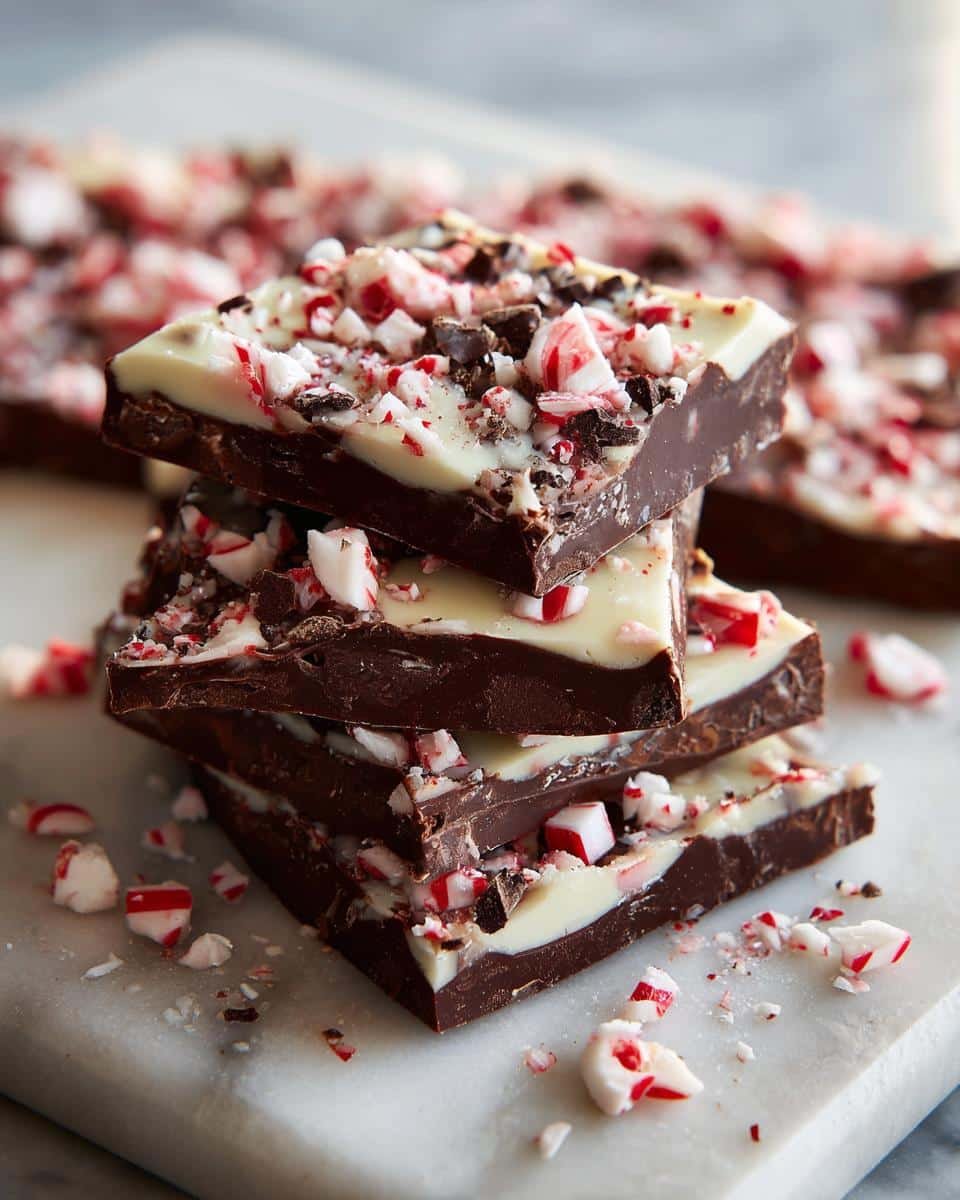
Oh, the holidays! It’s that magical time of year when everything just feels… sparklier, doesn’t it? And for me, it’s always about the smells and tastes that just scream festivity. Some of my favorite childhood memories are tied to the kitchen, whether it was helping my mom unroll sugar cookies or sneaking a taste of something delicious cooling on the counter. That’s exactly why this Chocolate Peppermint Bark holds such a special place in my heart. It’s not just a candy; it’s pure holiday joy, ready to be shared! This easy, no-fuss festive candy is seriously a showstopper on any dessert table and makes for the sweetest edible gift. Trust me, one bite and you’ll know exactly what I’m talking about!
Why You’ll Love This Chocolate Peppermint Bark
Seriously, why wouldn’t you love this stuff? It’s got everything going for it:
- Super Easy to Make: You’d be shocked how quickly this comes together, even if you’re a total kitchen newbie.
- Festive Perfection: The red and white layers with crushed candy canes? It just screams holiday cheer!
- Irresistible Flavors: That classic chocolate and peppermint combo is a winner every single time.
- Perfect for Gifting: Wrap it up in festive bags or boxes, and you’ve got homemade gifts everyone will adore!
- Crowd-Pleaser: Whether it’s for a party or just family movie night, this festive candy disappears fast.
Ingredients for the Perfect Chocolate Peppermint Bark
Alright, let’s get down to business! For this classic Chocolate Peppermint Bark, you don’t need much, but what you do need is quality. Trust me on this one – good chocolate makes all the difference!
- 1 pound good quality dark chocolate, chopped
- 1 pound good quality white chocolate, chopped
- 1/2 teaspoon peppermint extract
- 1/2 cup crushed candy canes
That’s it! See? Super simple. Just make sure your chocolate is chopped into nice, even pieces so it melts smoothly.
Essential Equipment for Making Chocolate Peppermint Bark
To whip up this easy Chocolate Peppermint Bark, you won’t need a whole lot of fancy gadgets. Just a few everyday kitchen helpers will do the trick!
- A good-sized baking sheet (a standard half-sheet size is perfect).
- Parchment paper to line it – this is key for easy cleanup and lifting the bark out.
- Either a double boiler setup or microwave-safe bowls for melting your chocolate.
- A spatula for spreading the chocolate smoothly.
- And, of course, a way to crush those candy canes – a rolling pin and a sturdy bag work wonders!
Step-by-Step Guide to Making Chocolate Peppermint Bark
Alright, let’s get this festive fun started! Making your own Chocolate Peppermint Bark is honestly a breeze, and I’m here to walk you through every easy step. It feels like a real accomplishment when you see it all come together, and the smell? Divine!
Preparing the Base Layer of Chocolate Peppermint Bark
First things first, grab a baking sheet and line it with parchment paper. This is your best friend for keeping things from sticking and making cleanup a snap. Now, let’s talk chocolate! You’ll melt your chopped dark chocolate. I usually do this in a bowl over a pot of simmering water (that’s a double boiler!) or in the microwave, giving it a good stir every 30 seconds so it doesn’t get weird and seize up. Once it’s all smooth and luscious, spread it right onto that parchment paper. Try to get it nice and even – this is the foundation of your beautiful Chocolate Peppermint Bark!
Adding the Peppermint White Chocolate and Toppings
Okay, so while your dark chocolate layer is chilling just enough to get slightly firm (pop it in the fridge for about 15-20 minutes, just until it’s not super soft anymore – you don’t want it rock hard!), you’ll melt your white chocolate in a separate bowl. Stir that little splash of peppermint extract right into the melted white chocolate. Oh, the aroma! Then, carefully pour this pepperminty goodness over the slightly set dark chocolate. Spread it out gently to cover everything. Now, the fun part for the toppings! As soon as you’ve got that white chocolate layer down, sprinkle your crushed candy canes all over it. Work pretty quickly here so they stick!
Chilling and Finishing Your Chocolate Peppermint Bark
Once it’s all decorated and looking super festive, it’s back to the fridge! Let the whole sheet chill for about 1 to 2 hours, or until it’s completely firm. You’ll know it’s ready when it’s solid to the touch. Then, the most satisfying part: breaking it up! Just lift the parchment paper and snap the bark into chunky, irregular pieces. It’s a rustic look that’s perfect. You can use your hands or a knife to help break it into smaller, more manageable bits for sharing.
Tips for the Best Chocolate Peppermint Bark
Okay, so making this Chocolate Peppermint Bark is pretty darn easy, but a couple of little tricks can make it truly spectacular! You want that perfect snap, that rich flavor, and all those pretty layers. First off, the chocolate quality really *does* matter here. I know it sounds fancy, but using good quality dark and white chocolate makes a world of difference in how smoothly it melts and how amazing it tastes. If your chocolate gets too hot or if any water sneaks in, it can seize up – basically, it gets thick and lumpy, and you’ll have to start over. So, be gentle when melting it, especially in the microwave – little bursts of time and stirring are your friends!
Also, don’t rush that chilling time between layers! Letting the dark chocolate set up a bit is crucial so the white chocolate doesn’t just meld into one messy blob. You don’t want hard, but just firm enough to hold its shape. This helps get those beautiful distinct layers we love. And for the candy canes? Crush them yourself! Those pre-crushed ones can sometimes be a bit powdery. A zip-top bag and a rolling pin do the trick perfectly, giving you those lovely little shards of pepperminty crunch.
If you’re feeling adventurous, you can even experiment with different chocolate types – maybe some milk chocolate for a third layer, or even a swirl of colored chocolate drizzle. But honestly, the classic dark and white combo from my easy recipes list is tried and true and always a hit during the holidays. Just enjoy the process; it’s meant to be fun!
Ingredient Notes and Substitutions for Chocolate Peppermint Bark
Let’s chat a bit more about these simple ingredients because, believe it or not, they make a *huge* difference in your Chocolate Peppermint Bark! When I say “good quality” chocolate, I really mean it. Using a decent brand means it’ll melt like a dream, taste way richer, and give you that satisfying snap when you break it. Cheaper stuff can sometimes get grainy or just taste a bit… meh. So, splurge a little here – your taste buds will thank you!
Now, what if you run out of candy canes? No worries! You can sometimes find peppermint baking chips, or just use a tiny bit more peppermint extract in the white chocolate and skip the extra crunch. Just be careful not to go overboard with the extract, or it can get a bit overpowering! For the candy canes themselves, if you can’t find any or want a different vibe, you could even try some festive sprinkles on top of the white chocolate layer instead.
Storage and Reheating Instructions
So, you’ve made this gorgeous festive candy and somehow you have leftovers? Lucky you! The best way to keep this Chocolate Peppermint Bark tasting perfect is to store it in an airtight container. I usually just use a good old Tupperware or a sturdy zip-top bag. If your house tends to get a bit warm, especially during the holidays, popping it in the fridge is a good idea to prevent any melty mishaps. Just a quick heads-up though, if it lives in the fridge, it might get a little condensation on it when you take it out, so let it sit at room temperature for a few minutes to crisp up again!
Frequently Asked Questions About Chocolate Peppermint Bark
Can I make this Chocolate Peppermint Bark ahead of time?
Oh, absolutely! This festive candy is actually perfect for making ahead. Since the holidays can get pretty hectic, I often make a big batch a week or two in advance. It stores beautifully, so you have one less thing to worry about when guests are coming or when you need a last-minute edible gift!
What’s the best way to break the bark into pieces?
My favorite part! Once the Chocolate Peppermint Bark is totally firm, just lift the whole slab out using the parchment paper. Then, you can either twist and snap it with your hands for those wonderfully rustic, jagged edges, or place it on a cutting board and use a chef’s knife to carefully chop it into smaller, more uniform pieces. Either way looks great and tastes even better!
Can I use different types of chocolate instead of dark and white?
You sure can get creative! While the classic dark and white chocolate layers are divine, feel free to play around. Some folks love using milk chocolate for one of the layers. You could even do a swirl effect! Just remember to melt each type of chocolate separately and let the first layer set up a bit before adding the next, so your beautiful layers don’t get muddled. It’s still going to be a delicious holiday treat either way.
Will this Chocolate Peppermint Bark melt easily? It’s kind of like Christmas fudge, but flatter!
That’s a great comparison! Like most chocolate confections, this Chocolate Peppermint Bark can melt if it gets too warm. If you live in a warmer climate or your kitchen tends to be toasty, storing it in an airtight container in the refrigerator is your best bet. Just let it sit out for a few minutes before serving so it’s not super hard. Keeping it cool ensures it stays perfectly firm and festive!
Estimated Nutritional Information
Now, this part is always a bit of a guess, because honestly, who measures *exactly* when they’re making magic like this? But based on typical ingredients, one serving (about an ounce) of this yummy Chocolate Peppermint Bark usually clocks in around 150 calories. You’ll see about 9g of fat, 17g of carbs, and just a couple of grams of protein. Keep in mind that using higher quality chocolate or different kinds of candy canes could tweak those numbers just a bit!
Share Your Festive Candy Creations!
Now that you know how to whip up this amazing Chocolate Peppermint Bark, I’d absolutely LOVE to hear about it! Did you try it? Did you share it? Please drop a comment below and let me know how it turned out. And if you snapped some pics, tag me on social media – I can’t wait to see your beautiful festive candy creations! Happy baking (or should I say, candy-making)!
Print
Chocolate Peppermint Bark
- Total Time: 2 hours 30 min
- Yield: 16 servings 1x
- Diet: Vegetarian
Description
A simple and festive holiday candy made with chocolate and peppermint.
Ingredients
- 1 pound good quality dark chocolate, chopped
- 1 pound good quality white chocolate, chopped
- 1/2 teaspoon peppermint extract
- 1/2 cup crushed candy canes
Instructions
- Line a baking sheet with parchment paper.
- Melt the dark chocolate in a double boiler or microwave in 30-second intervals, stirring between each. Spread the melted dark chocolate evenly onto the prepared baking sheet.
- Sprinkle half of the crushed candy canes over the dark chocolate.
- Allow the dark chocolate to set slightly, about 15-20 minutes in the refrigerator.
- Melt the white chocolate in a separate double boiler or microwave. Stir in the peppermint extract.
- Pour the melted white chocolate over the dark chocolate layer and spread evenly.
- Immediately sprinkle the remaining crushed candy canes over the white chocolate.
- Refrigerate until firm, about 1-2 hours.
- Once firm, break the bark into pieces.
Notes
- Use good quality chocolate for the best flavor and texture.
- Ensure the dark chocolate is slightly set before adding the white chocolate to prevent them from mixing too much.
- Store the bark in an airtight container at room temperature or in the refrigerator.
- Prep Time: 20 min
- Cook Time: 10 min
- Category: Dessert
- Method: No Bake
- Cuisine: American
Nutrition
- Serving Size: 1 ounce
- Calories: 150
- Sugar: 15g
- Sodium: 10mg
- Fat: 9g
- Saturated Fat: 5g
- Unsaturated Fat: 4g
- Trans Fat: 0g
- Carbohydrates: 17g
- Fiber: 1g
- Protein: 2g
- Cholesterol: 5mg


